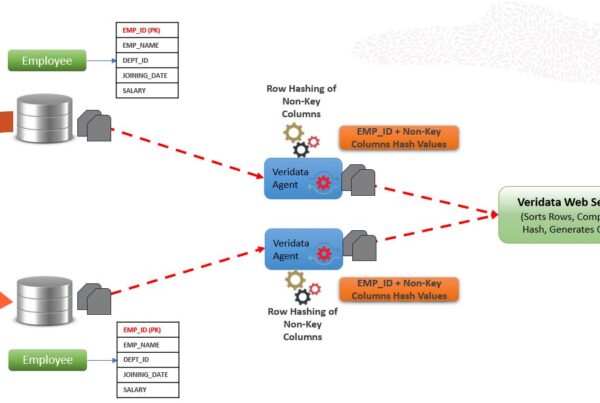
Oracle GoldenGate Veridata is a high-speed data-comparison and repair solution that identifies, reports on, and fixes data discrepancies between heterogeneous databases without interrupting ongoing business processes.
This post explains the step by step installation and configuration of Oracle GoldenGate Veridata 12.2 in Linux.
The first and primary point to be considered before installing any Binaries are the Pre-requisites. For installing the Oracle GoldenGate Veridata, below are the pre-requisites which needs to be taken care.
Certification and System Requirements - Check if the hardware or software configuration supports the product which you are going to install.
Install JDK on the Target Machine -  A minimum of JDK 1.8.0_101 or higher is required.
Install Oracle WebLogic Server - Oracle Fusion Middleware 12.2.1.2.0 Infrastructure installer to install Oracle WebLogic Server and the Oracle Java Required Files (JRF) Infrastructure services.
You can either download it from the below links,
http://www.oracle.com/technetwork/developer-tools/adf/downloads/index.html
or
https://edelivery.oracle.com/
Install a Certified Database for Configuring Veridata Repository - Oracle GoldenGate Veridata supports the following databases:
Oracle
Microsoft SQL Server
You can refer the Installation Guide below for more information on the Pre-requisites,
https://docs.oracle.com/goldengate/v12212/gg-veridata/GVDIS/GVDIS.pdf
So, now let us go into the Installation part.
INFRASTRUCTURE INSTALLATION
Firstly, we need to install both WebLogic Server (WLS) and the Oracle Fusion Middleware (FMW) Infrastructure.
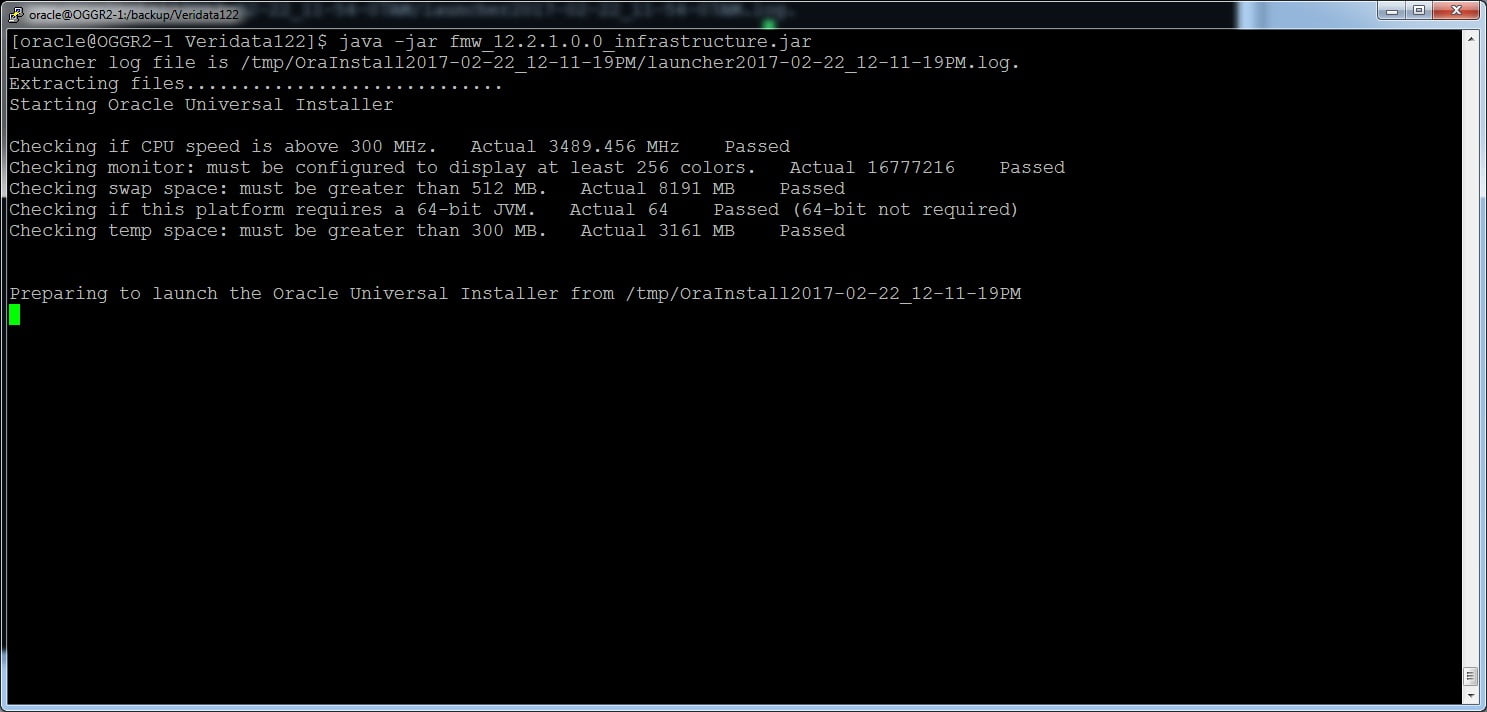
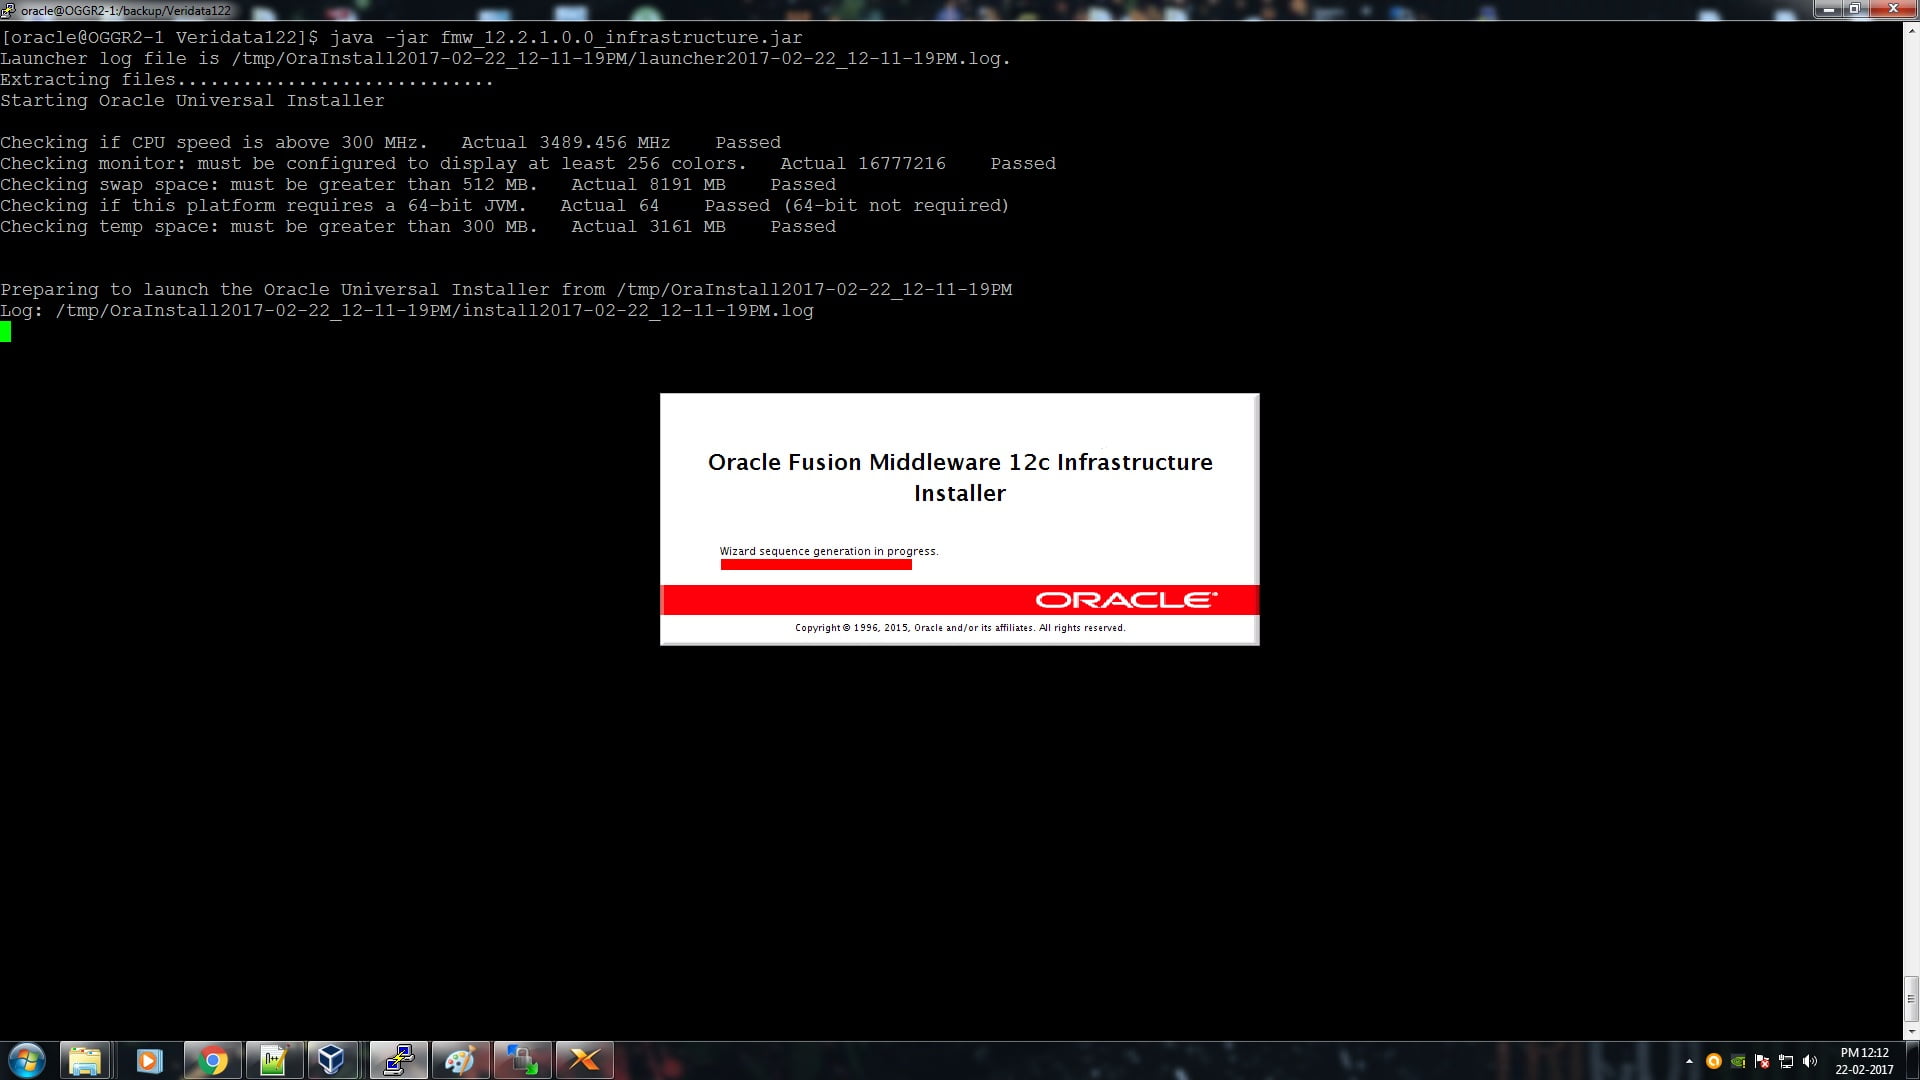
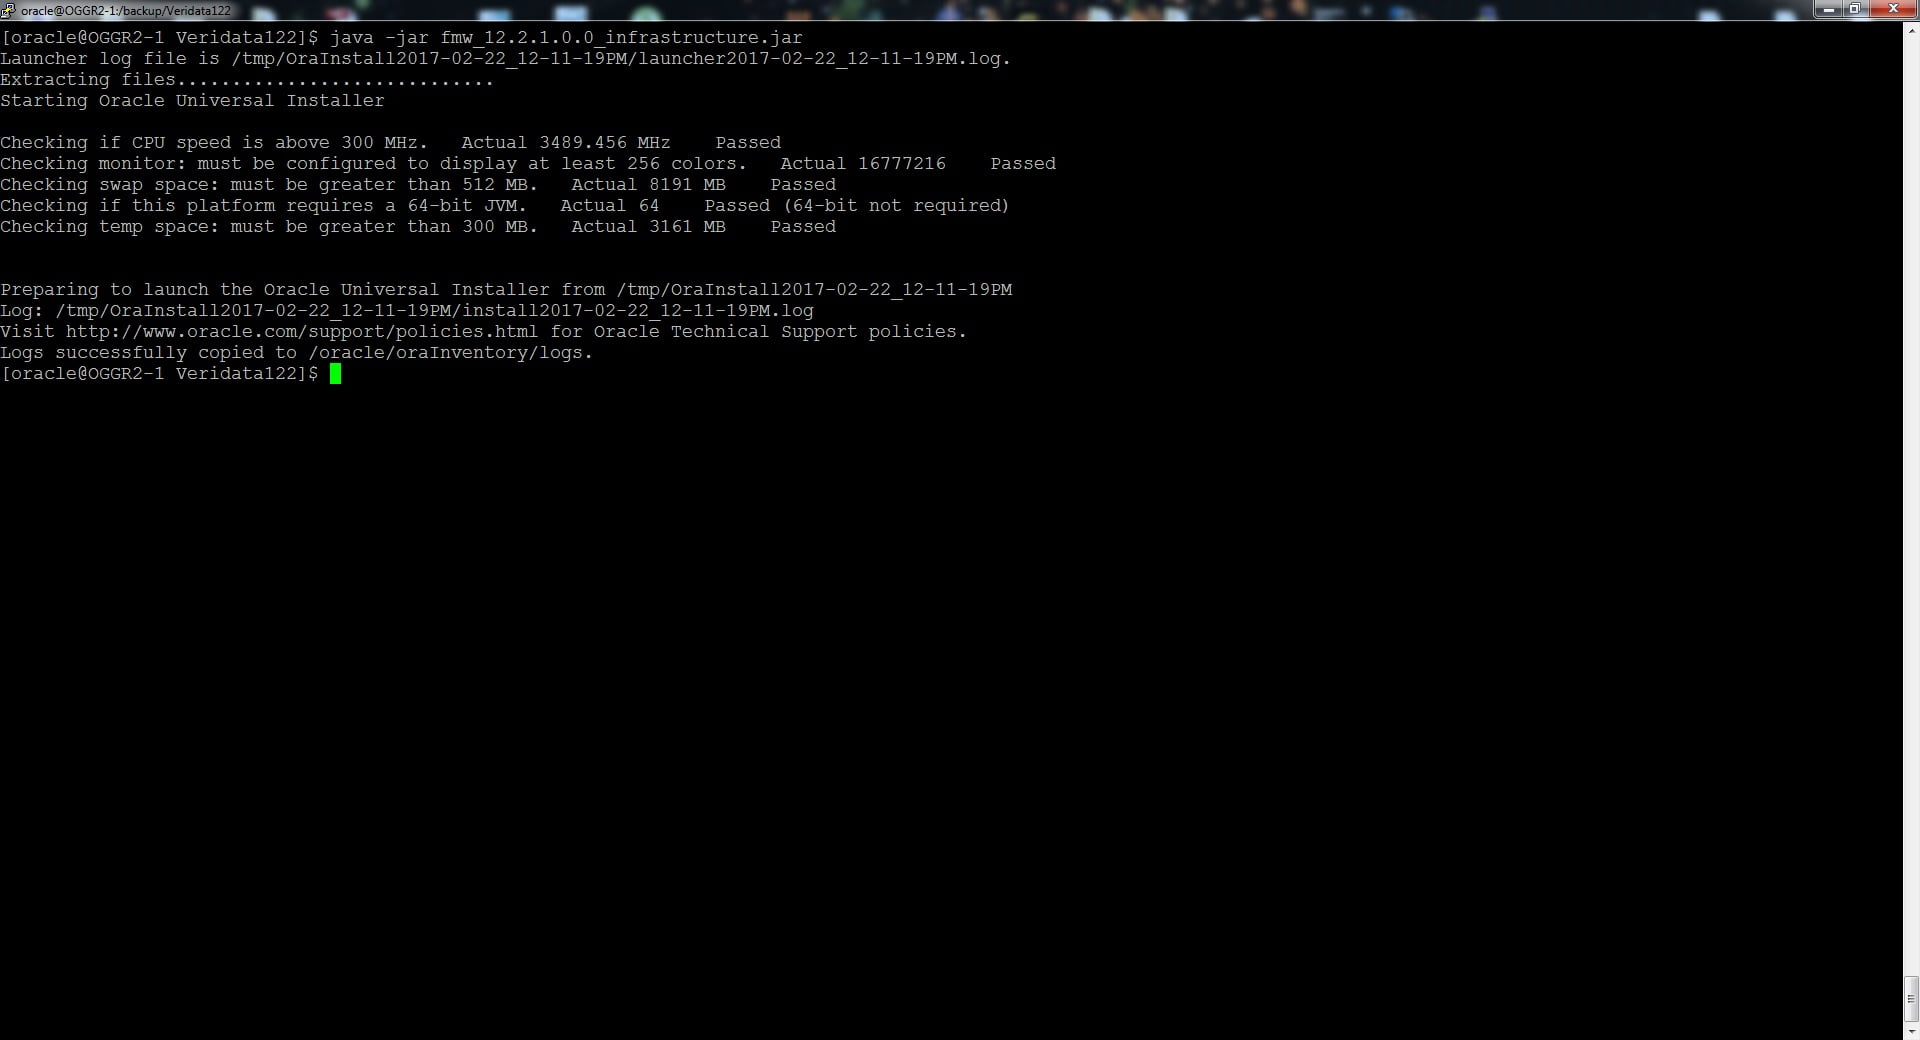
1. Open a terminal and run the below command,
java -jar fmw_12.2.1.0.0_infrastructure.jar
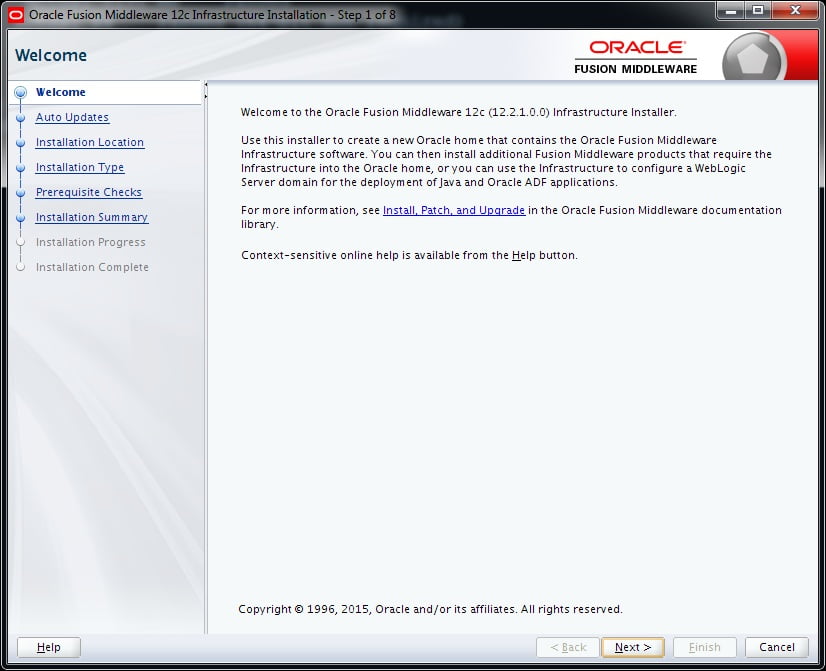
2. A welcome screen appears. Just click Next button.
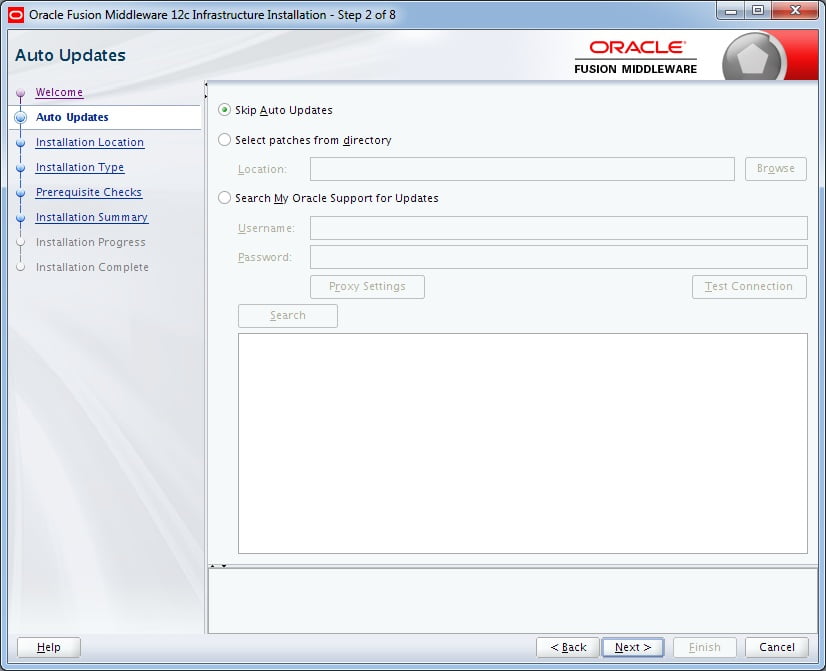
3. Check the option Skip Auto Updates and proceed.
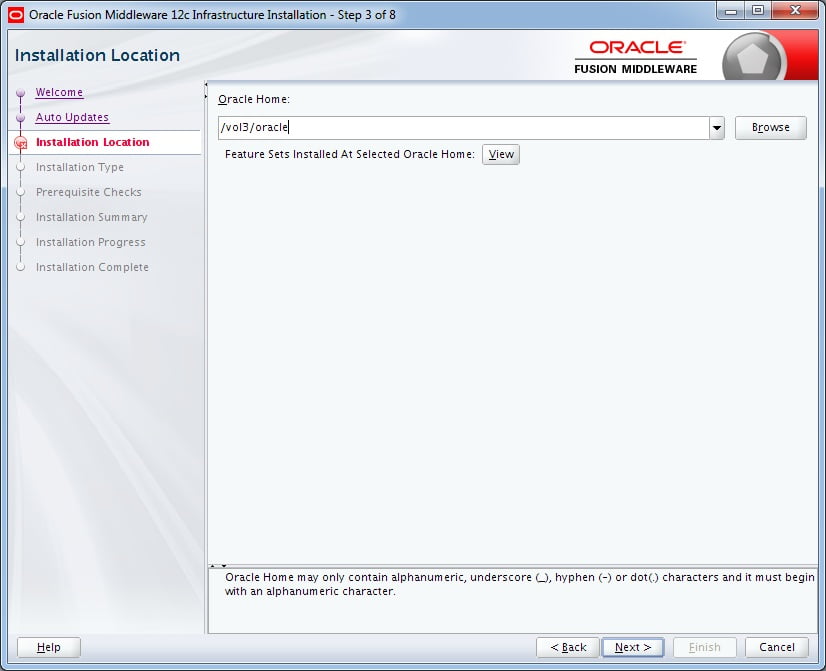
4. Enter the location for Oracle Home to store the binary files.
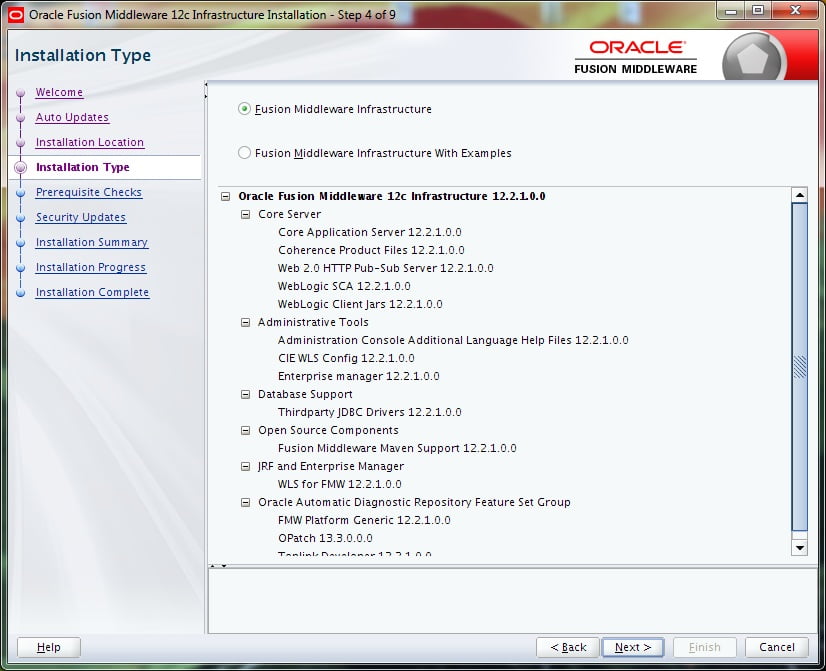
5. Select either installation type, with or without examples. Notice at the bottom that WLS is going to be installed.
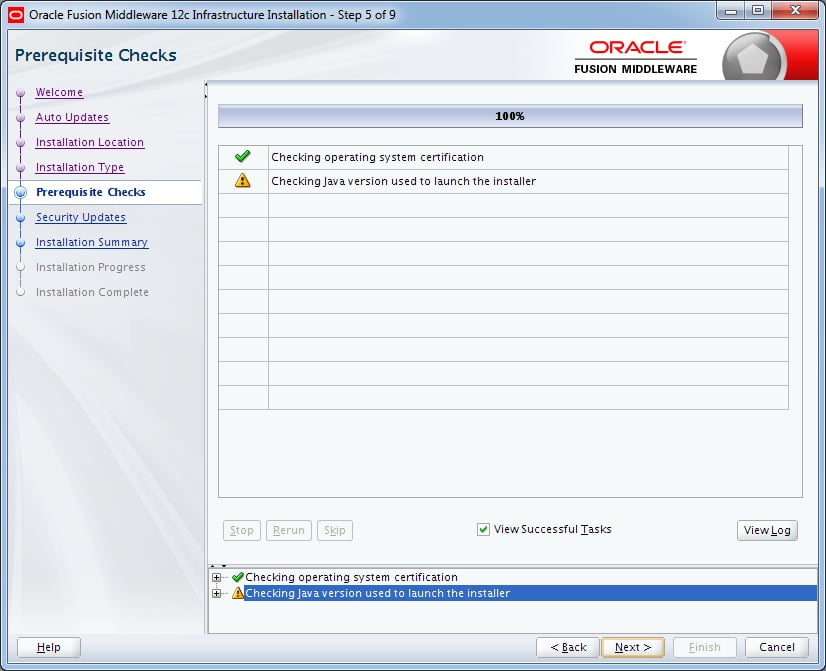
6. Wait for the progress bar to reach 100%. The minimum Java version that it is looking for is greater than 1.8. Here, in my installation, it threw a warning and I ignored it as I had already jdk 1.8 installed.
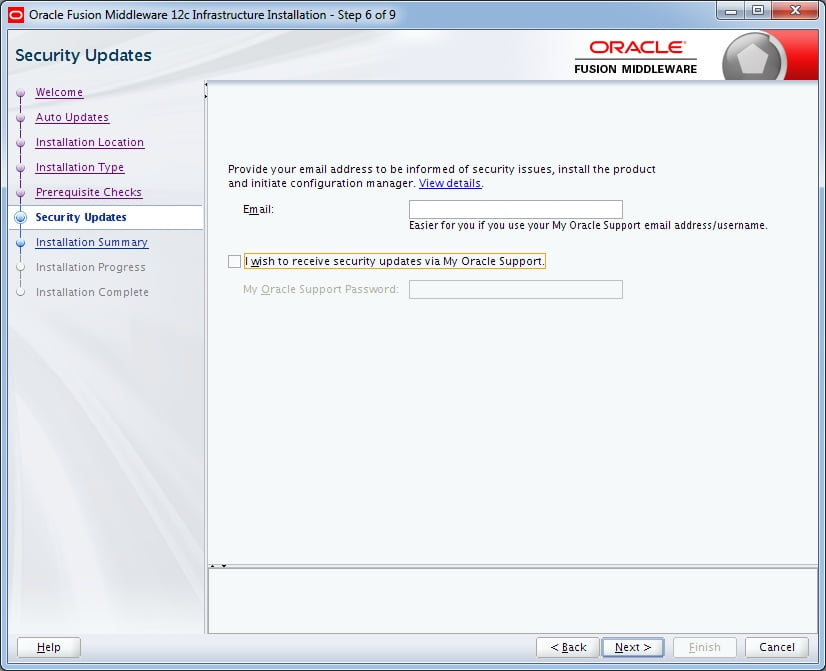
7. If you want to enter your email, you may. Otherwise, accept the warning that it is blank.
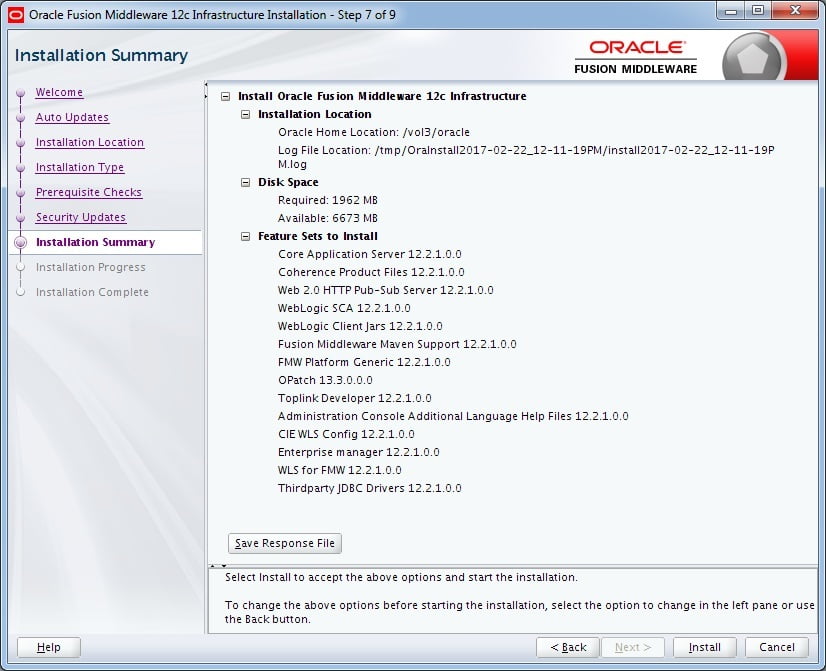
8. An Installation summary is displayed. Simply press the Install button below.
9. Wait for the progress bar to reach 100%. You can optionally view the logs.
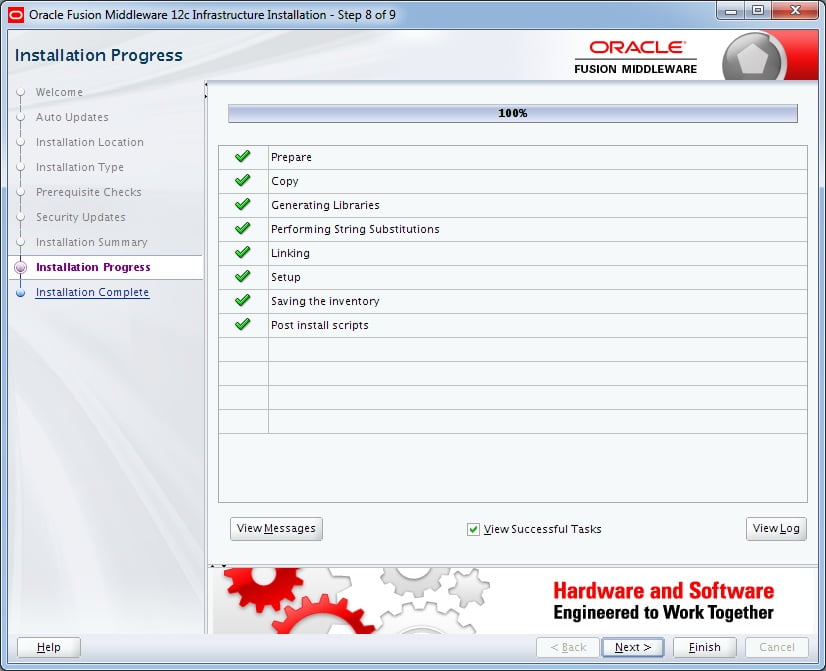
Now we have successfully install the Infrastructure Binaries. The second step is to install the Oracle GoldenGate Veridata.
INSTALLATION OF ORACLE GOLDENGATE VERIDATA
Open a terminal session and execute the below command to invoke the Veridata Installation Screen,
java -jar fmw_12.2.1.0.0_ogg.jar
2. A welcome screen appears. Just click Next button.

3. Check the option Skip Auto Updates and proceed.

4. Enter the location for Oracle Home to store the binary files.

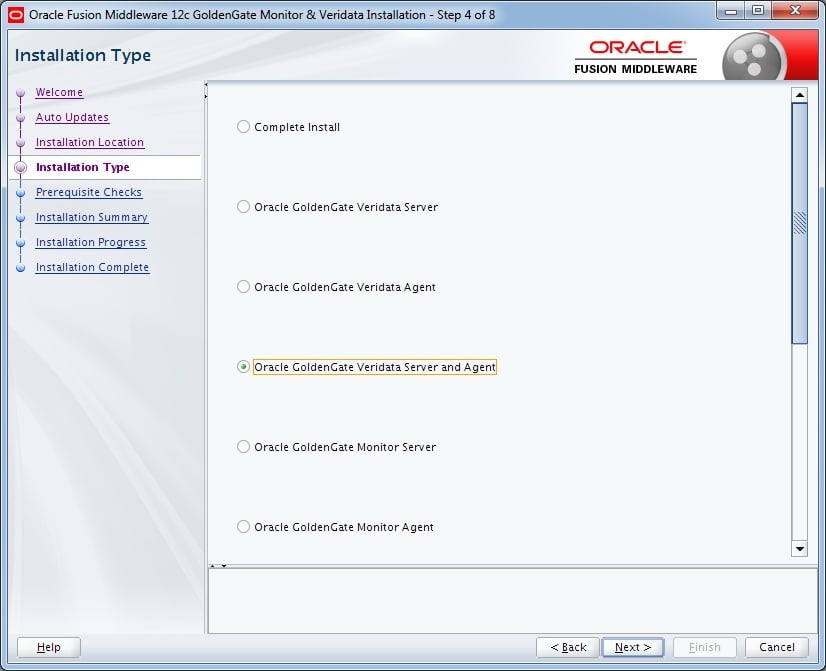
5. Select either installation type. Here we are going to install Veridata Server. You can install this in two ways
1. Oracle GoldenGate Veridata Server and Agent together (or)
2. Oracle GoldenGate Veridata Server separately and Oracle GoldenGate Veridata Agent separately.
Here I am selecting the “Oracle GoldenGate Veridata Server and Agent” as my installation type.
Click Next button
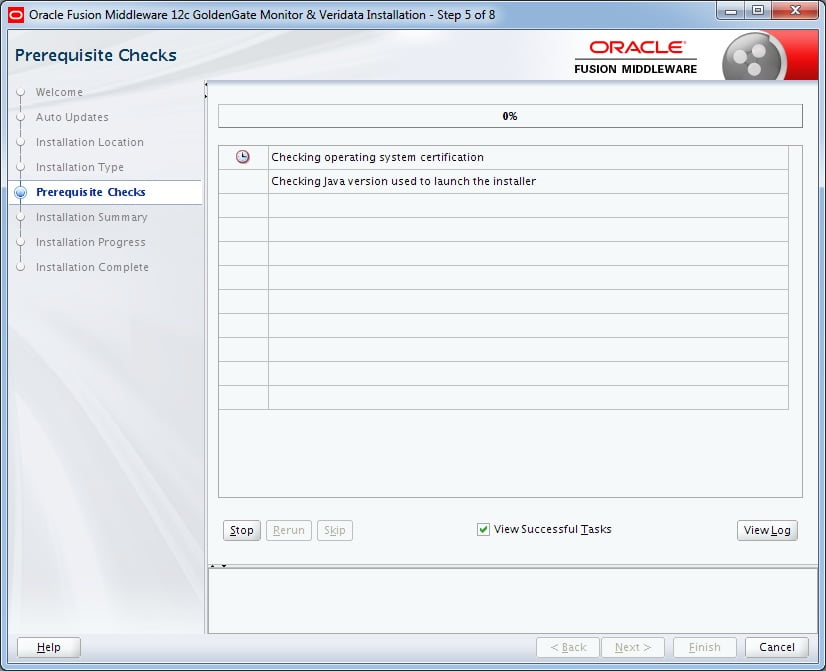
6. Wait for the progress bar to reach 100%. The minimum Java version JDK 1.8.0_101 or higher is required.
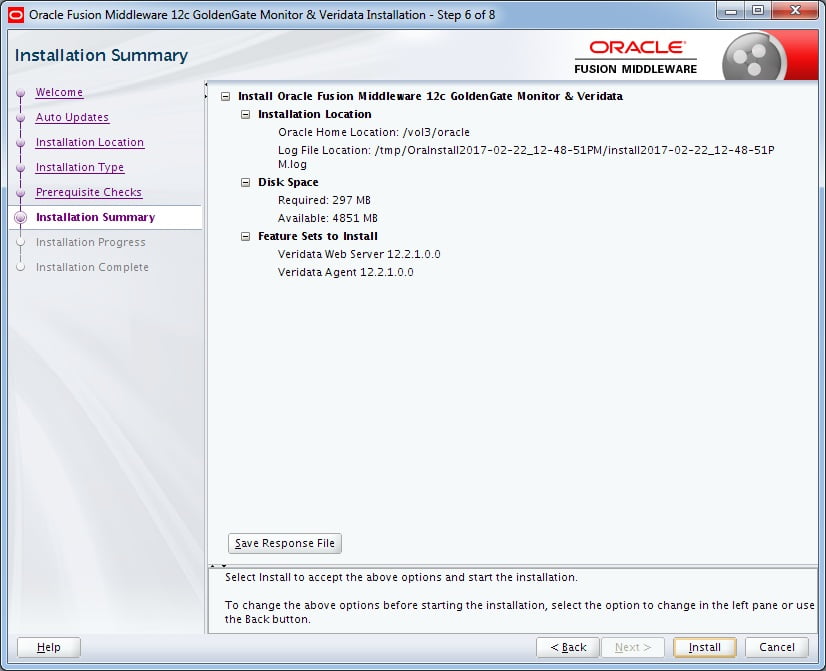
7. A summary page is displayed. Just click Next Button.
8. Wait for the progress bar to reach 100%. You can view the Logs by clicking the “View Log” button in the right bottom of the screen.
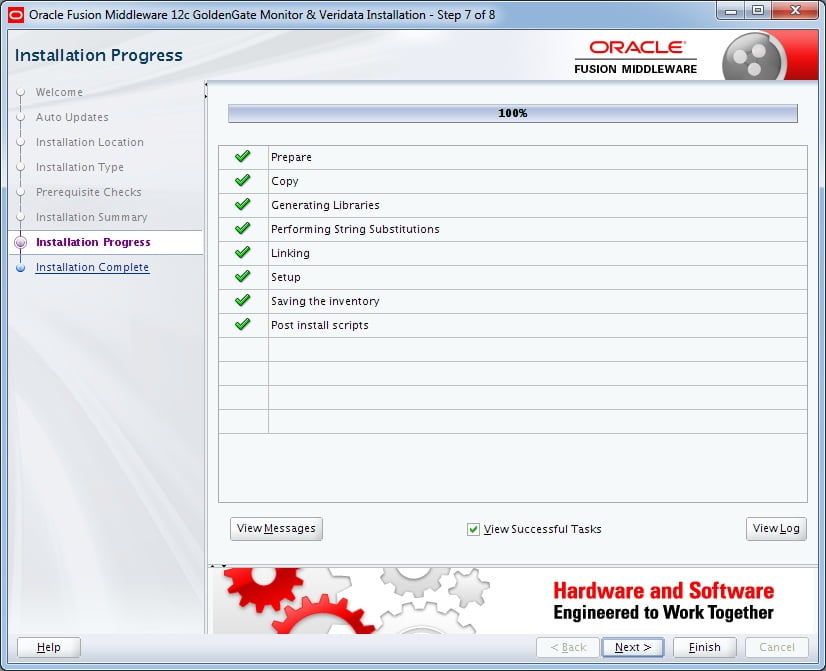
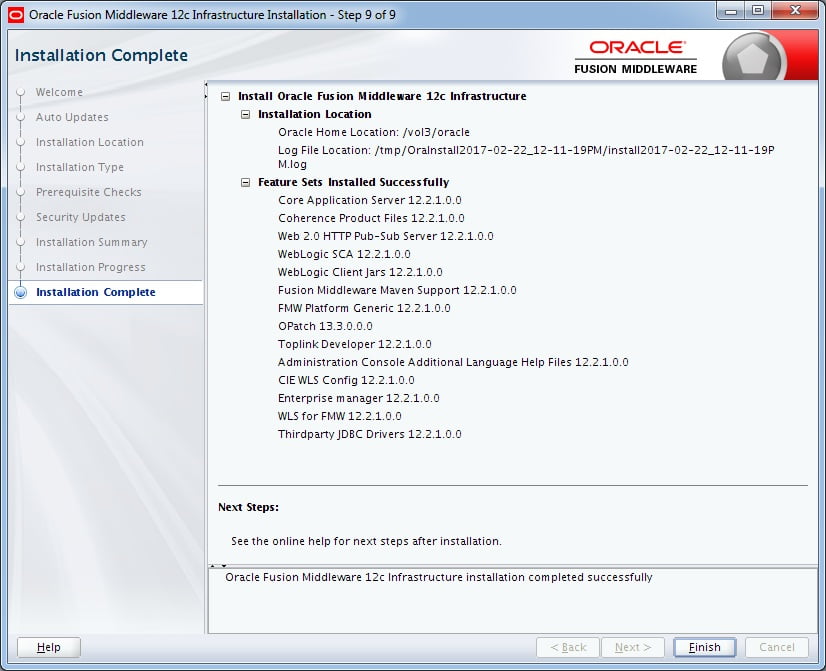
9. Installation is complete. Click the Finish button.
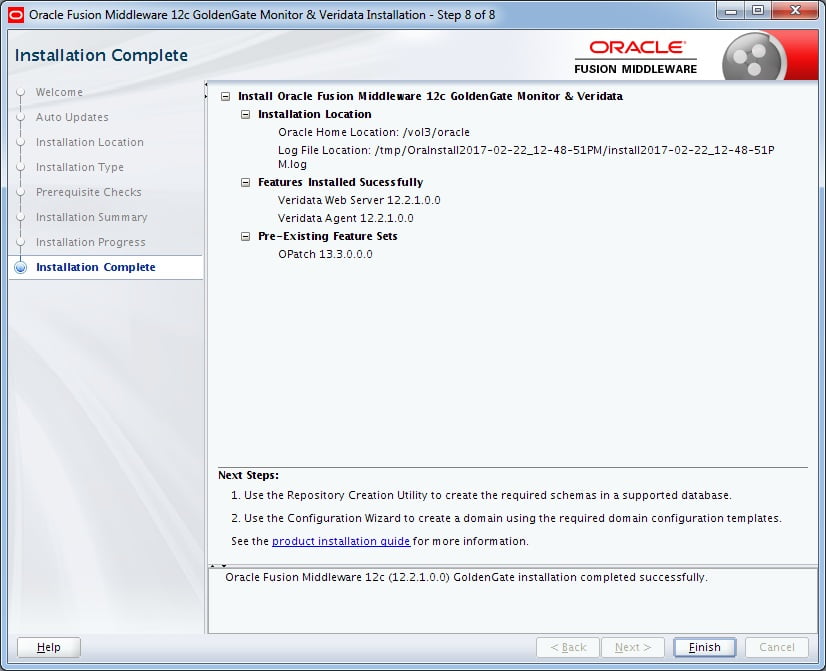
The beauty in here is, it tells you what is the next step you need to perform. This you can see in the bottom of the “Installation Complete” screen.
REPOSITORY CREATION (RCU)
The Repository Creation Utility (RCU) presumes that you have already installed a compatible database to house the repository.
1. Open a Terminal and Invoke the RCU by issuing the below command.

2. As usual a Welcome Screen appears. Click Next.

3. By default “System Load and Product Load” will be checked. Click the Next button

4. Enter the appropriate information to log in to your database with full privileges.

5. If this is the first time you have run RCU, then the only option is to create a new prefix. If you have run RCU in the past, then it will increment the new prefix to be one more than the last existing one, for example, DEV2 or DEV3. You can override the suggestion.
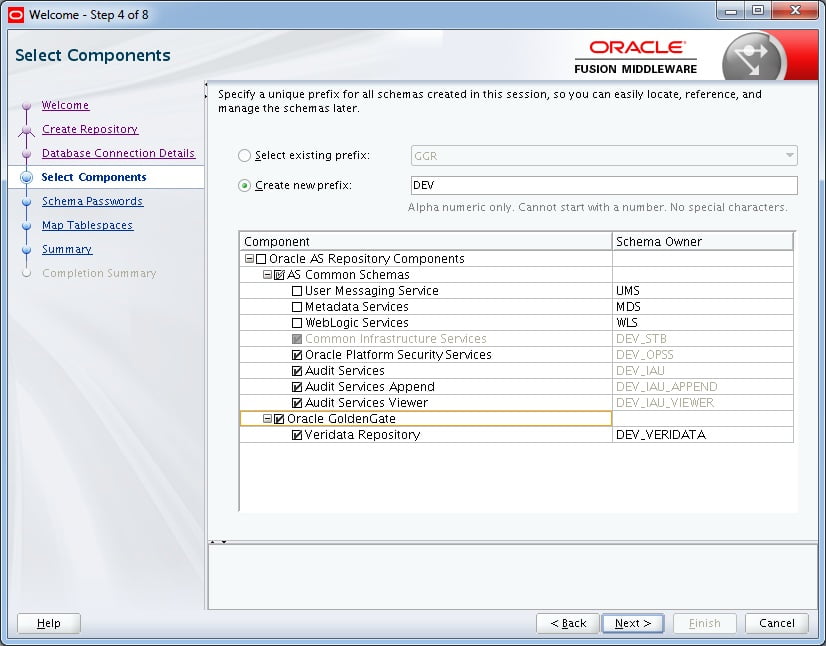
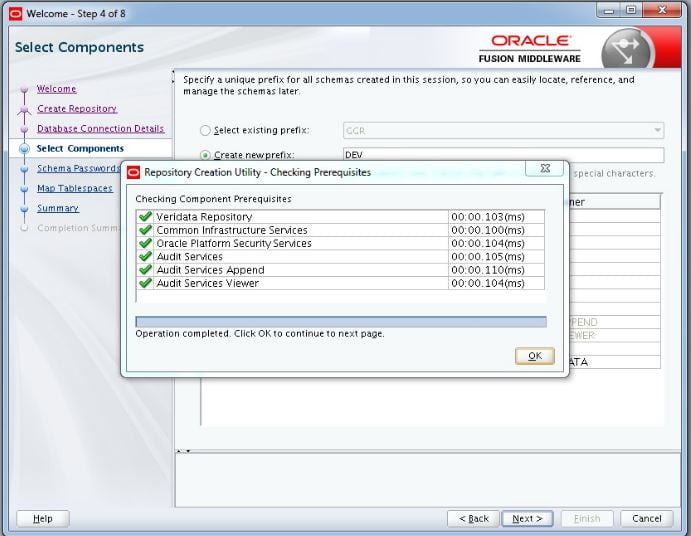
6. Select Oracle GoldenGate, Veridata Repository.
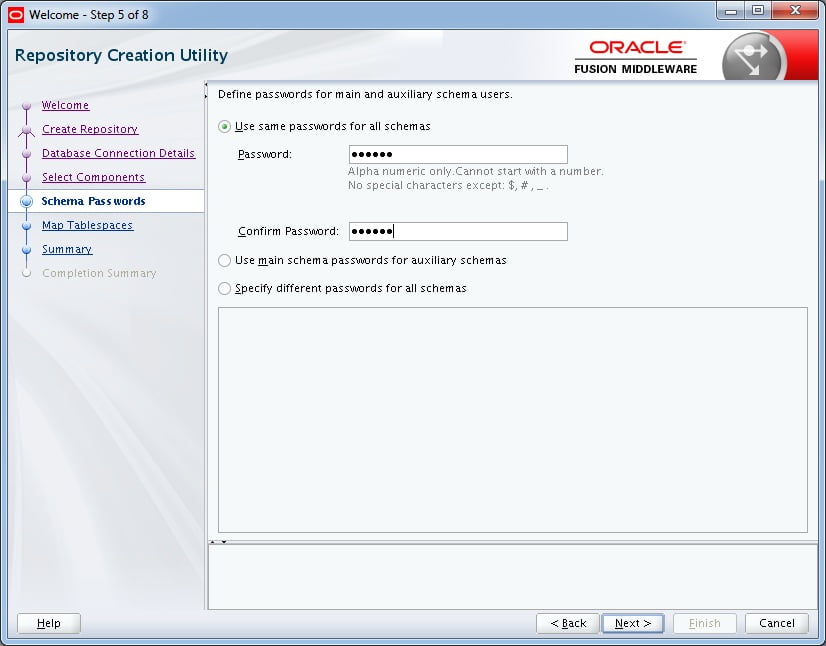
7. Enter the same password twice. Many of the sample VM databases use oracle (all lower case) as the default password for all schemas.
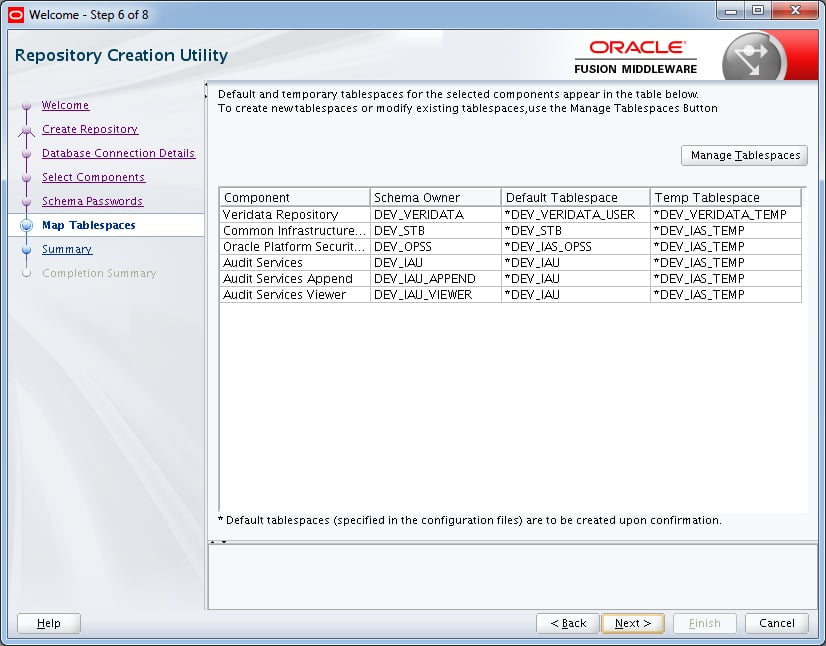
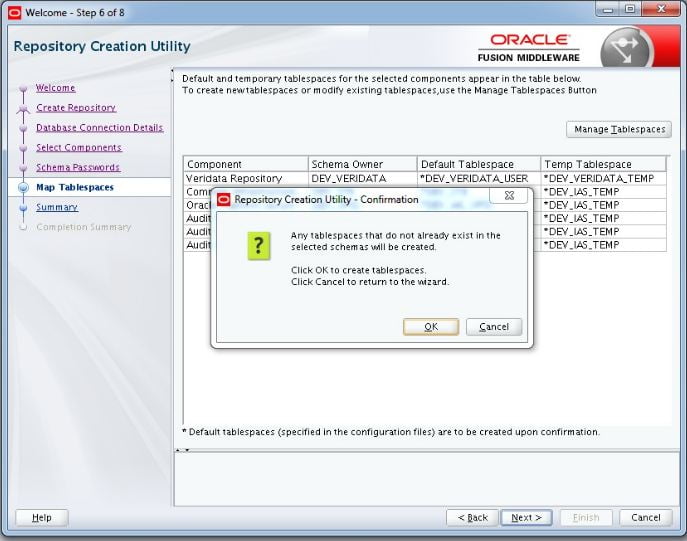
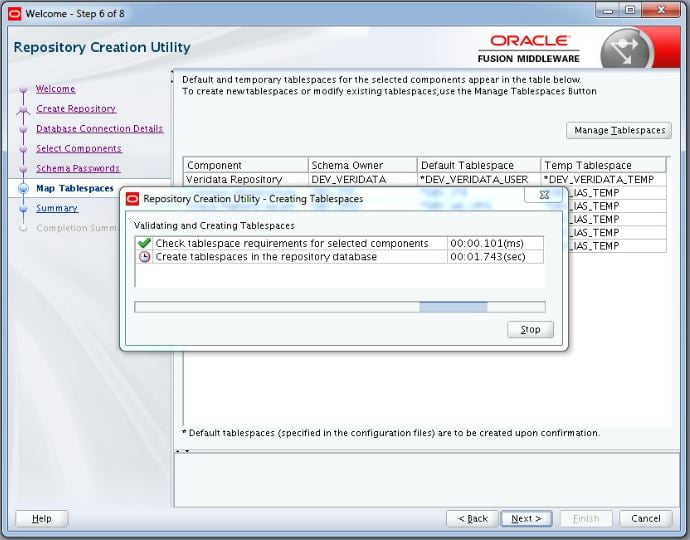
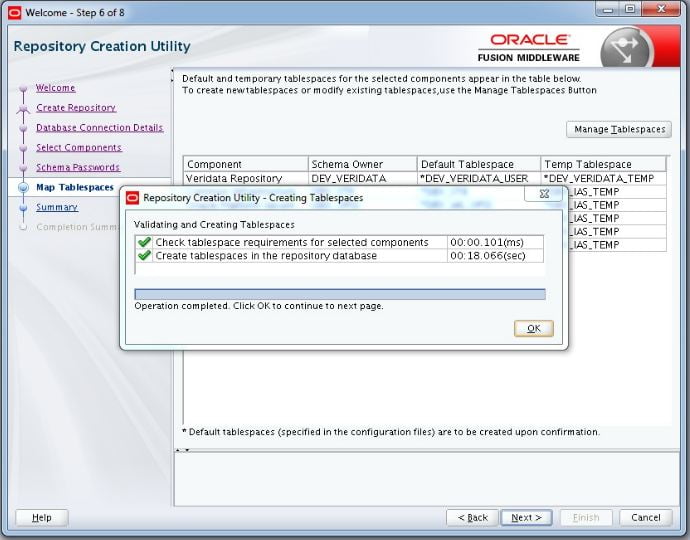
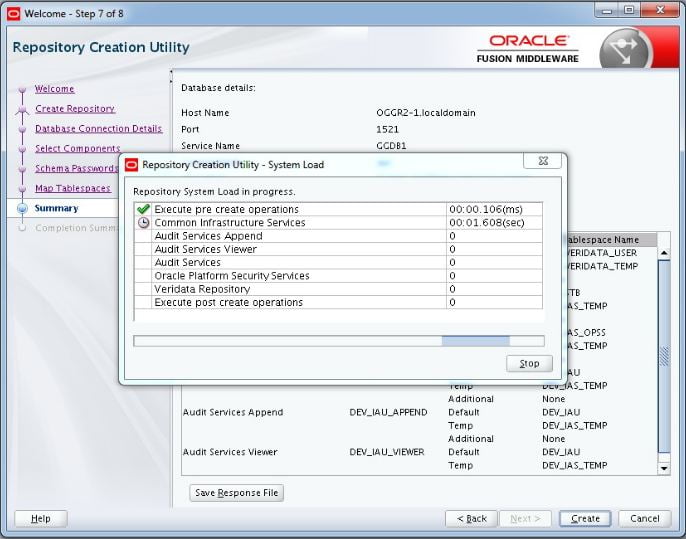
8. The respective Tablespaces will be created. Accept the default tablespace allocations.
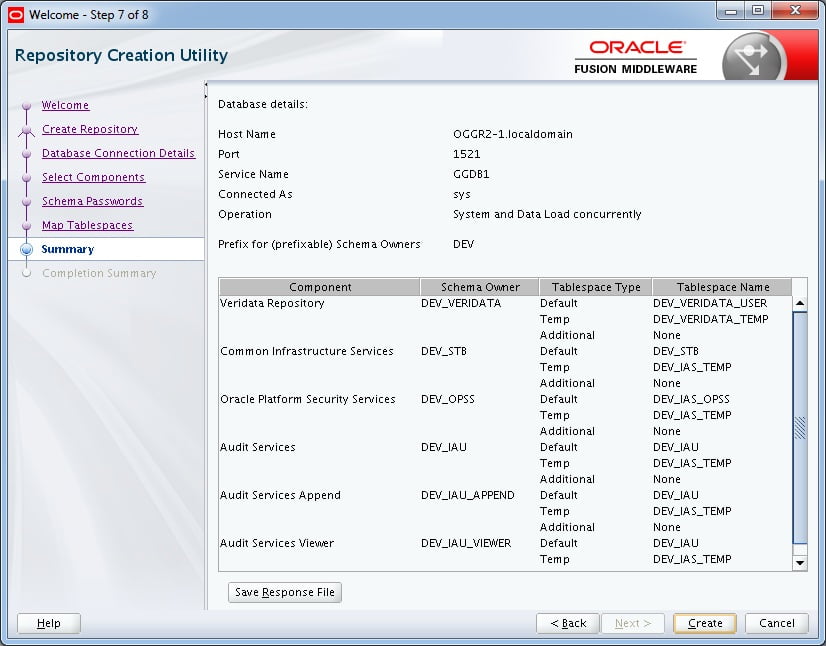
9. A Summary Page will be displayed. Simply click on the Create button.
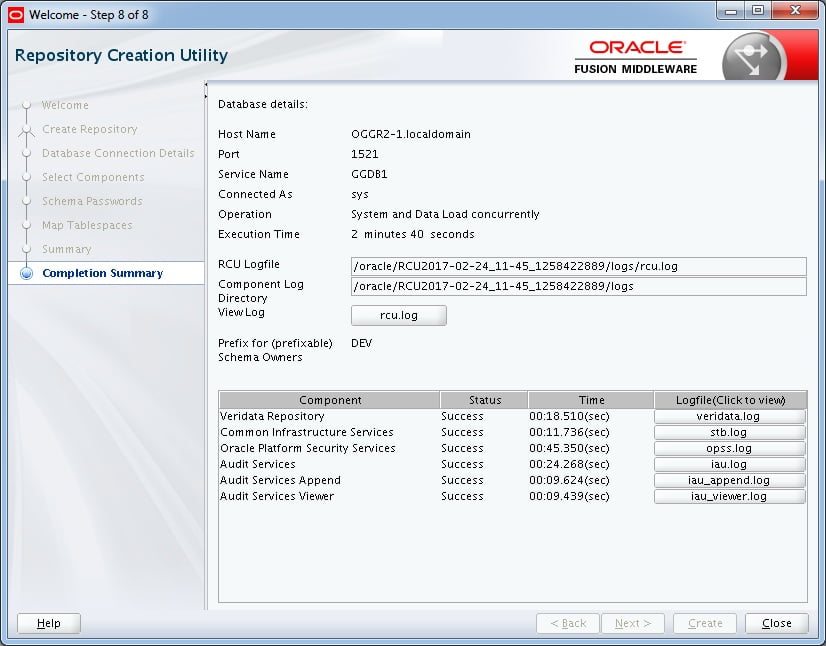
10. The Repository is created and you can see the details in the screen.
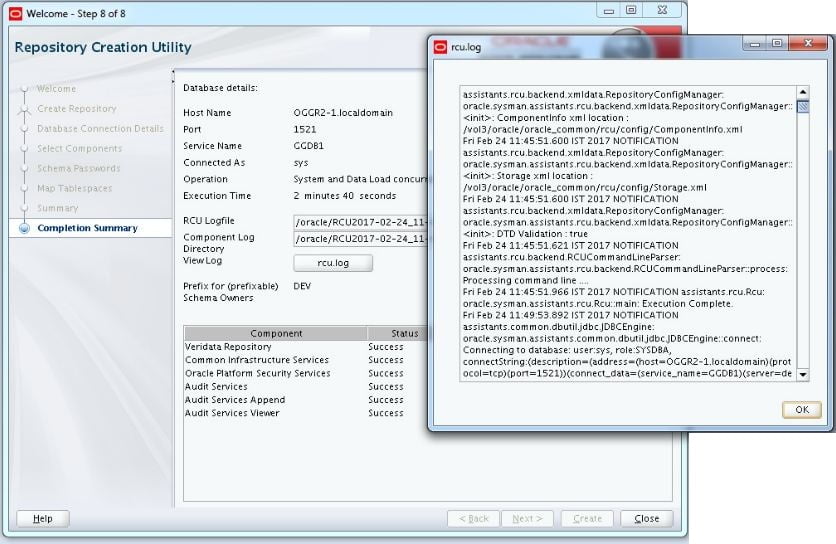
11. Click on the rcu.log to check the logs else you can click the Close button.
DOMAIN CREATION
The Configuration Wizard can either create a new domain or extend an existing domain. Here, I am creating a new Domain.
1. Open a terminal session. Invoke the Configuration wizard by entering
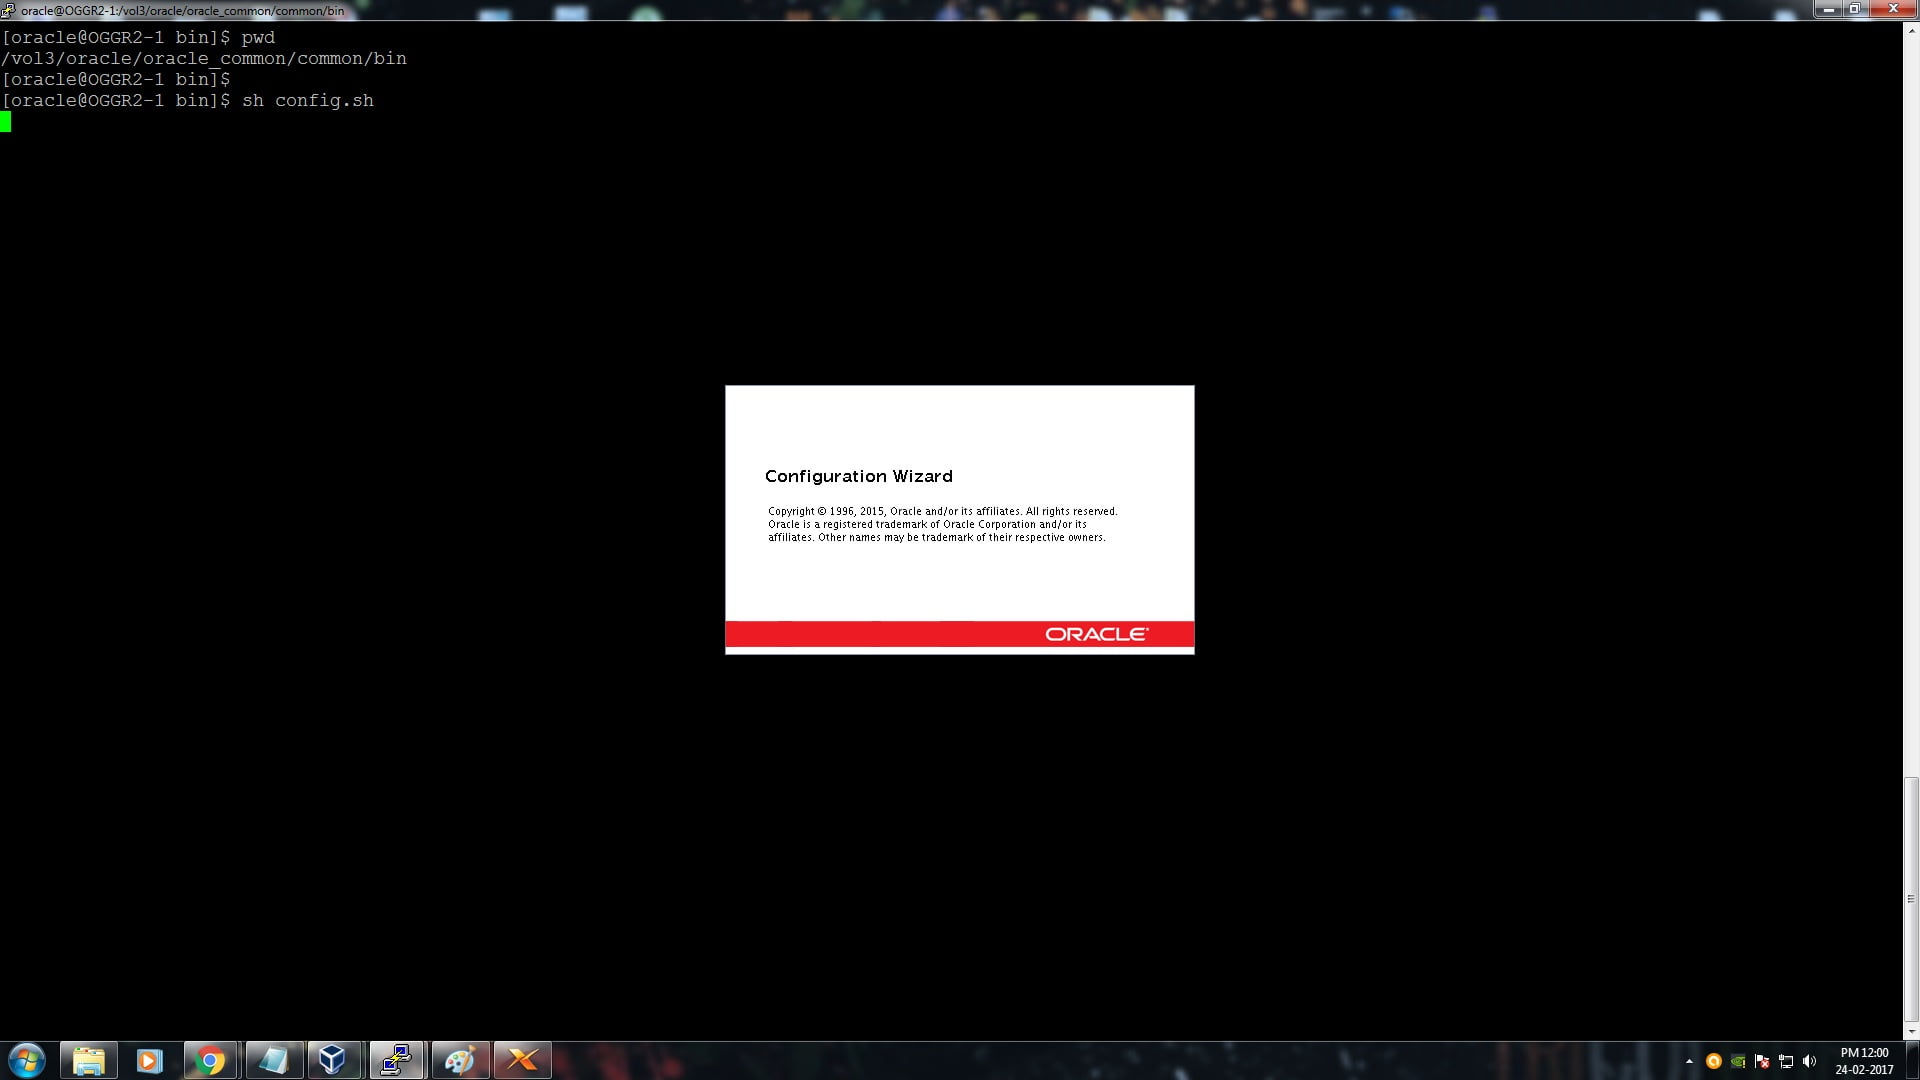
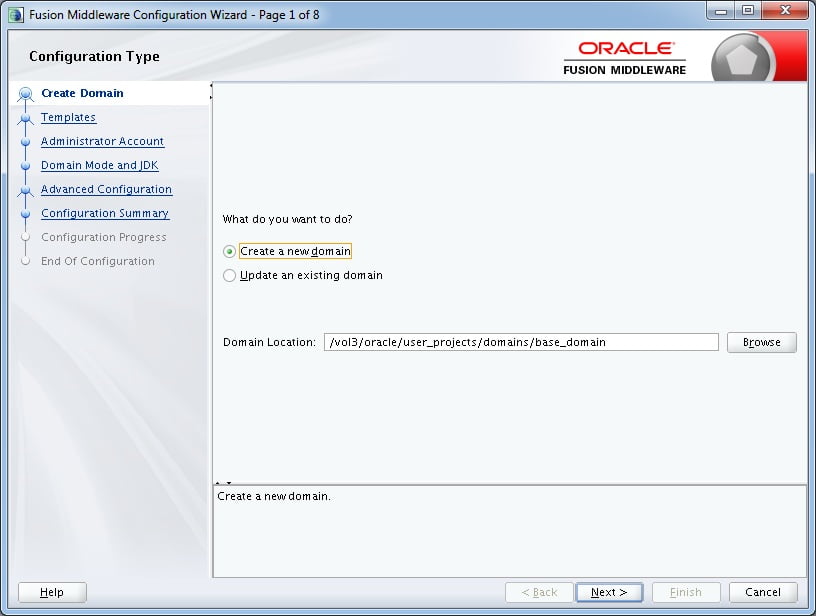
2. It will ask whether you need to create a new domain or extend an existing one. Select the 1st option “Create a new domain”. Provide the domain location and click on Next button.
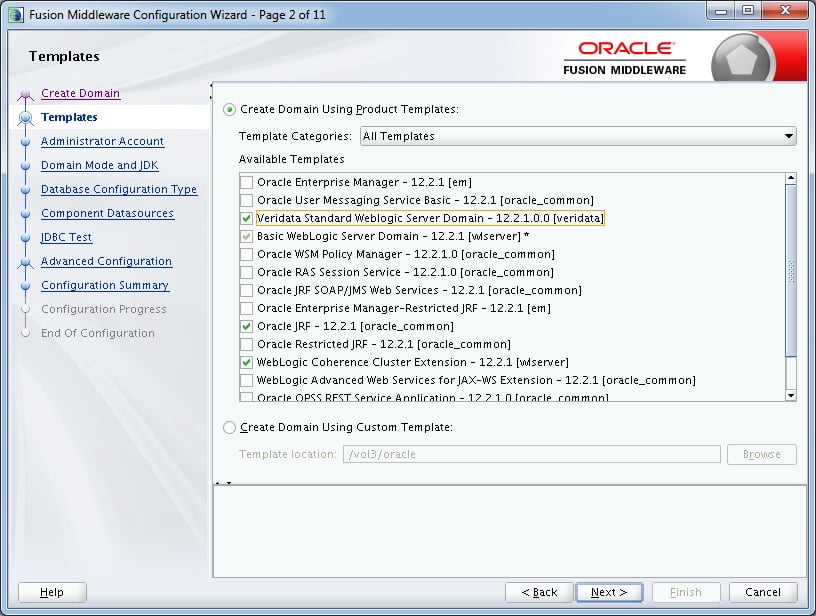
3. Check if the Basic WebLogic Server Domain is pre-selected and then select Veridata Standard Server Domain. This will cause additional options to be selected automatically. If Oracle JRF is not auto-selected, then you did not install the Infrastructure correctly. Click on Next to continue.
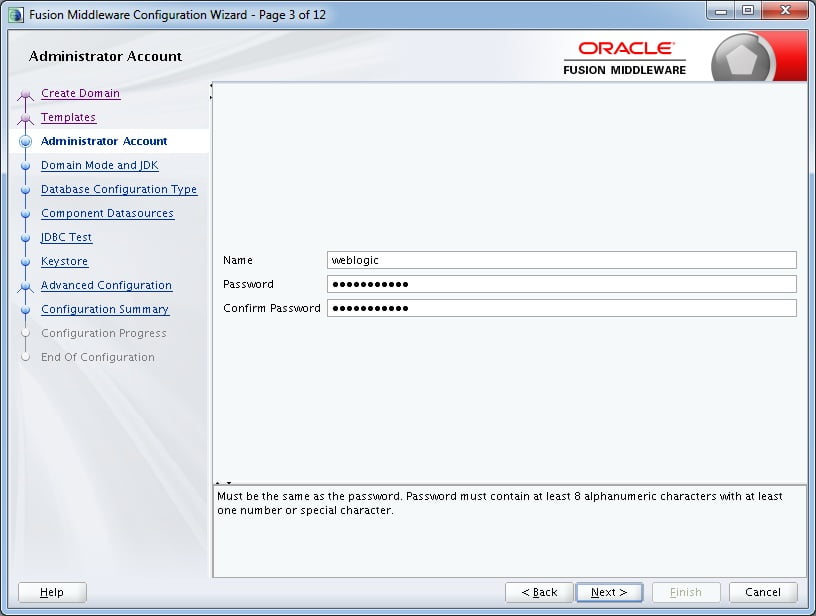
4. Enter the same password twice for the WebLogic Administrator Account. Complexity rules require a number or special character in the password. Click on Next to continue.
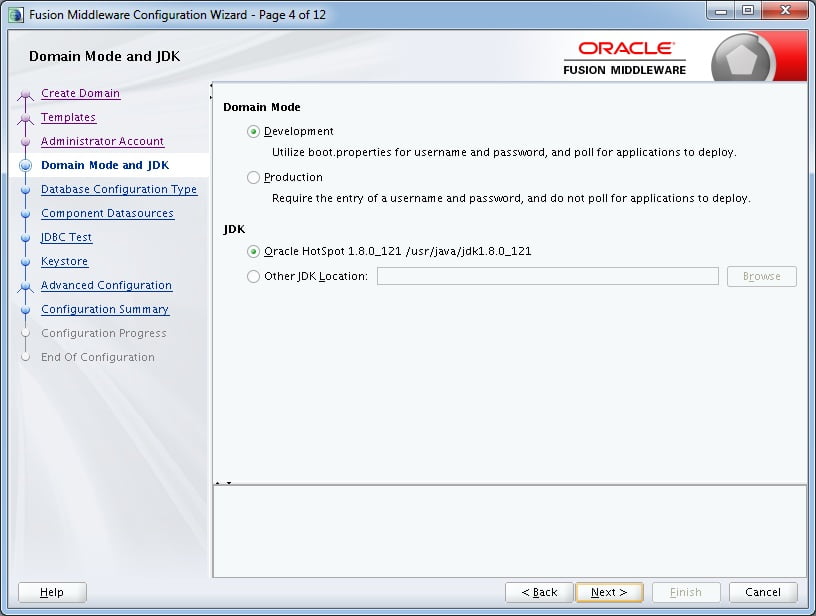
5. If you plan to use localhost/127.0.0.1 as the host name/address, you must select Development. In production you would not use localhost, but would use the real host name/address. Click on Next to continue.
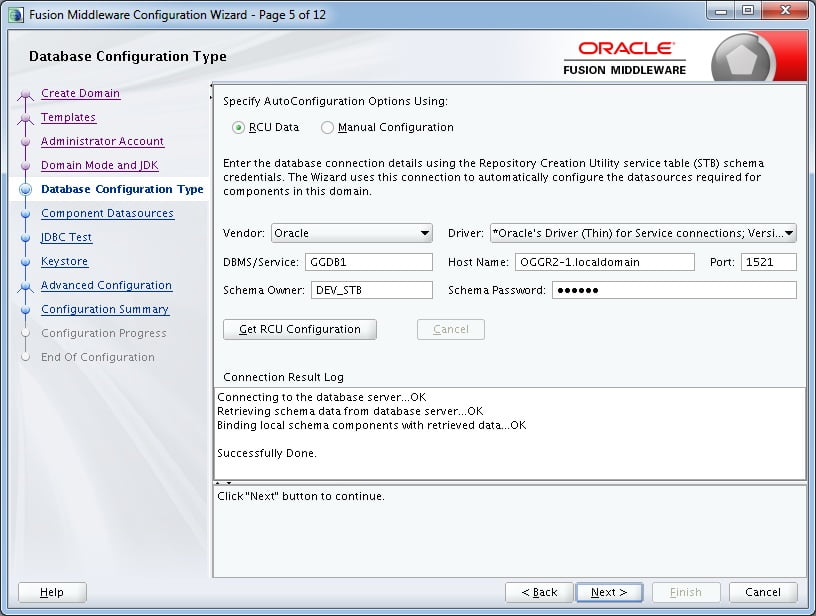
6. Fill in the Service, Host Name, Port, Schema, and Password. Click Get RCU Configuration to continue.
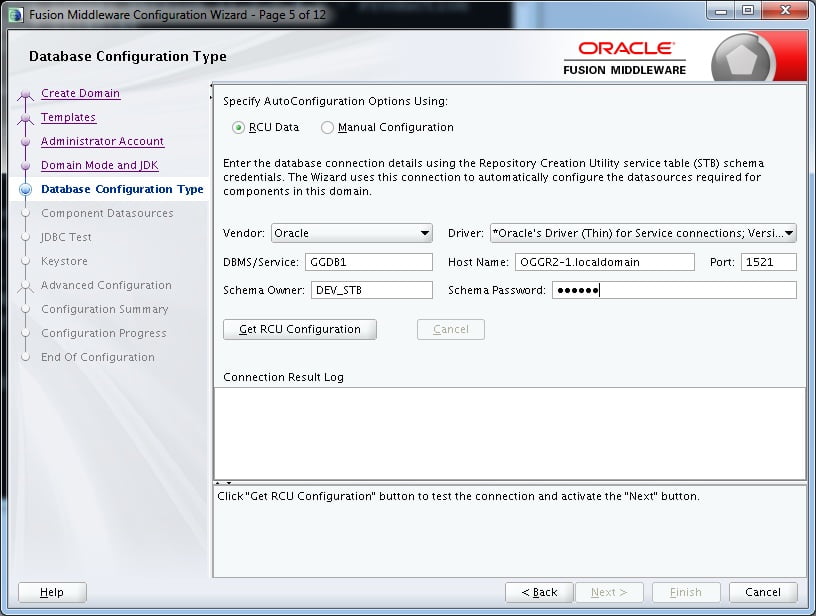
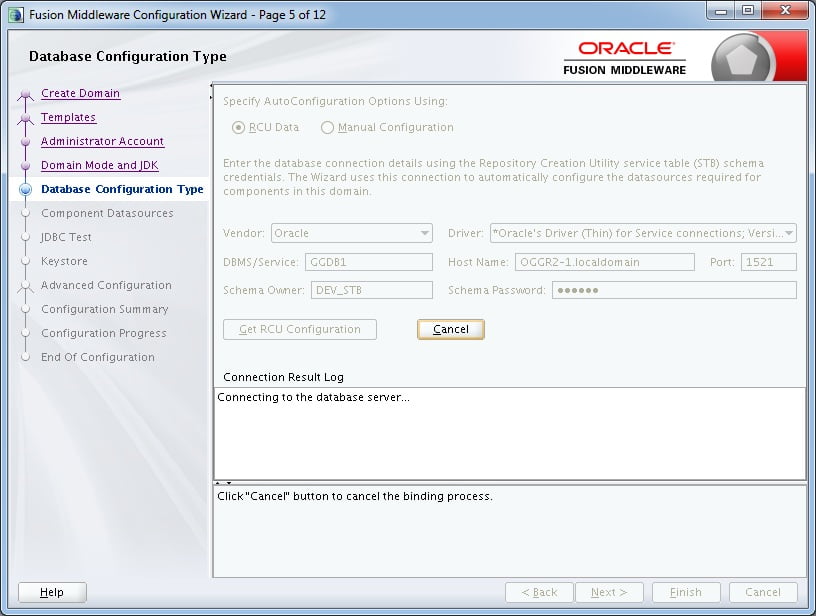
7. You must receive the message “Successfully Done.” Click Next to continue.
8. Verify that the host names and passwords are all filled in. Click on Next.
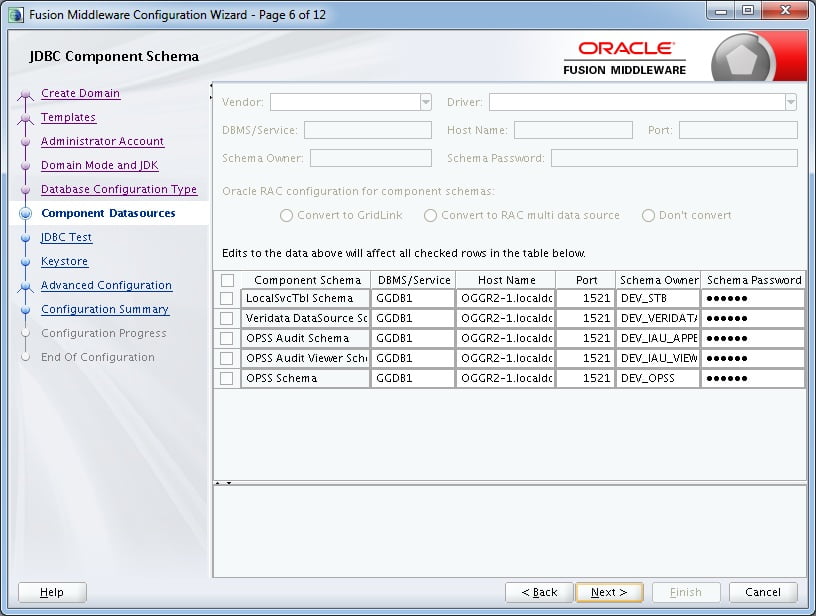
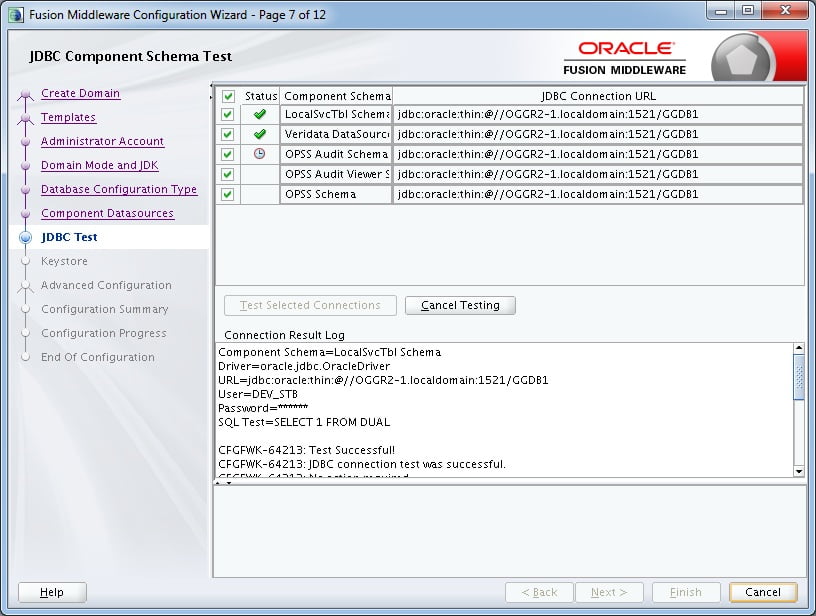
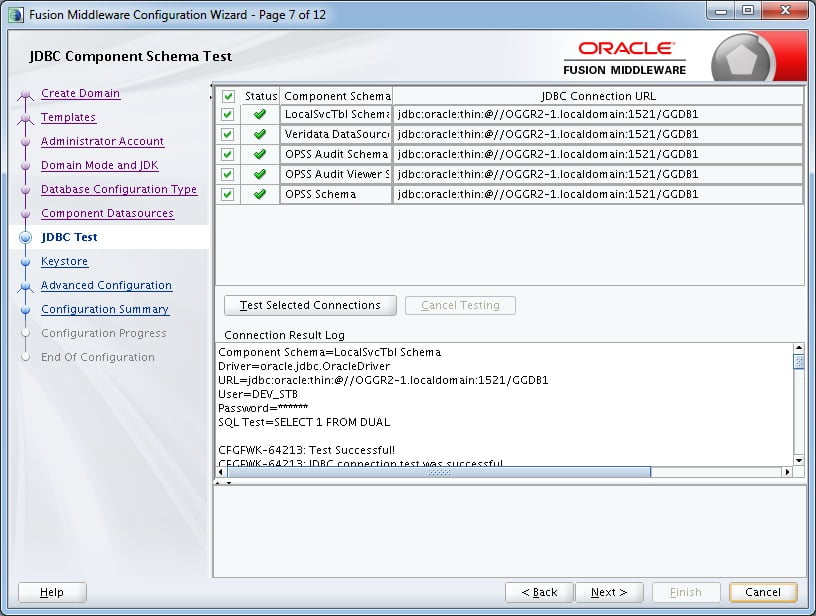
9. The “Test Selected Connections” happens automatically. Looking in the result log, make sure all six are successful. Click on the Next Button.
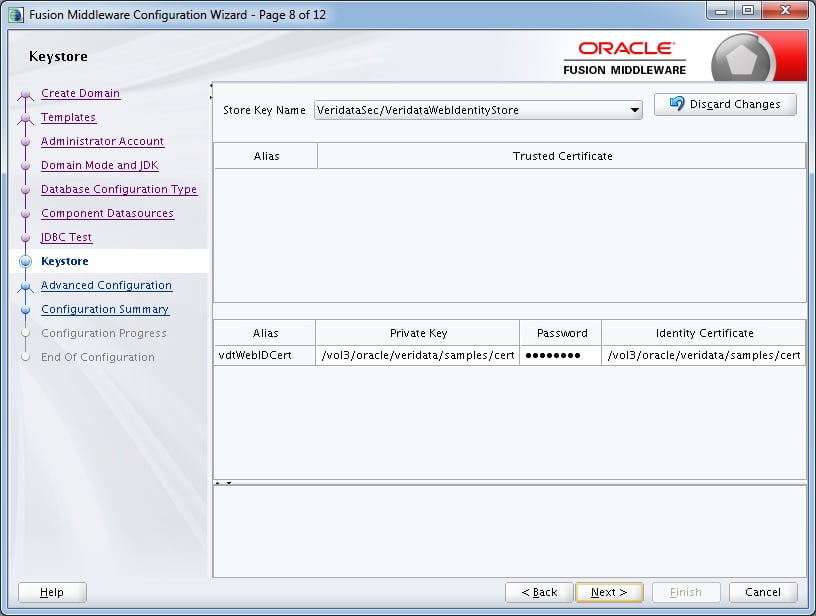
10. Enter the Password and Click on the Next button.
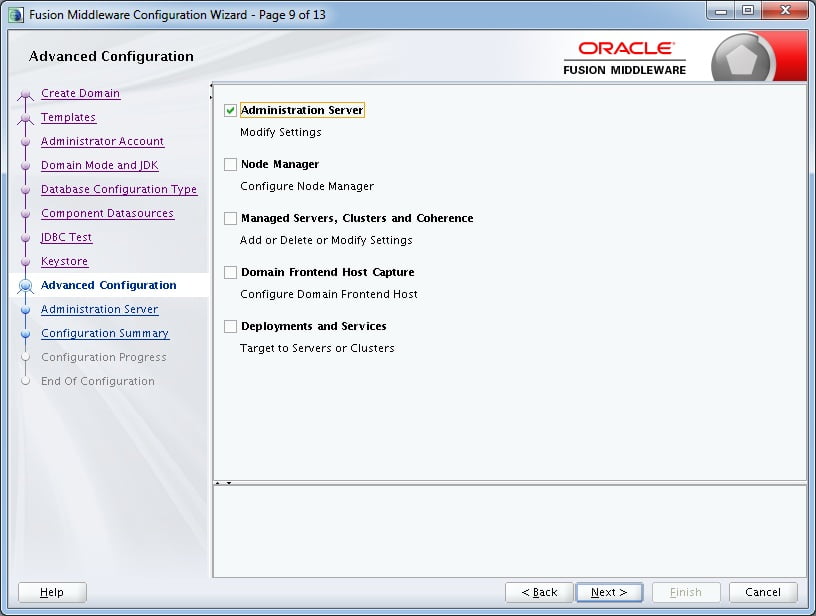
11. Select the Administration Server and click the Next button to continue.
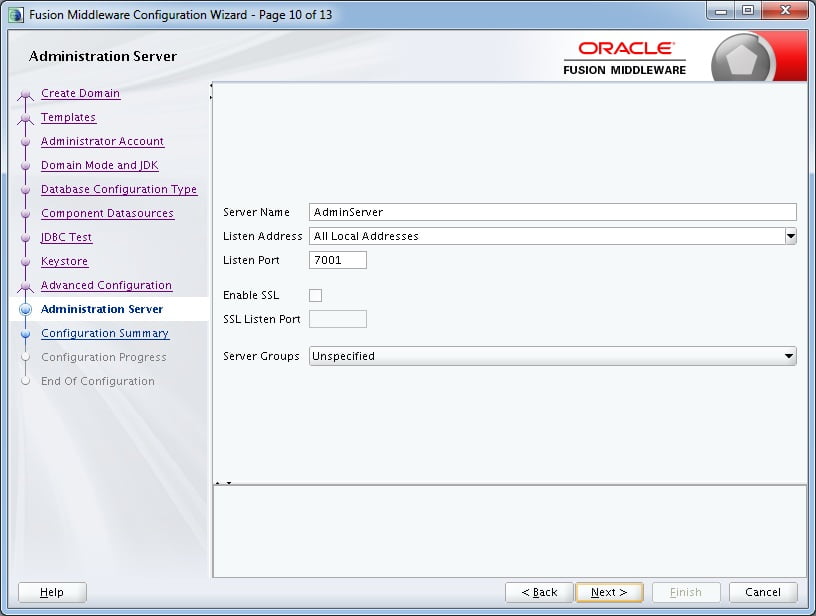
12. Provide the port details and click on Next to continue.
13. You will see the Configuration Summary page. Just click the Create button.
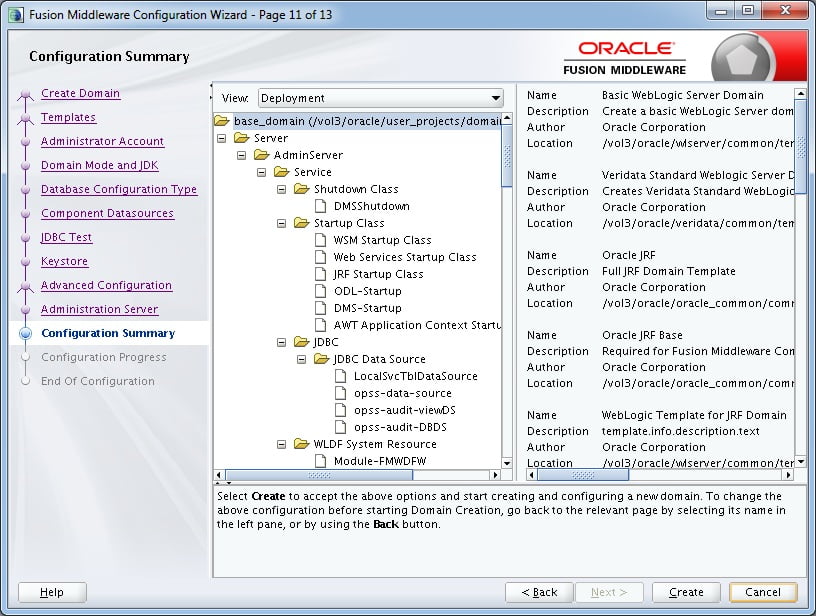
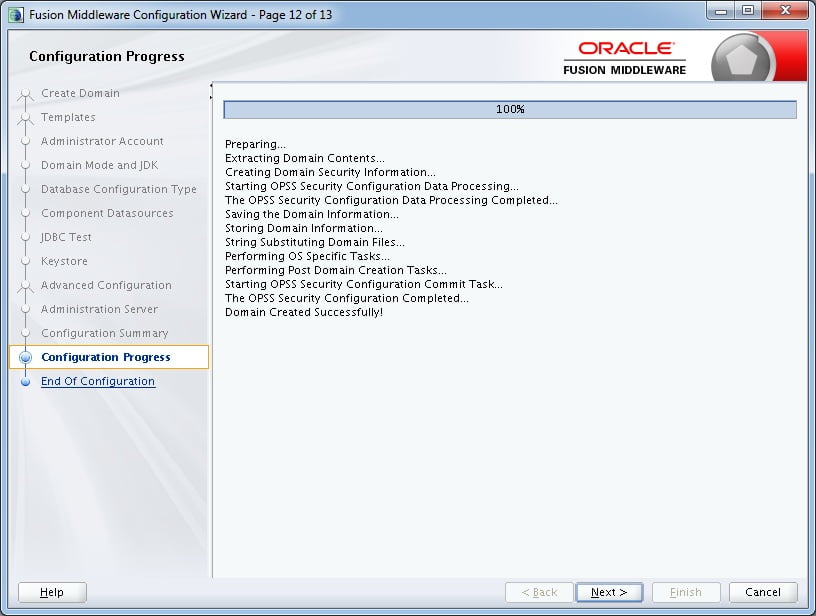
14. When the progress bar reaches 100%, it should say, “Domain Created Successfully!”. Click the Next to continue.
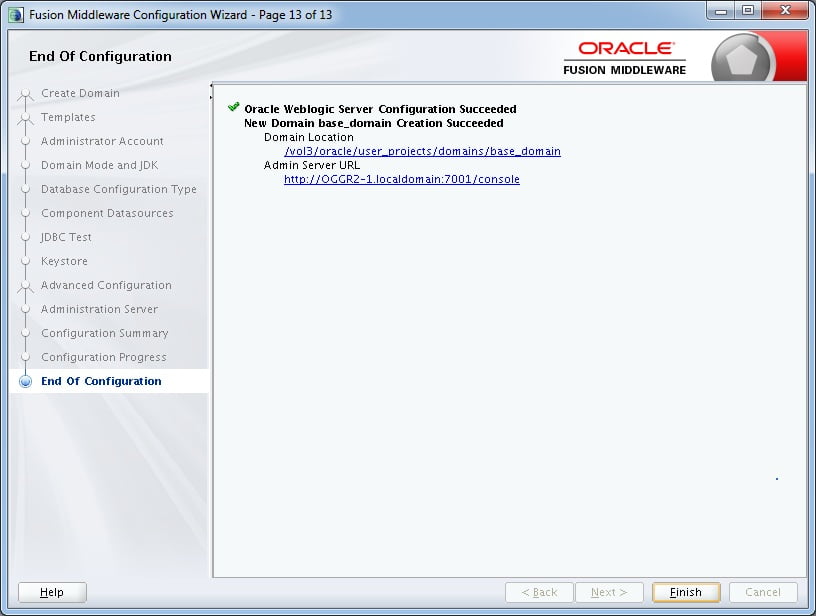
15. Note the URLs to use from a web browser to reach the WebLogic Administration Console. Often there are two: an http URL which is insecure, and an https URL which uses SSL for increased security. Click on the Finish button.
START WEBLOGIC SERVER
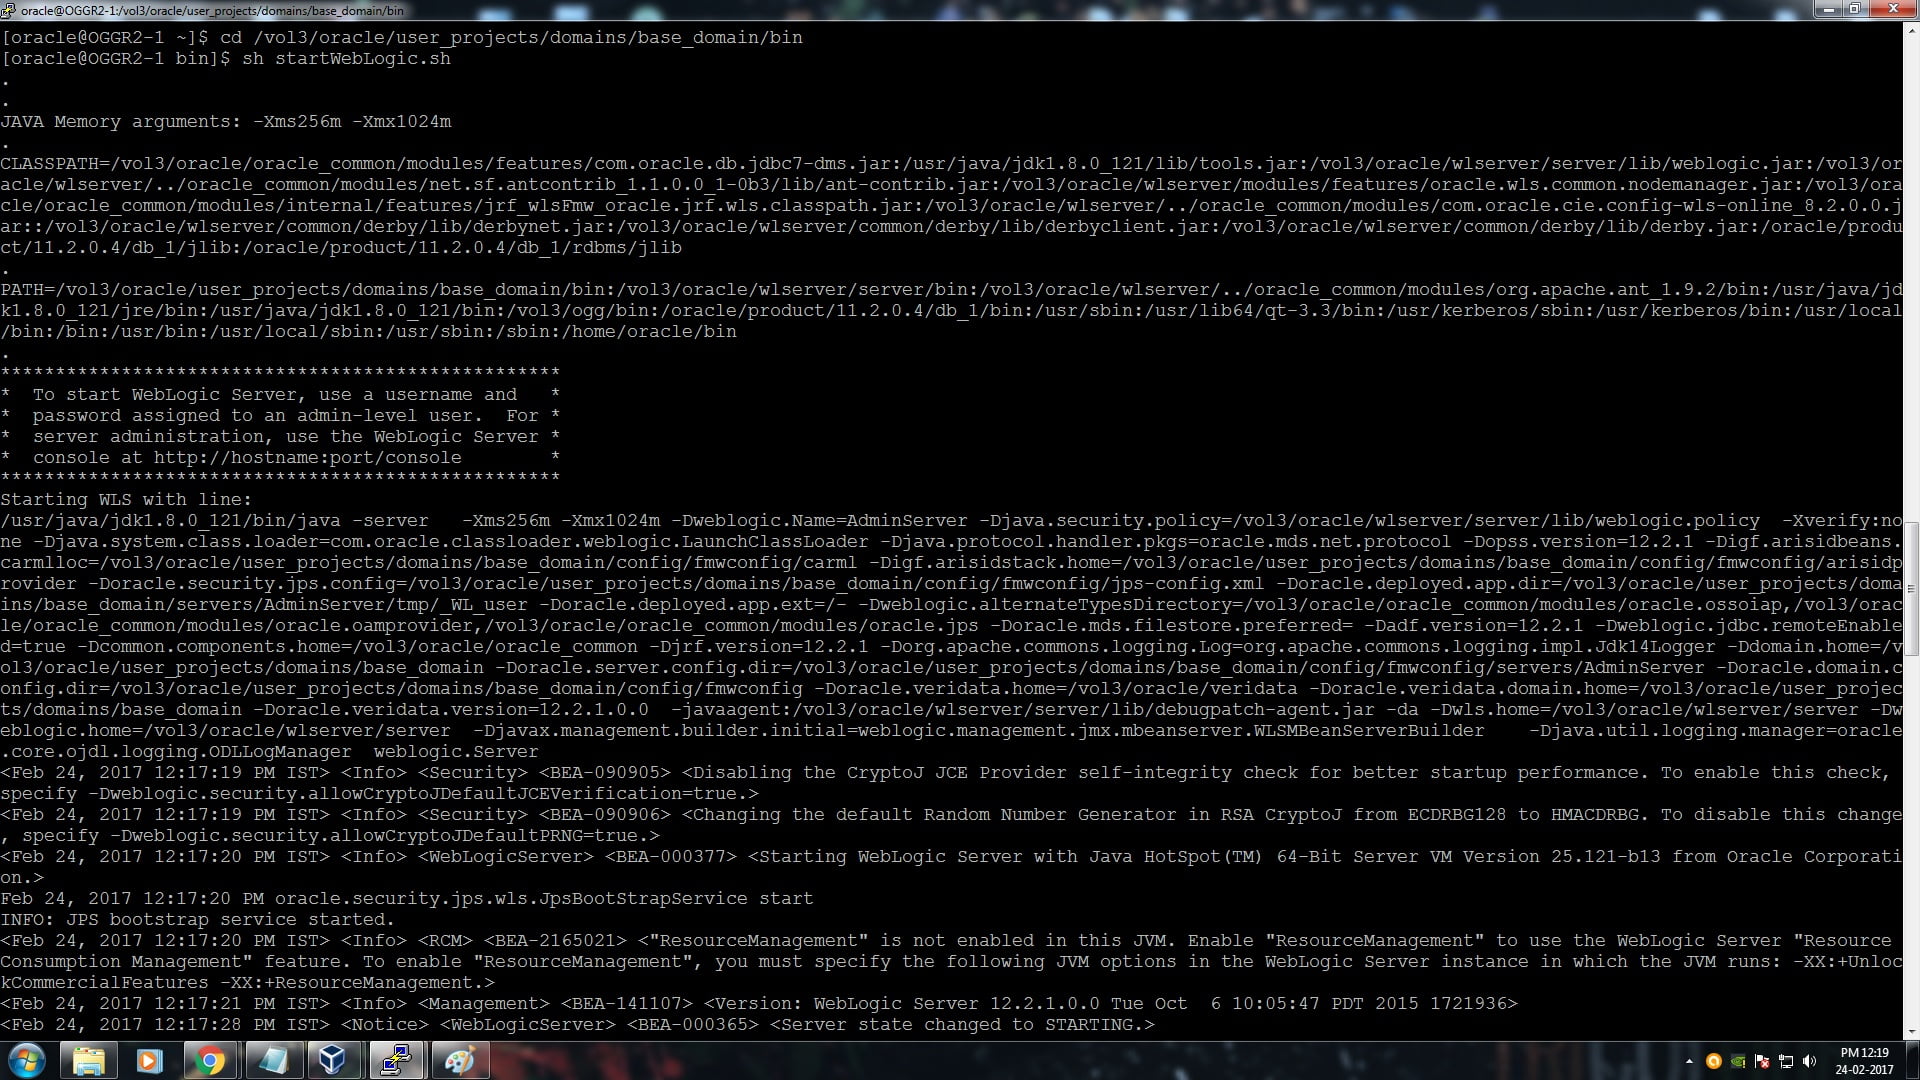
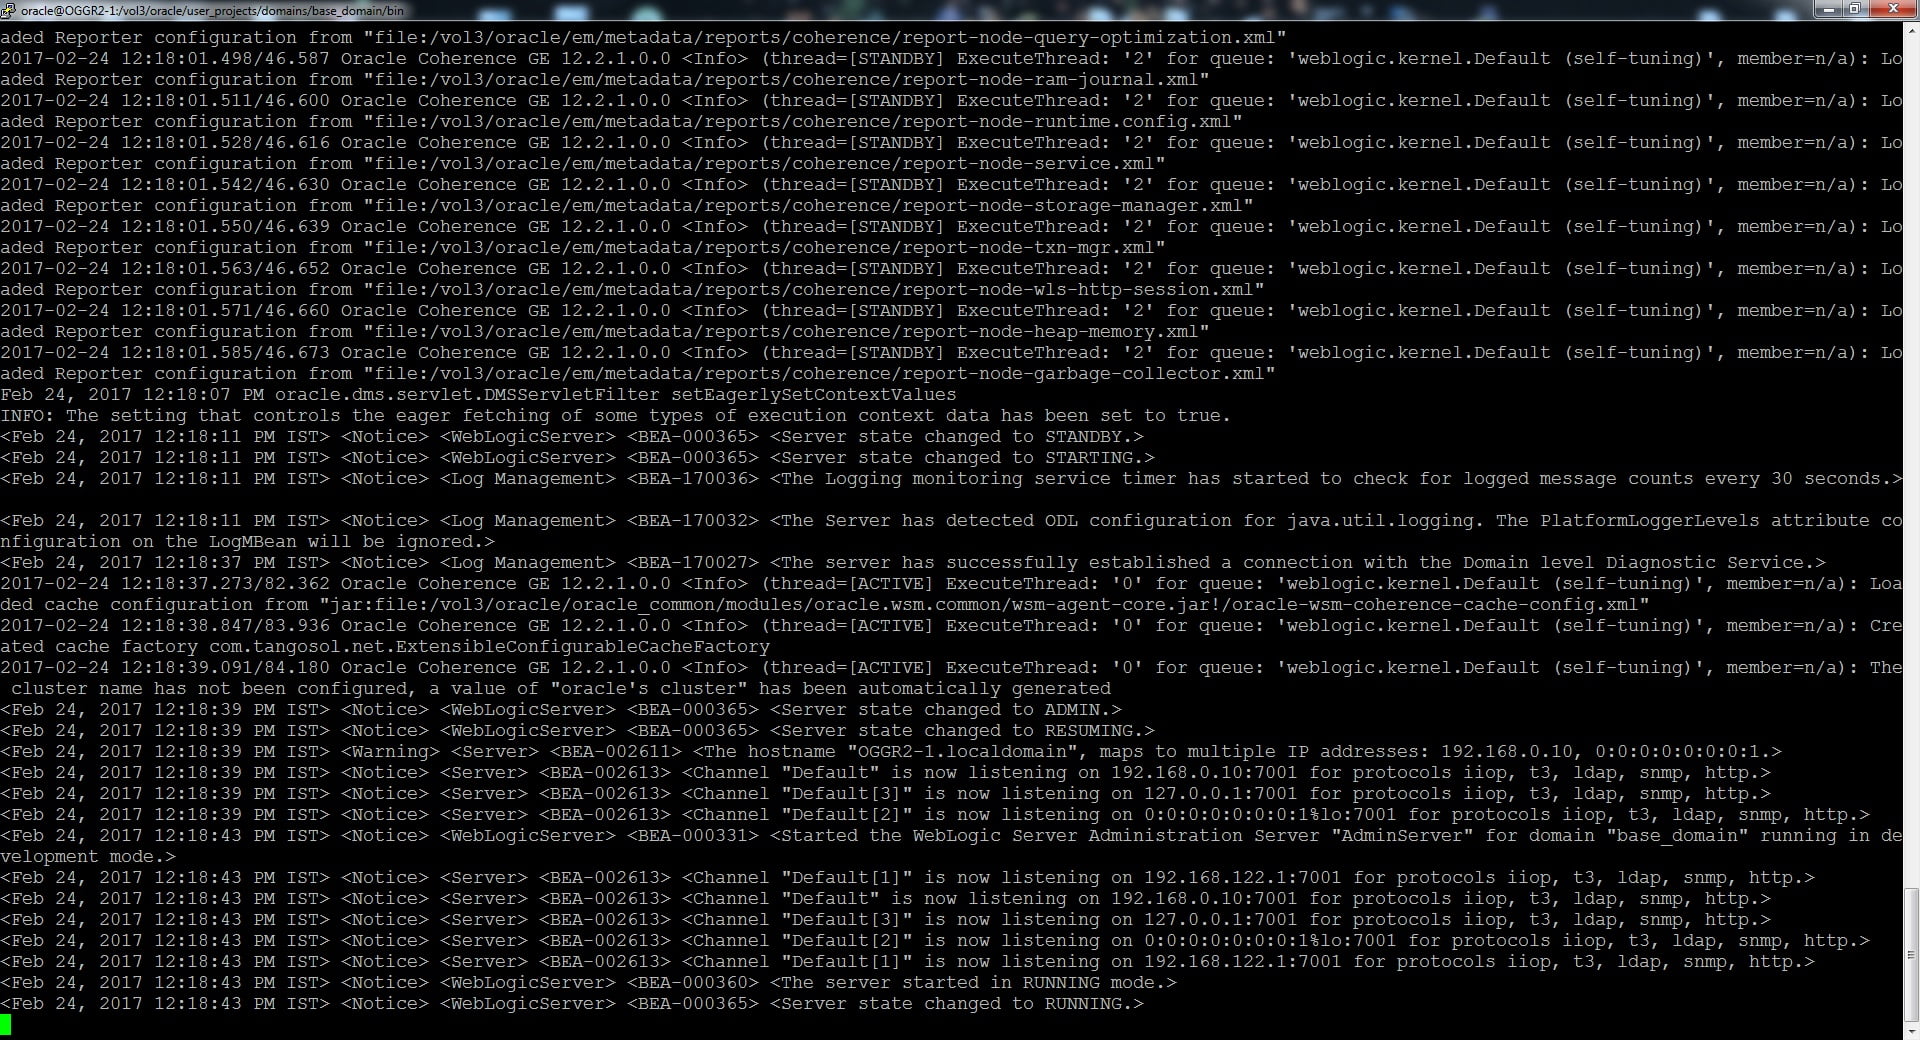
Start the WebLogic Server by issuing the below command.
cd /vol3/oracle/user_projects/domains/base_domain/bin
sh startWebLogic.sh
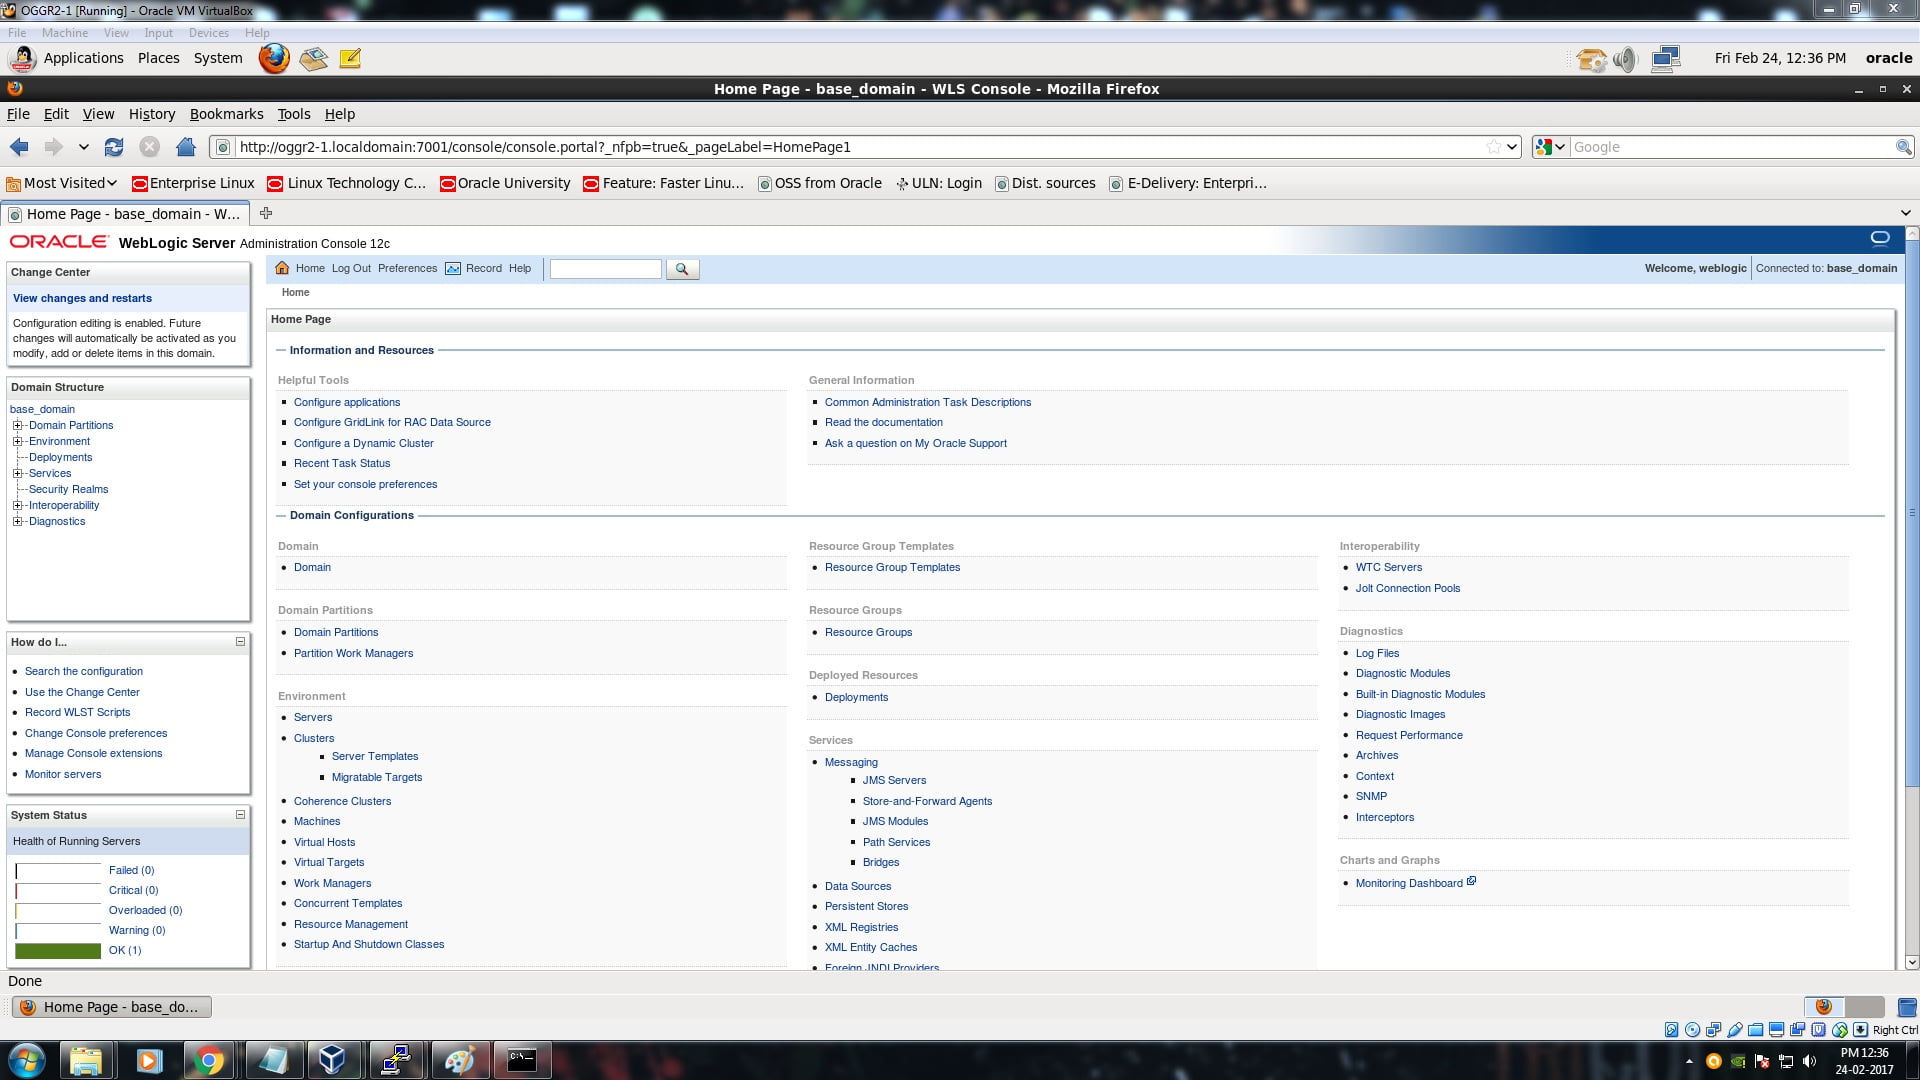
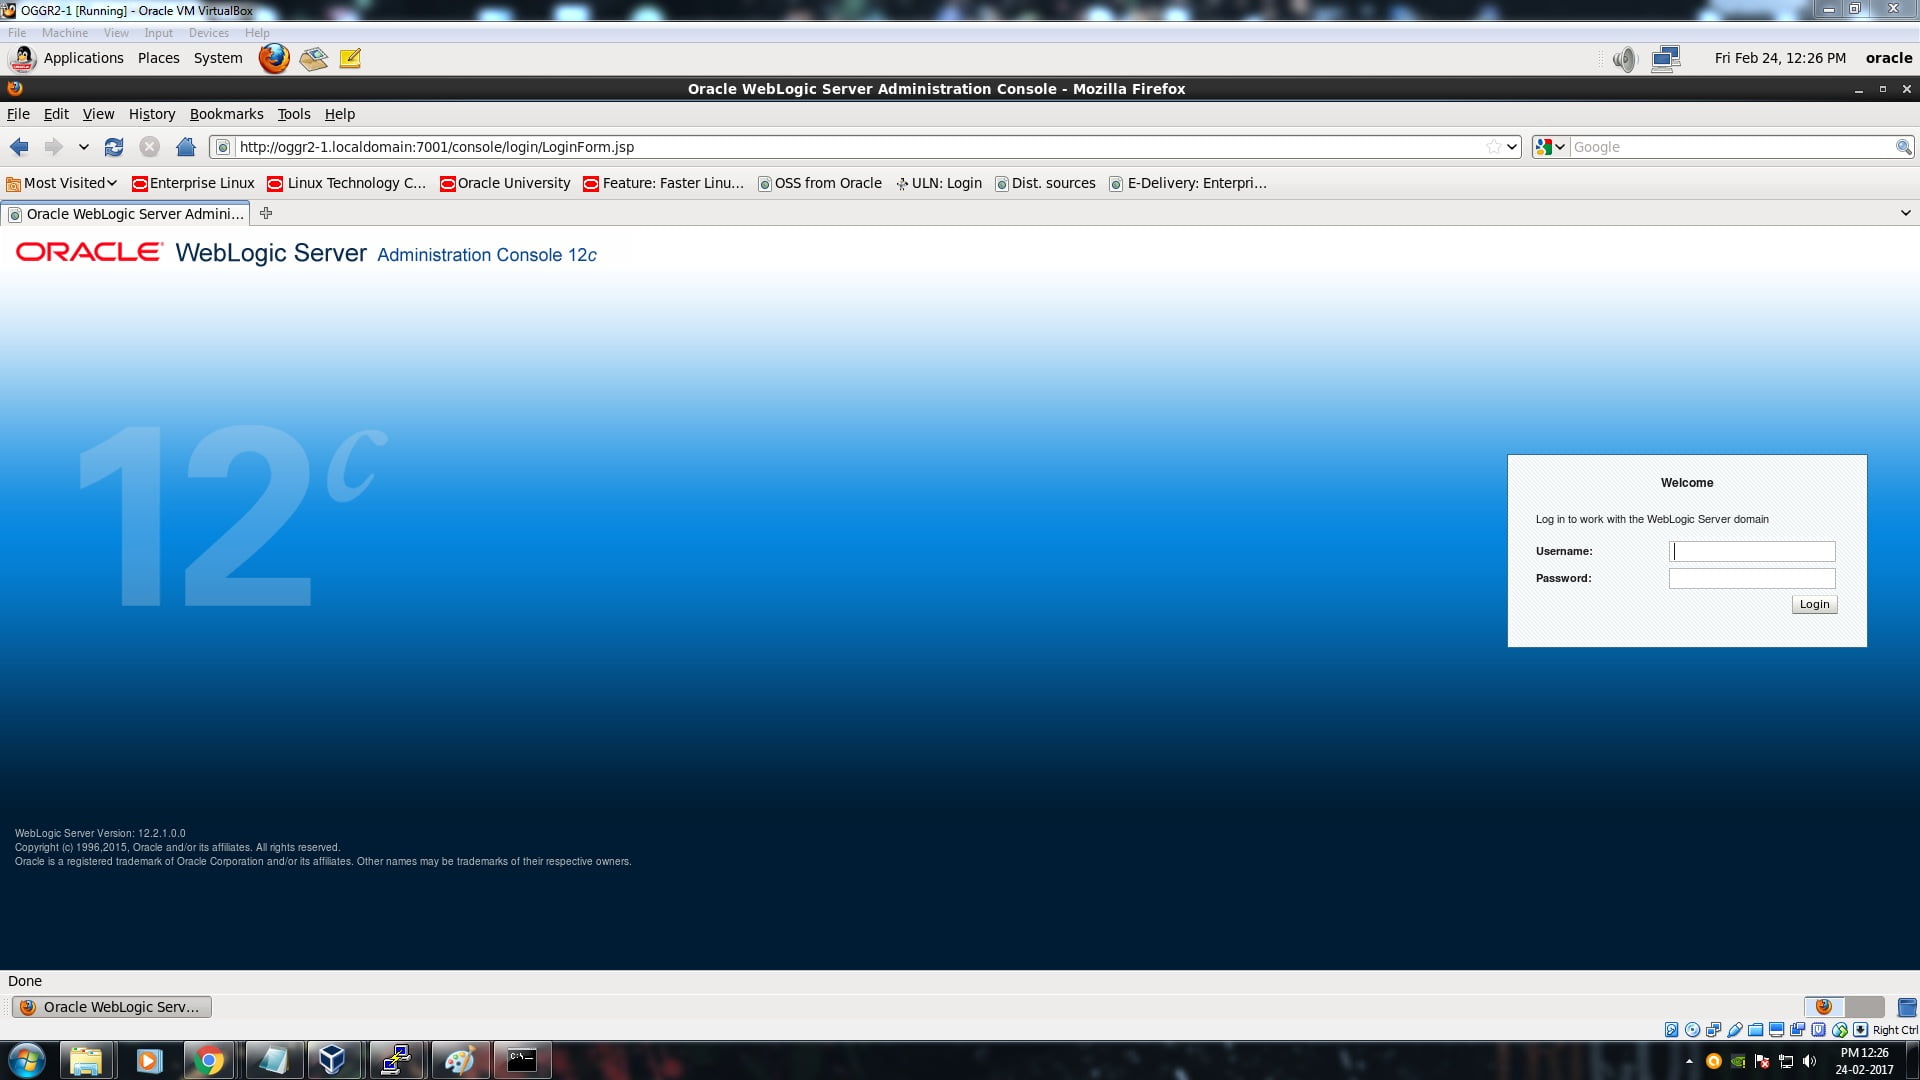
Open the below URL.
http://oggr2-1.localdomain:7001/login/LoginForm.jsp
Enter the username and password. Click the Login button.
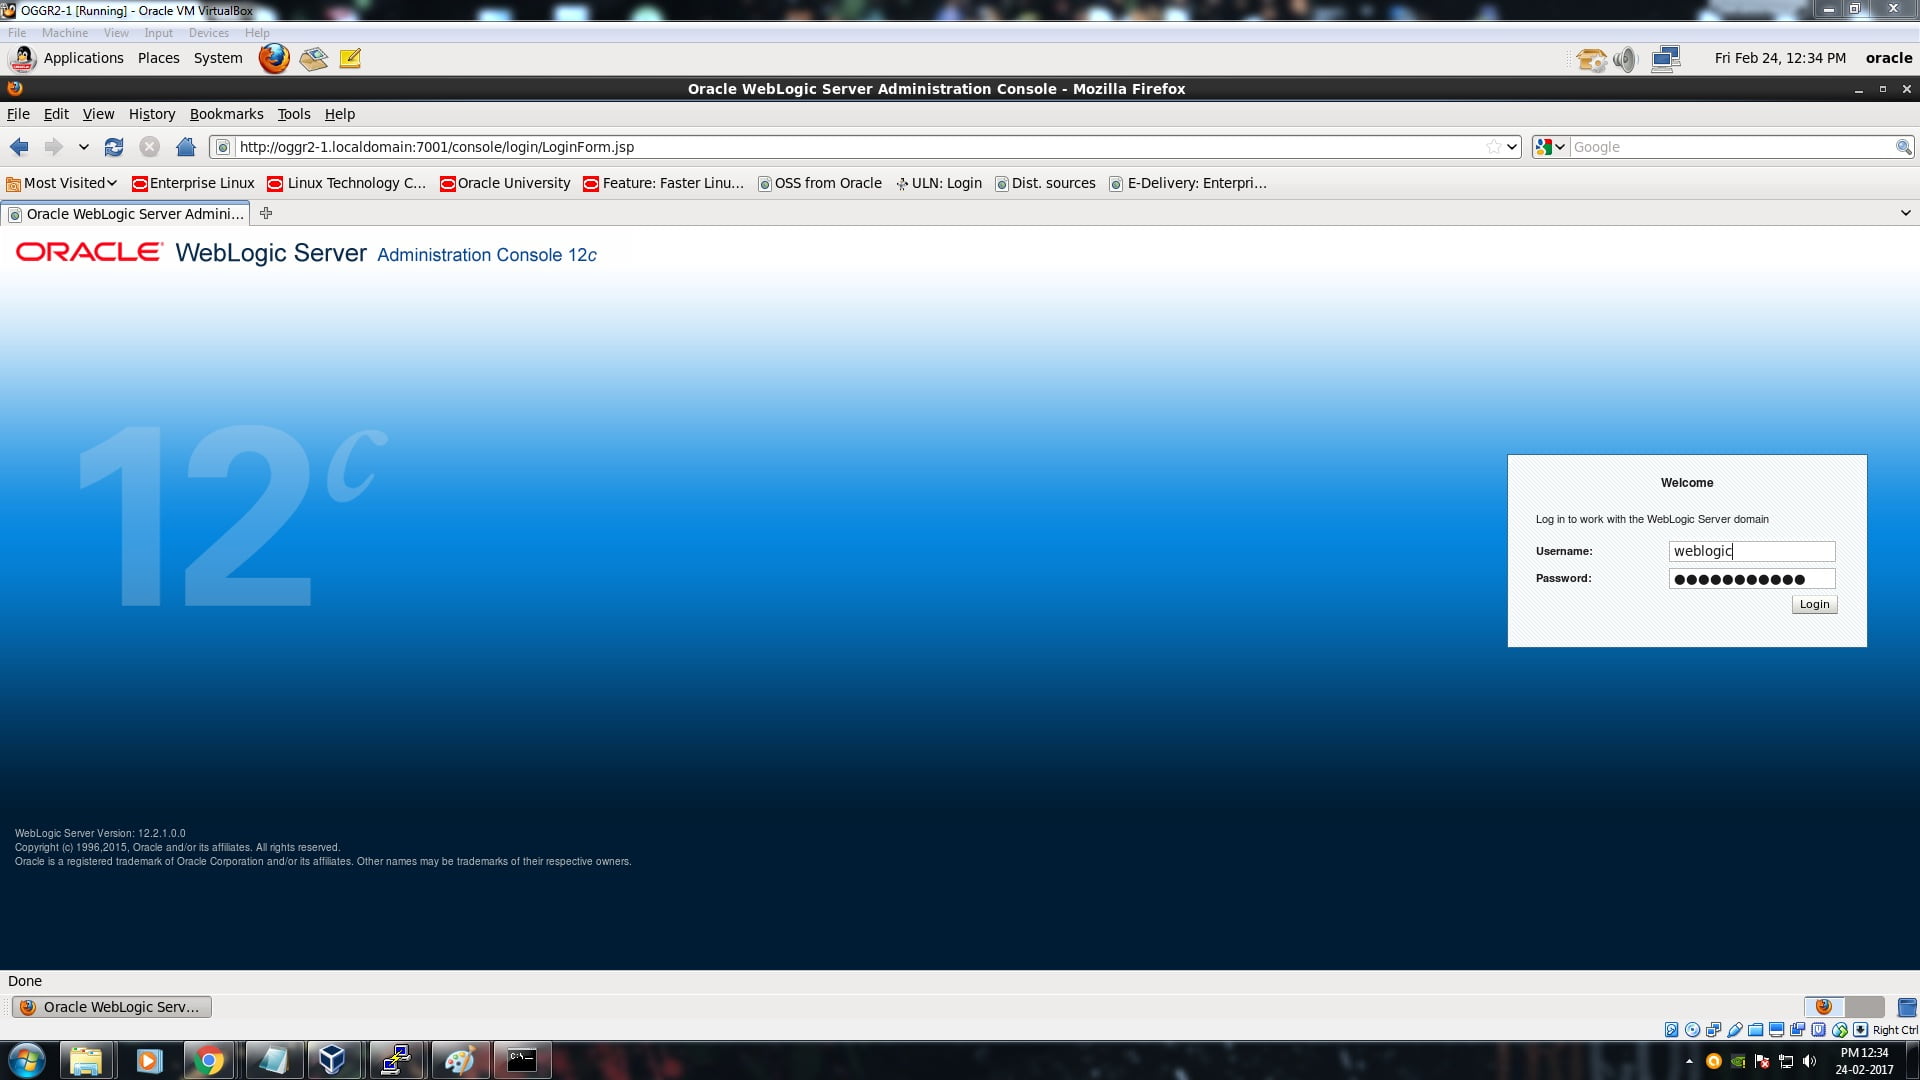
You will be entered into the WebLogic Server.
START VERIDATA SERVER
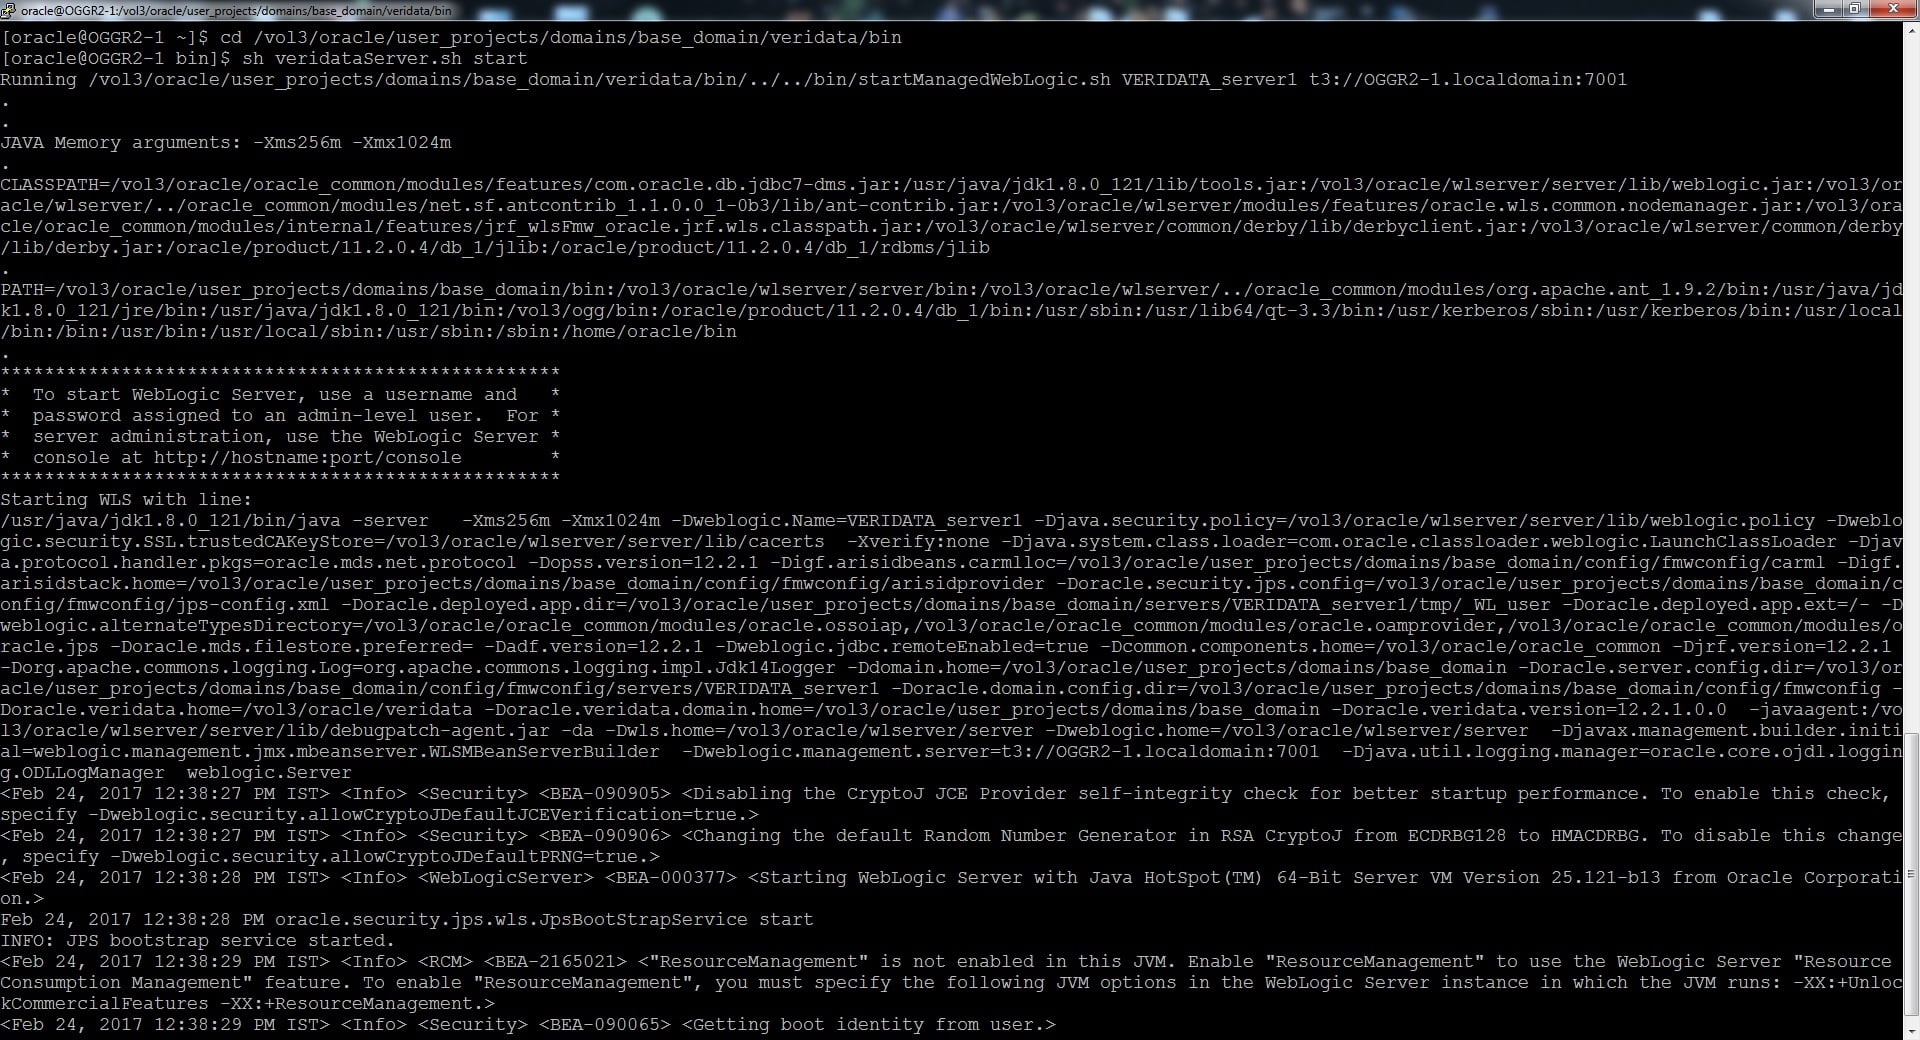
Start the WebLogic Server by issuing the below command.
cd /vol3/oracle/user_projects/domains/base_domain/veridata/bin
sh veridataServer.sh start
Provide the username and password.
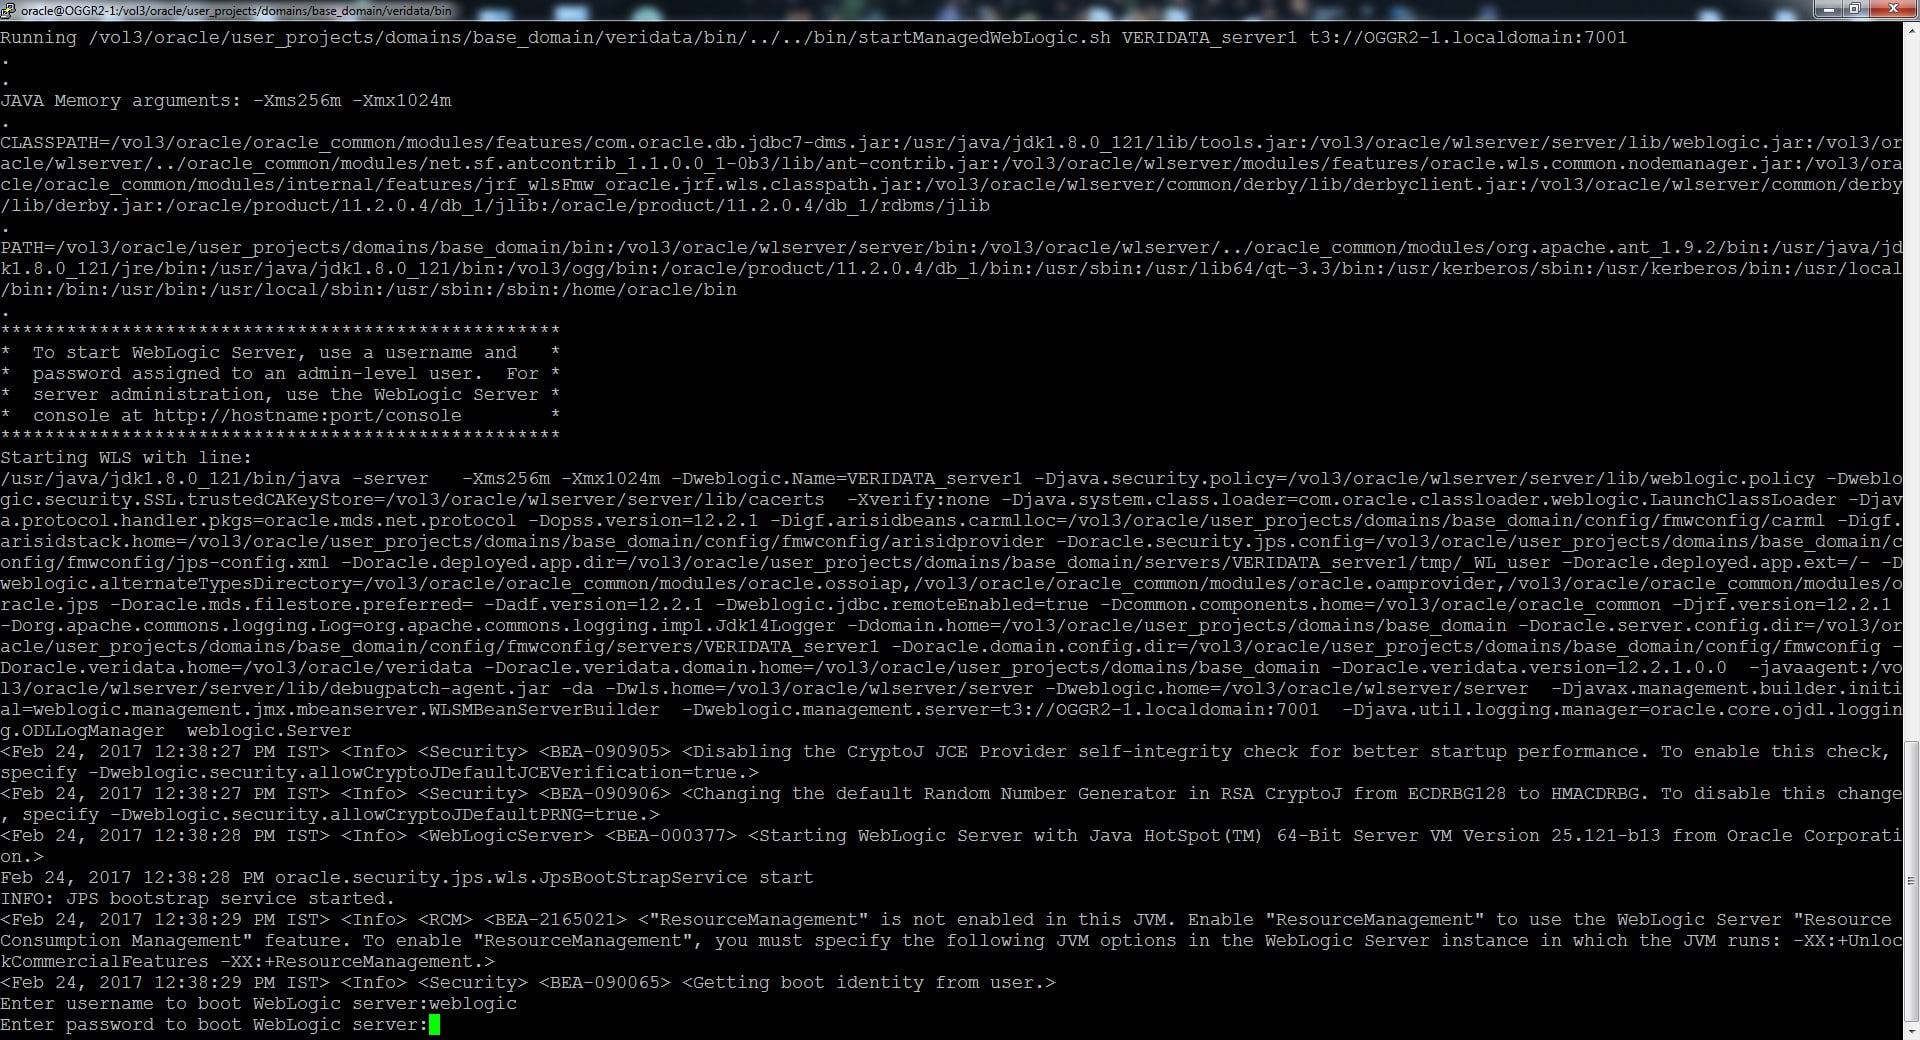
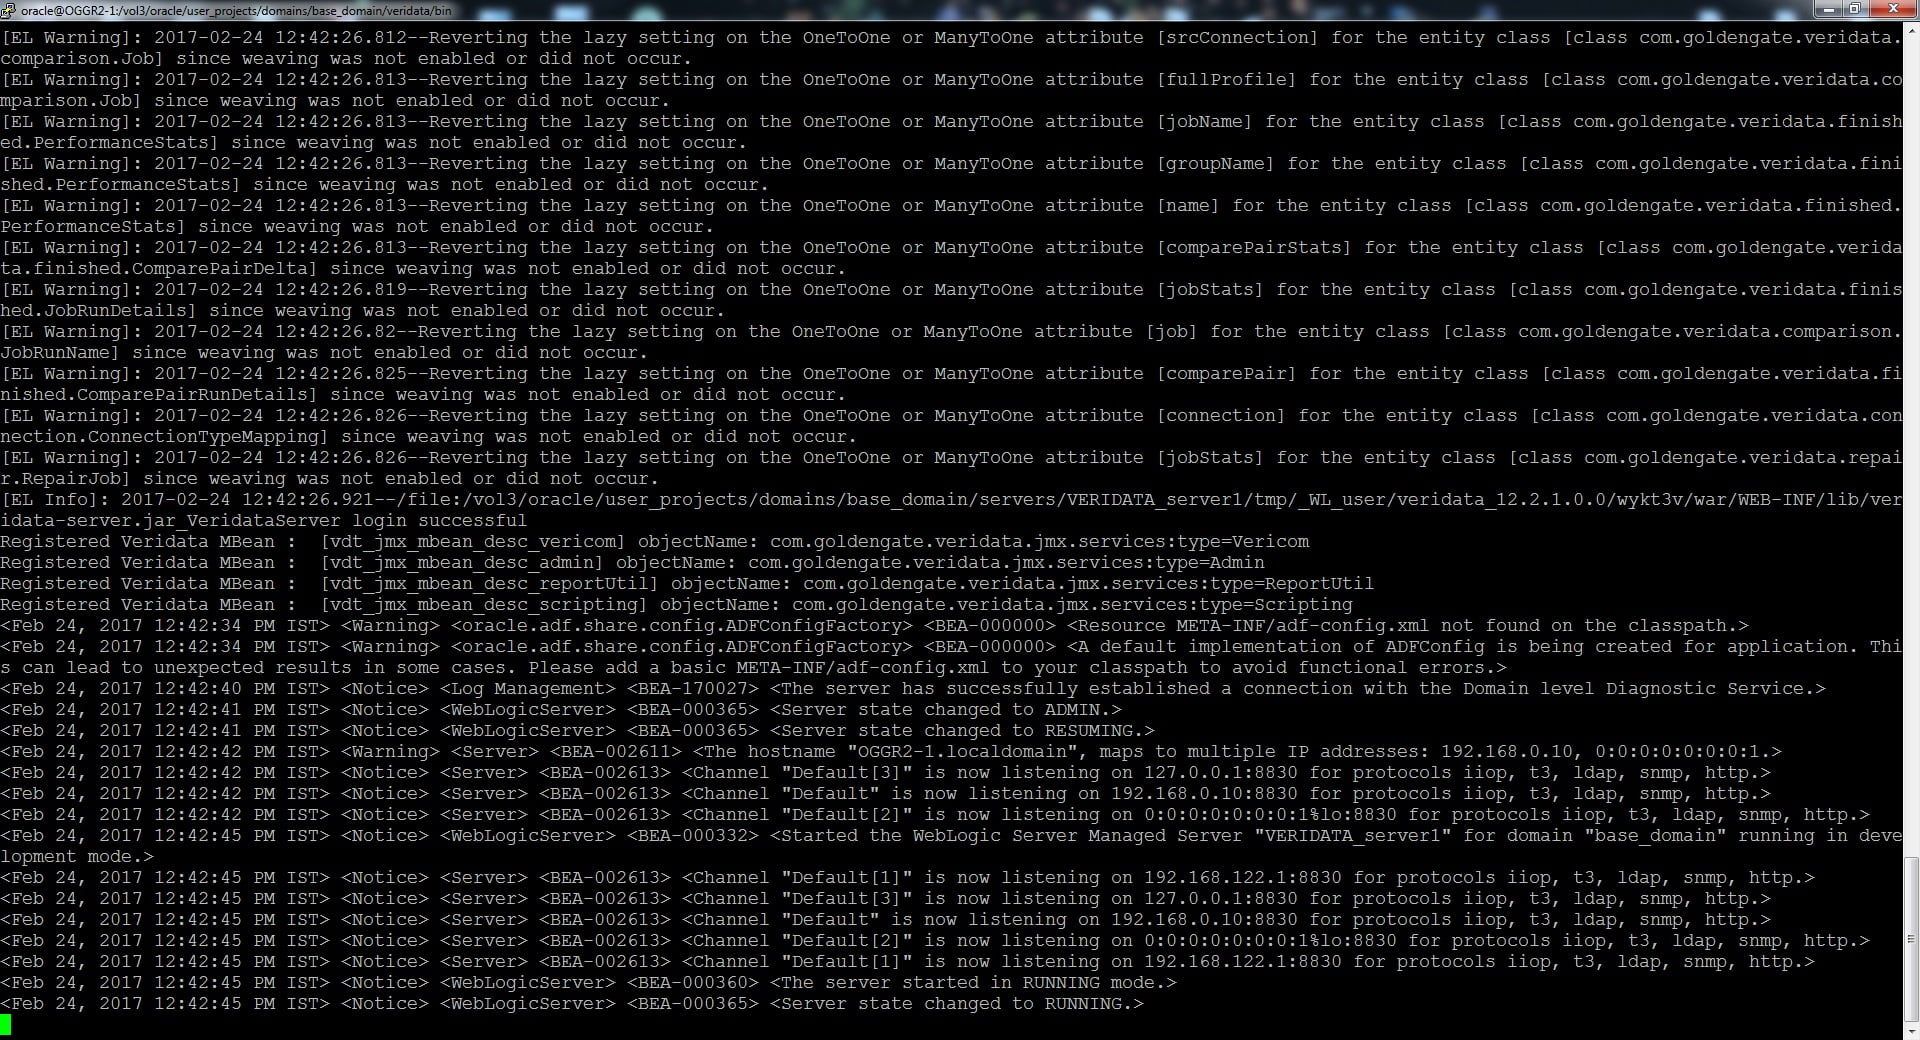
You could see the below message in the screen.
Server state changed to RUNNING.
VERIDATA SERVER USER CREATION
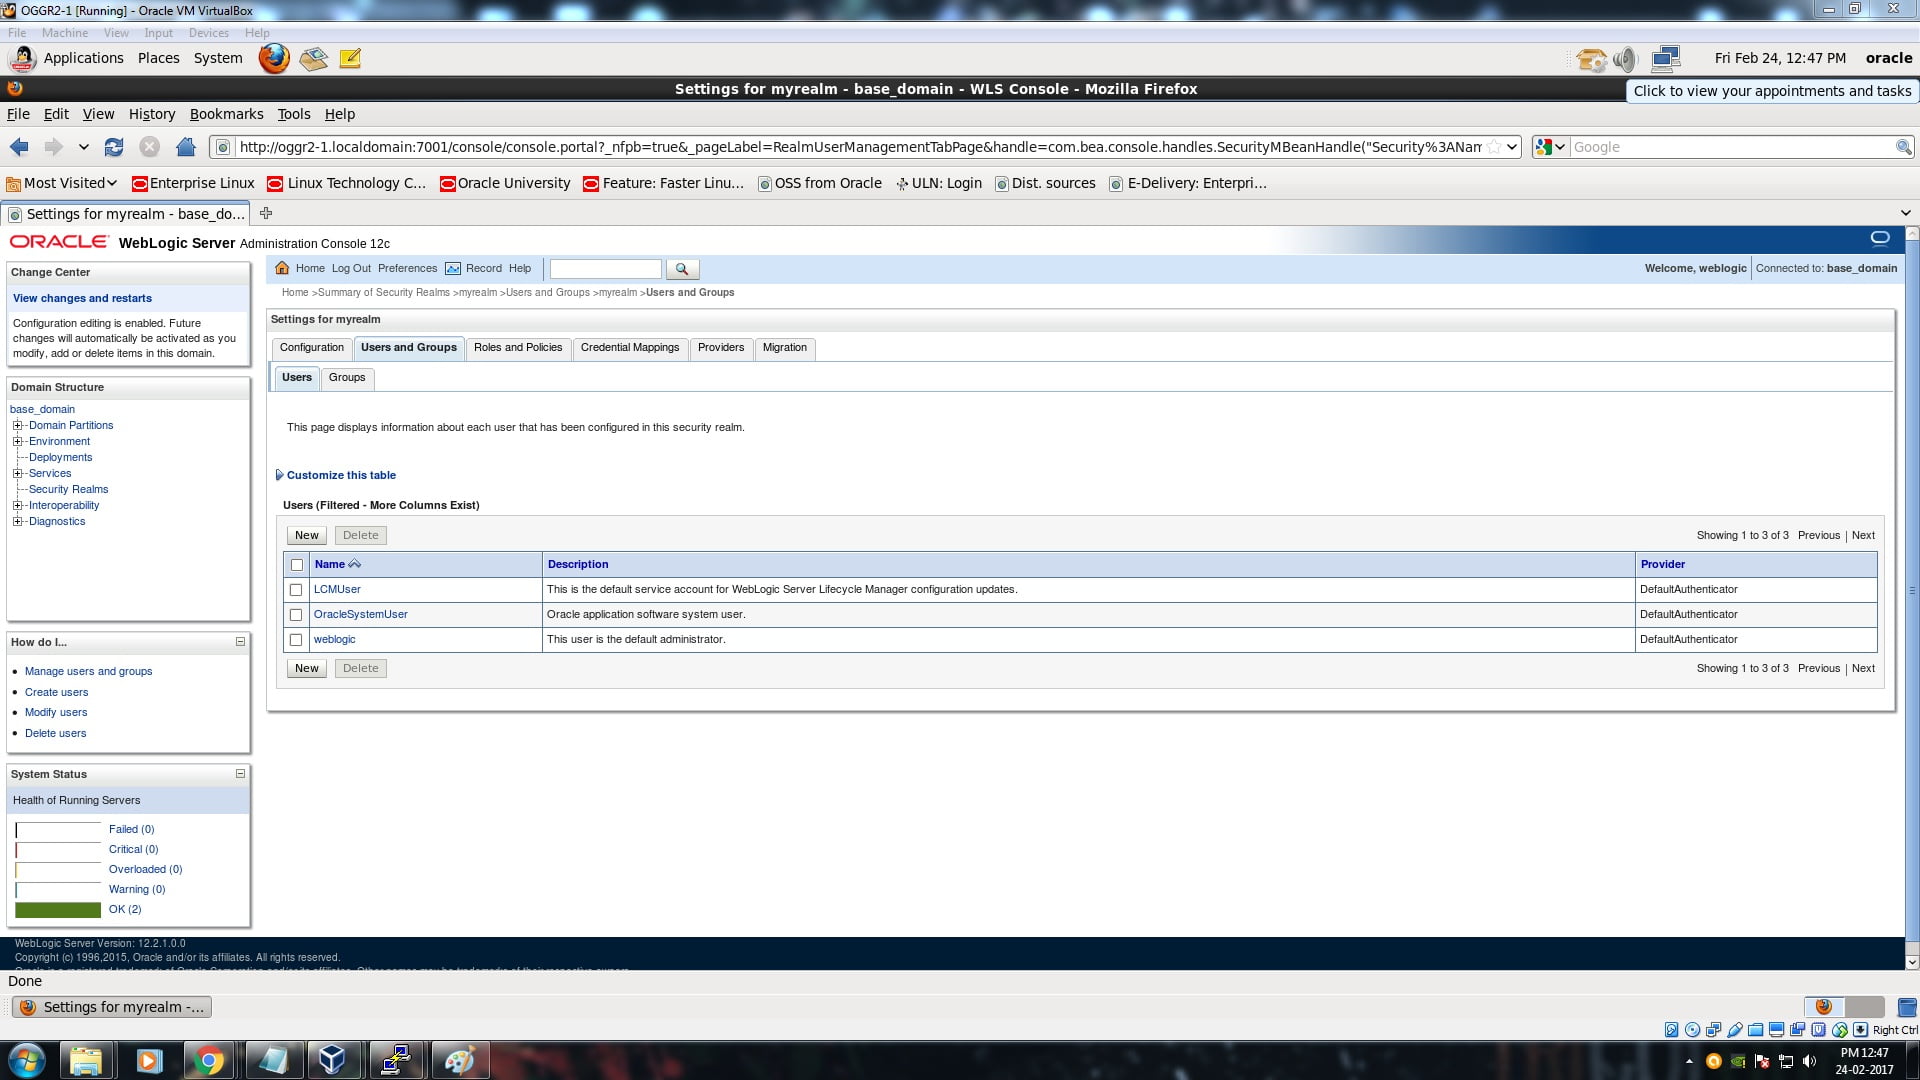
Now we need to create a user for accessing the Veridata GUI. Navigate to the below page.
Home >Summary of Servers >Summary of Security Realms >myrealm >Users and Groups >weblogic >Users and Groups >Summary of Security Realms >myrealm >Users and Groups
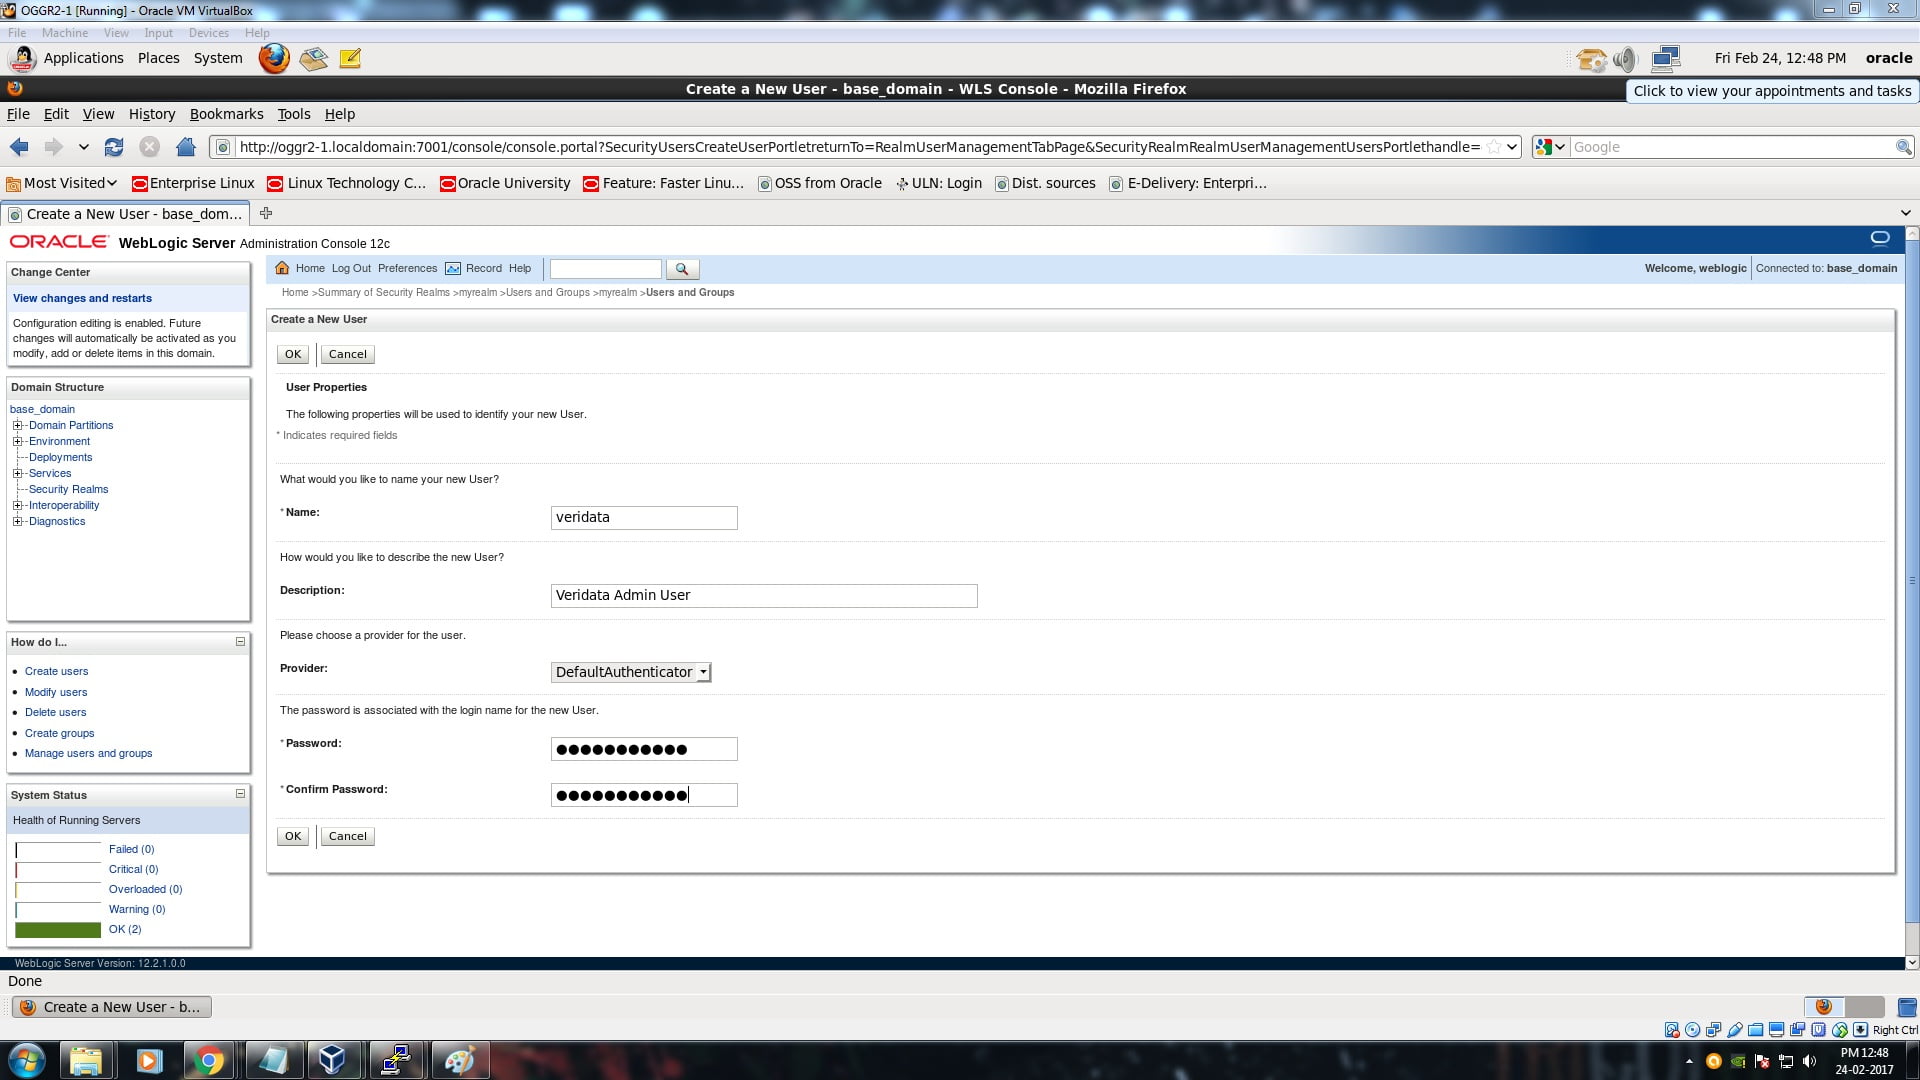
2. Create the new user. Enter the username and password. Click OK button.
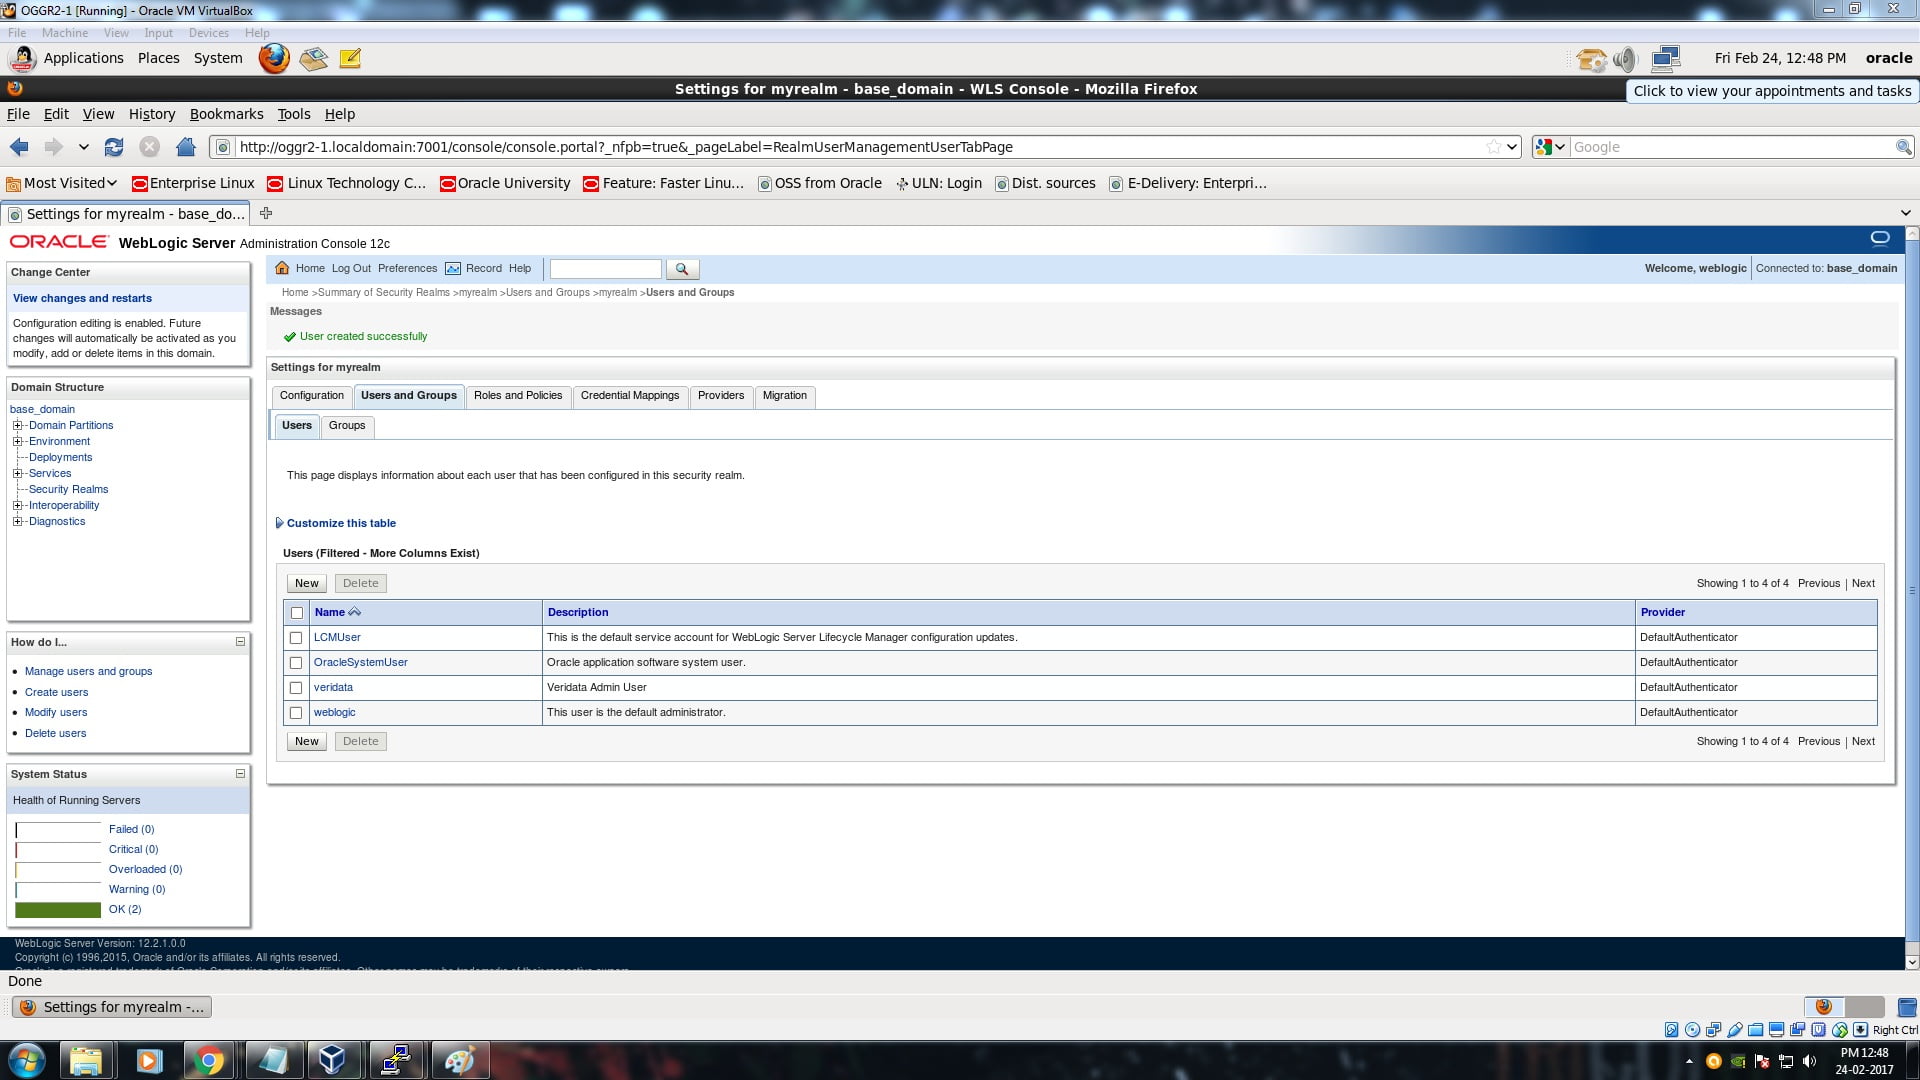
3. You could see the message “User created successfully” and the user will be displayed in the list.
4. Now click on the veridata user. Click on Groups tab and select all the Veridata related groups and move them
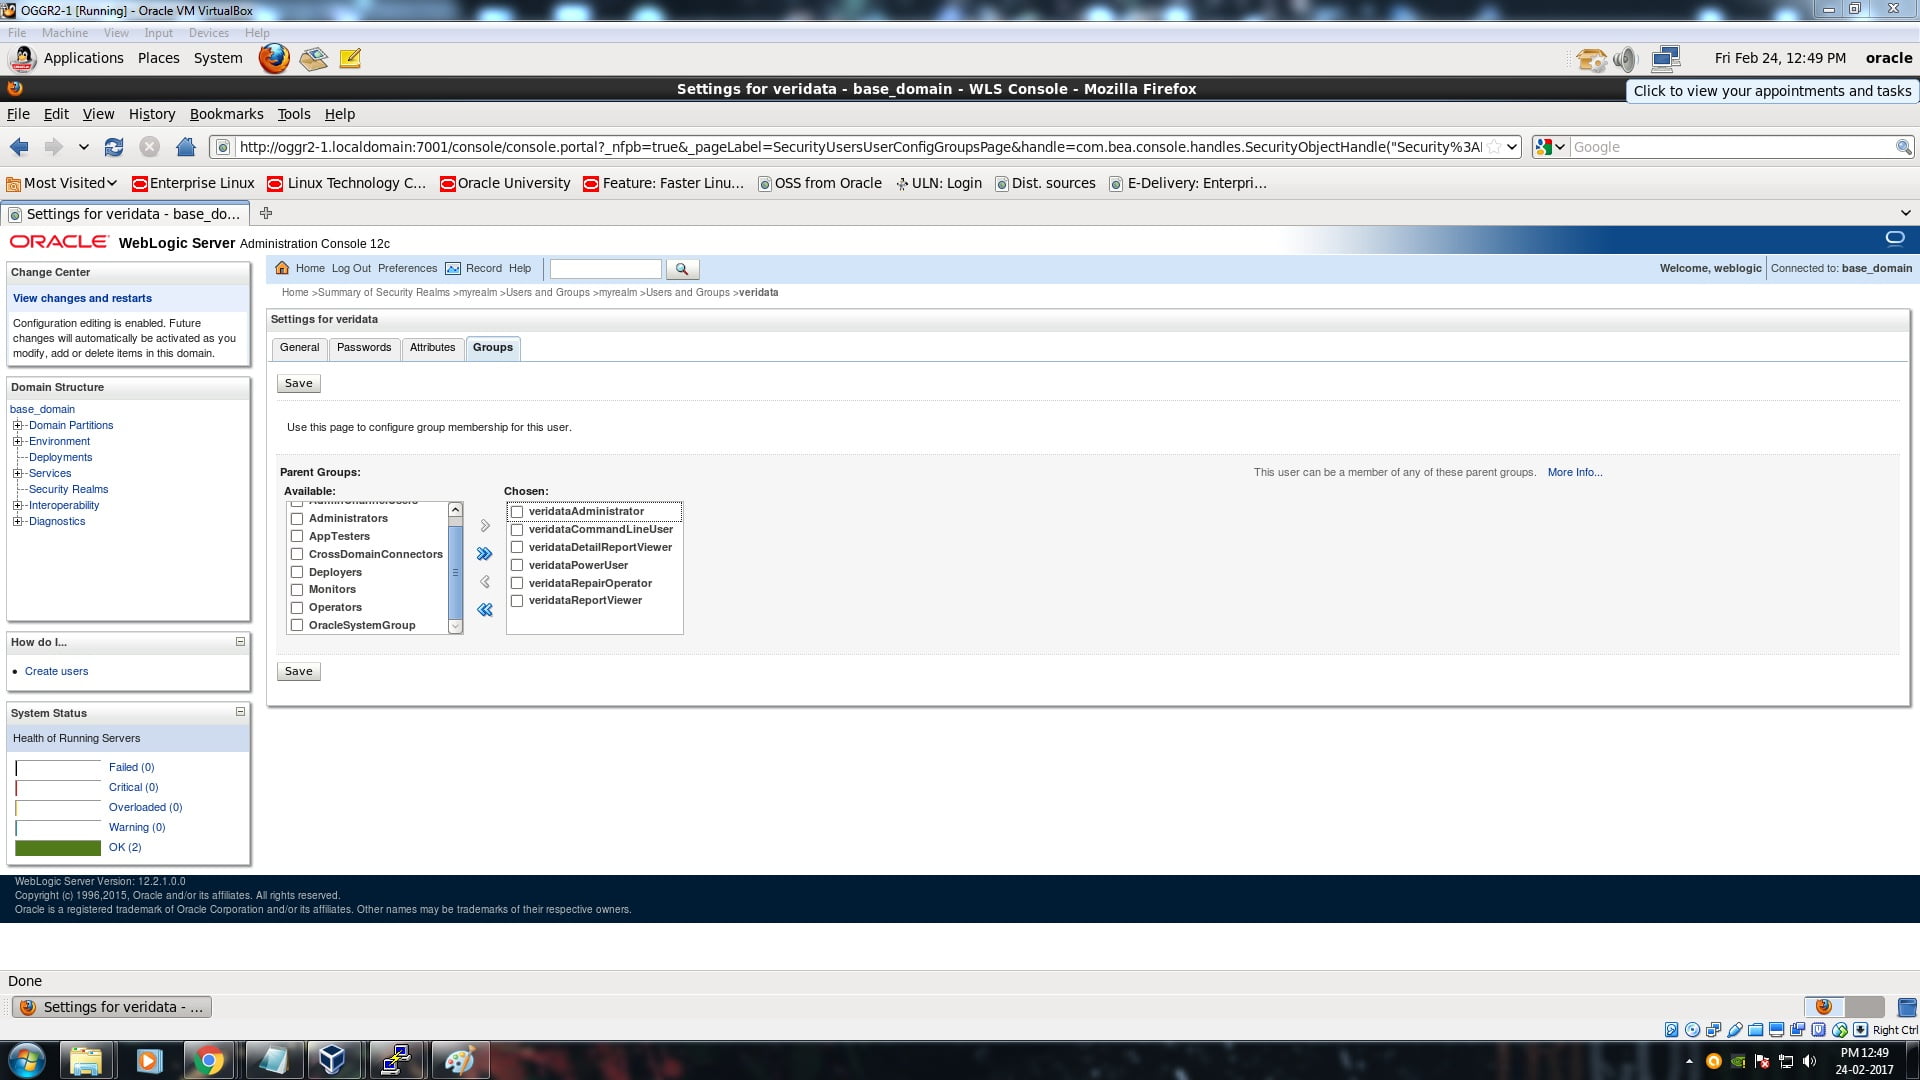
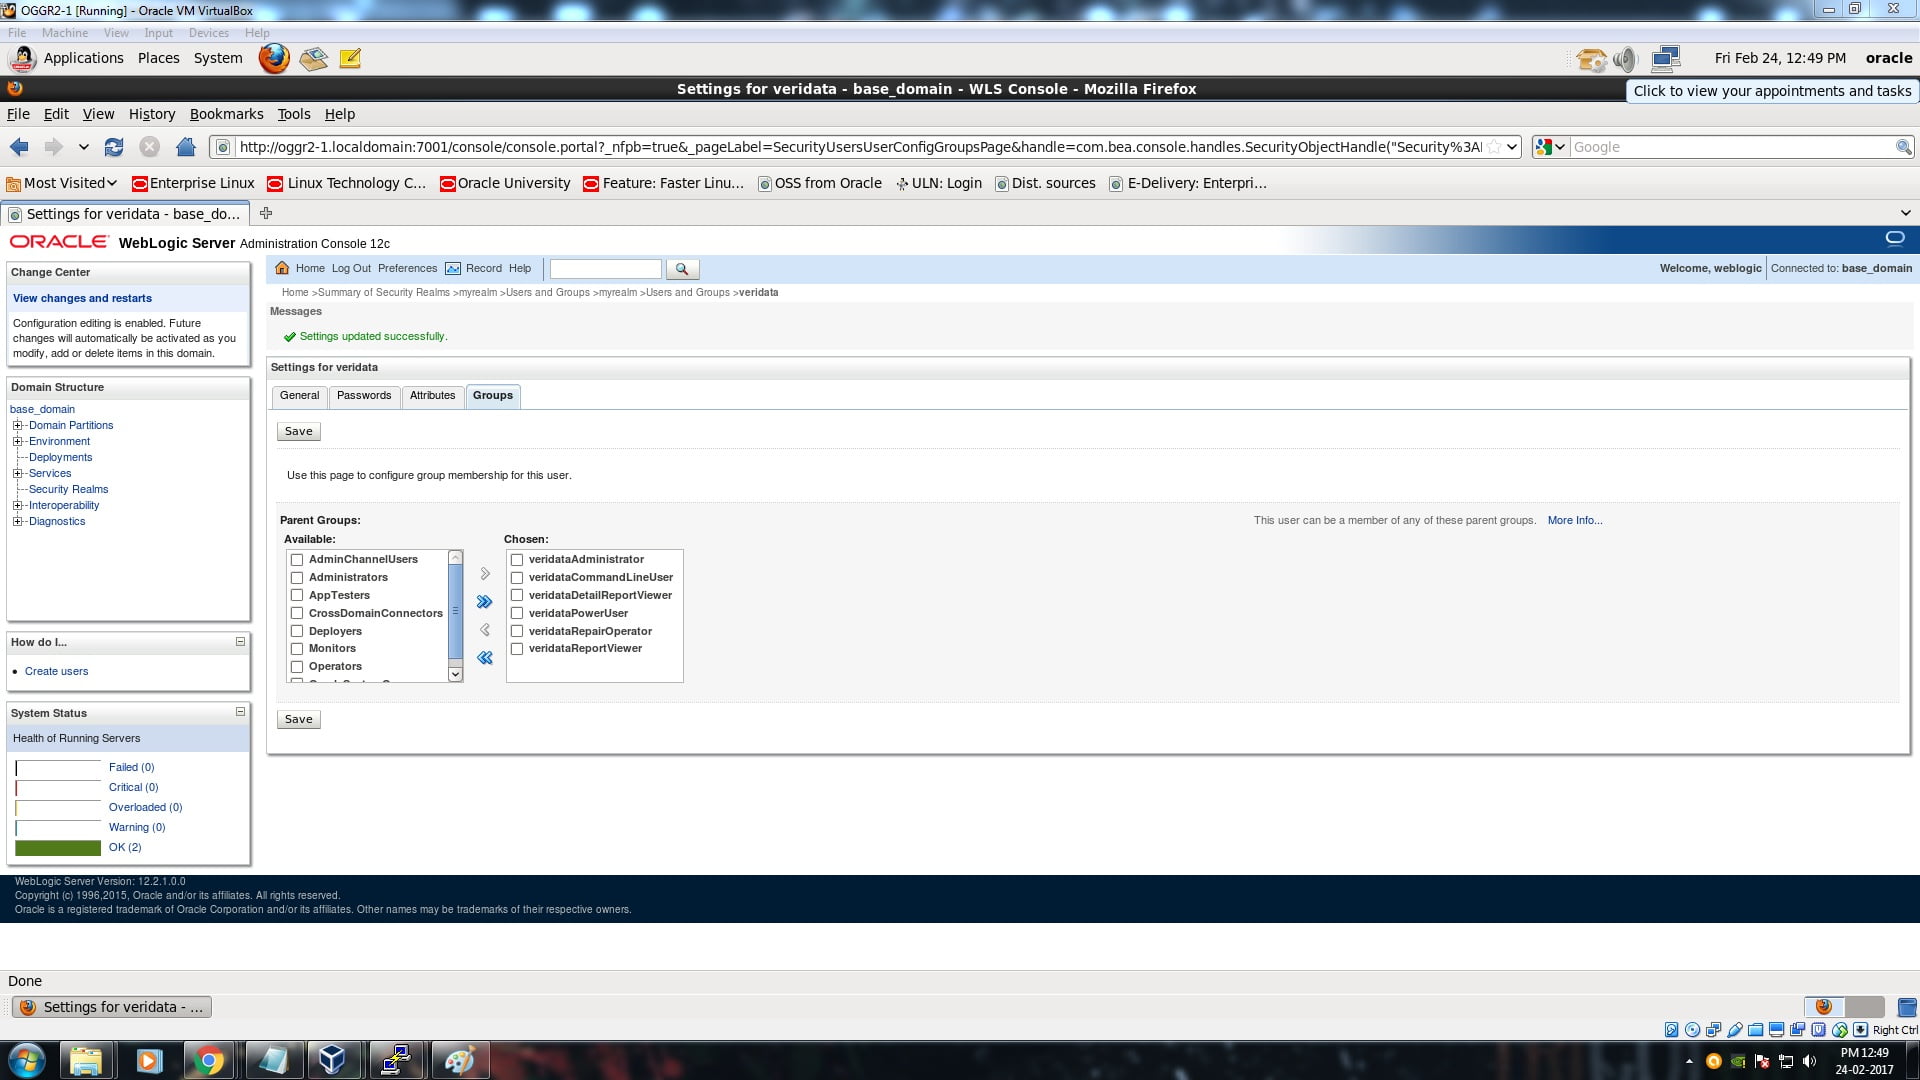
5. Click on the Save button. You could see the message “Settings updated successfully”.
CONFIGURATION OF AGENT
1. Deploy the Agent as below.
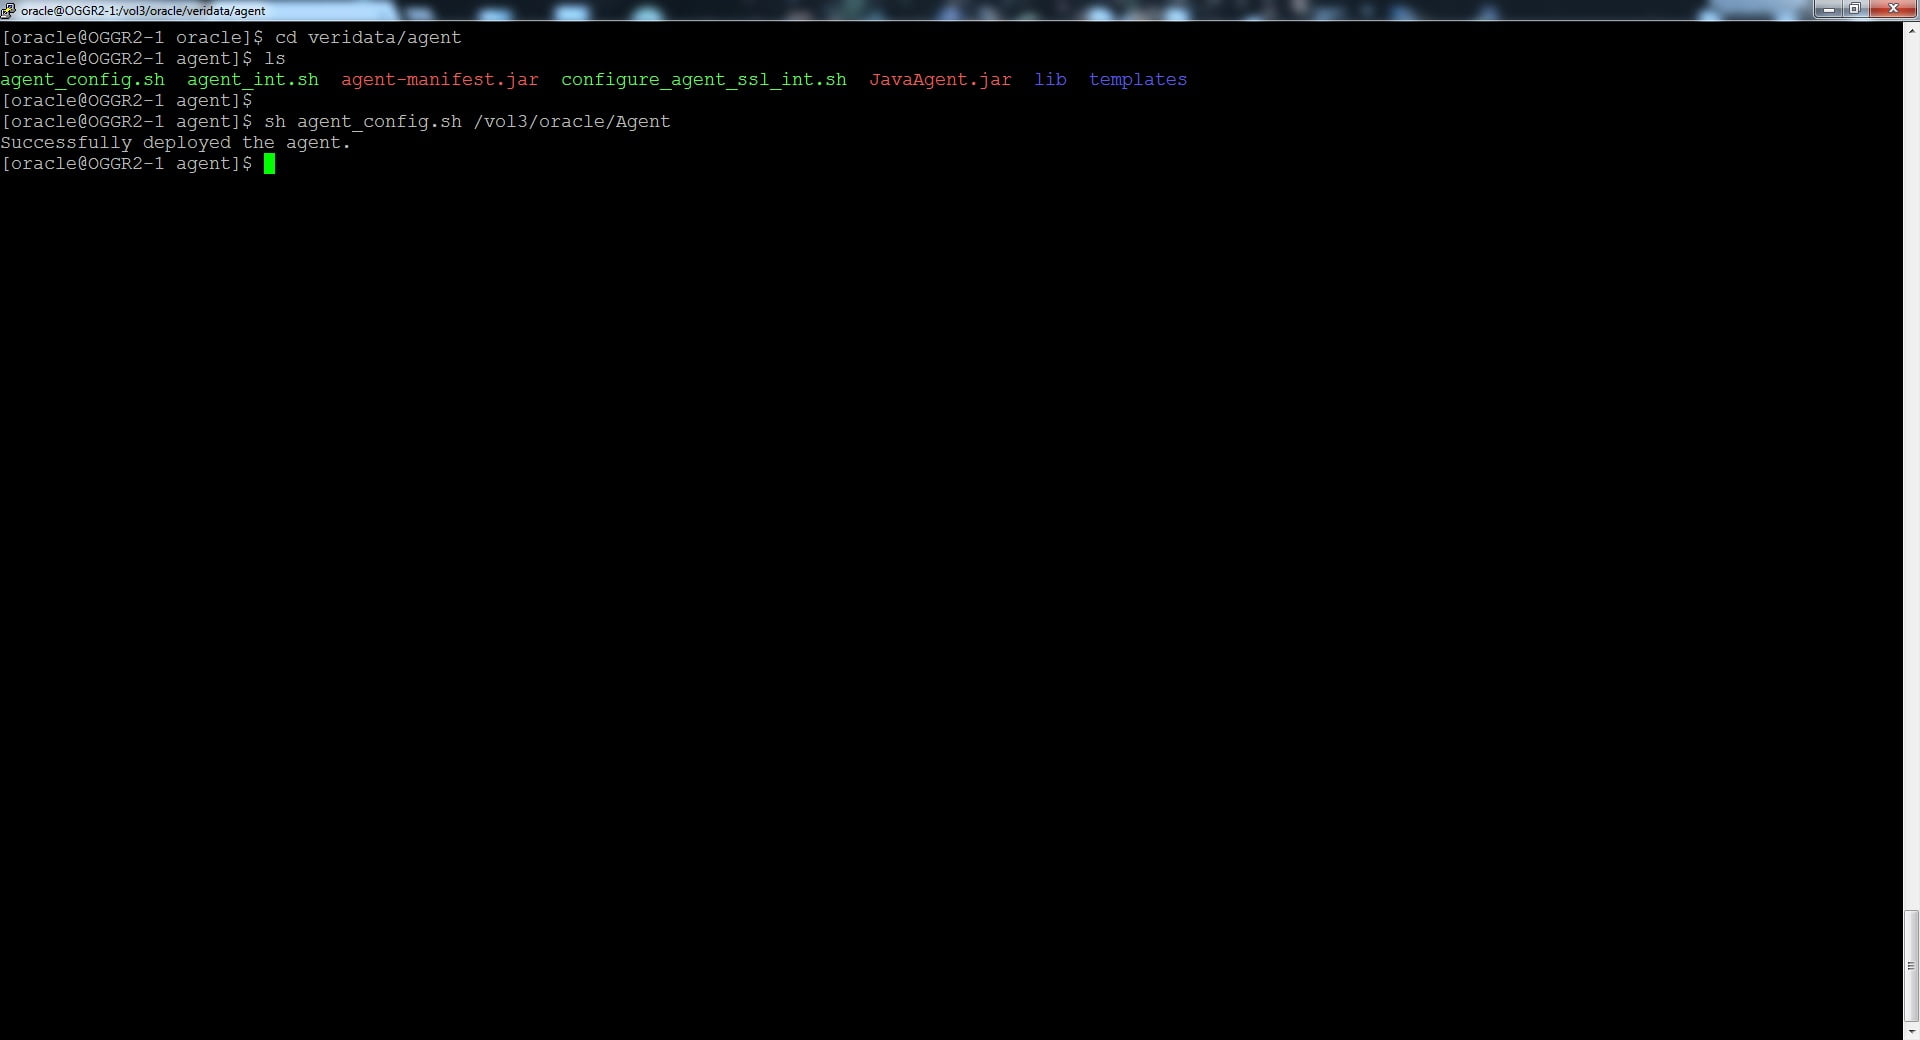
1a. Under the Middleware home, navigate to the directory “veridata/agent”. You could see the file “agent_config.sh”. Execute the file as below,
sh agent_config.sh AGENT_HOME
You will see the message as “Successfully deployed the agent”.
2. Start the Agent as below.
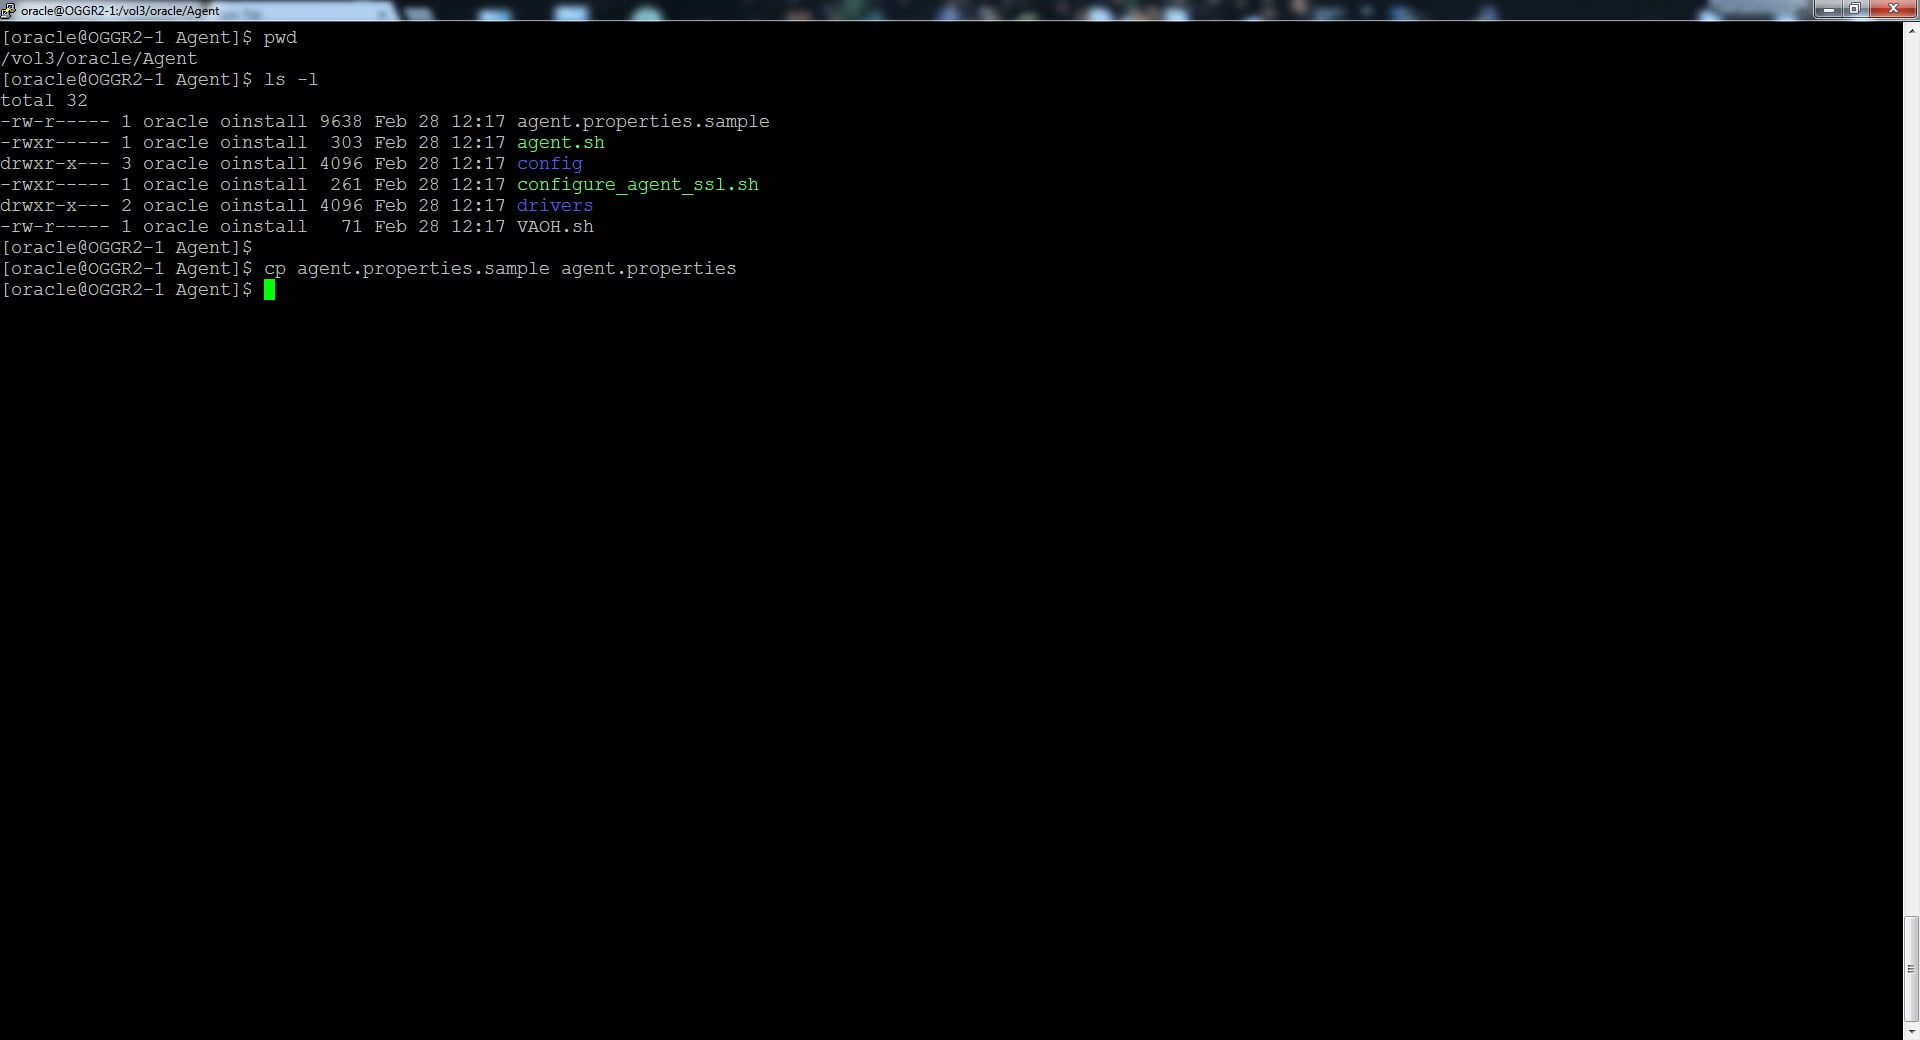
2a. Under the Agent Home where you deployed the Agent, there will be a file named as “agent.properties.sample”. Take a backup of this and rename it as “agent.properties”.
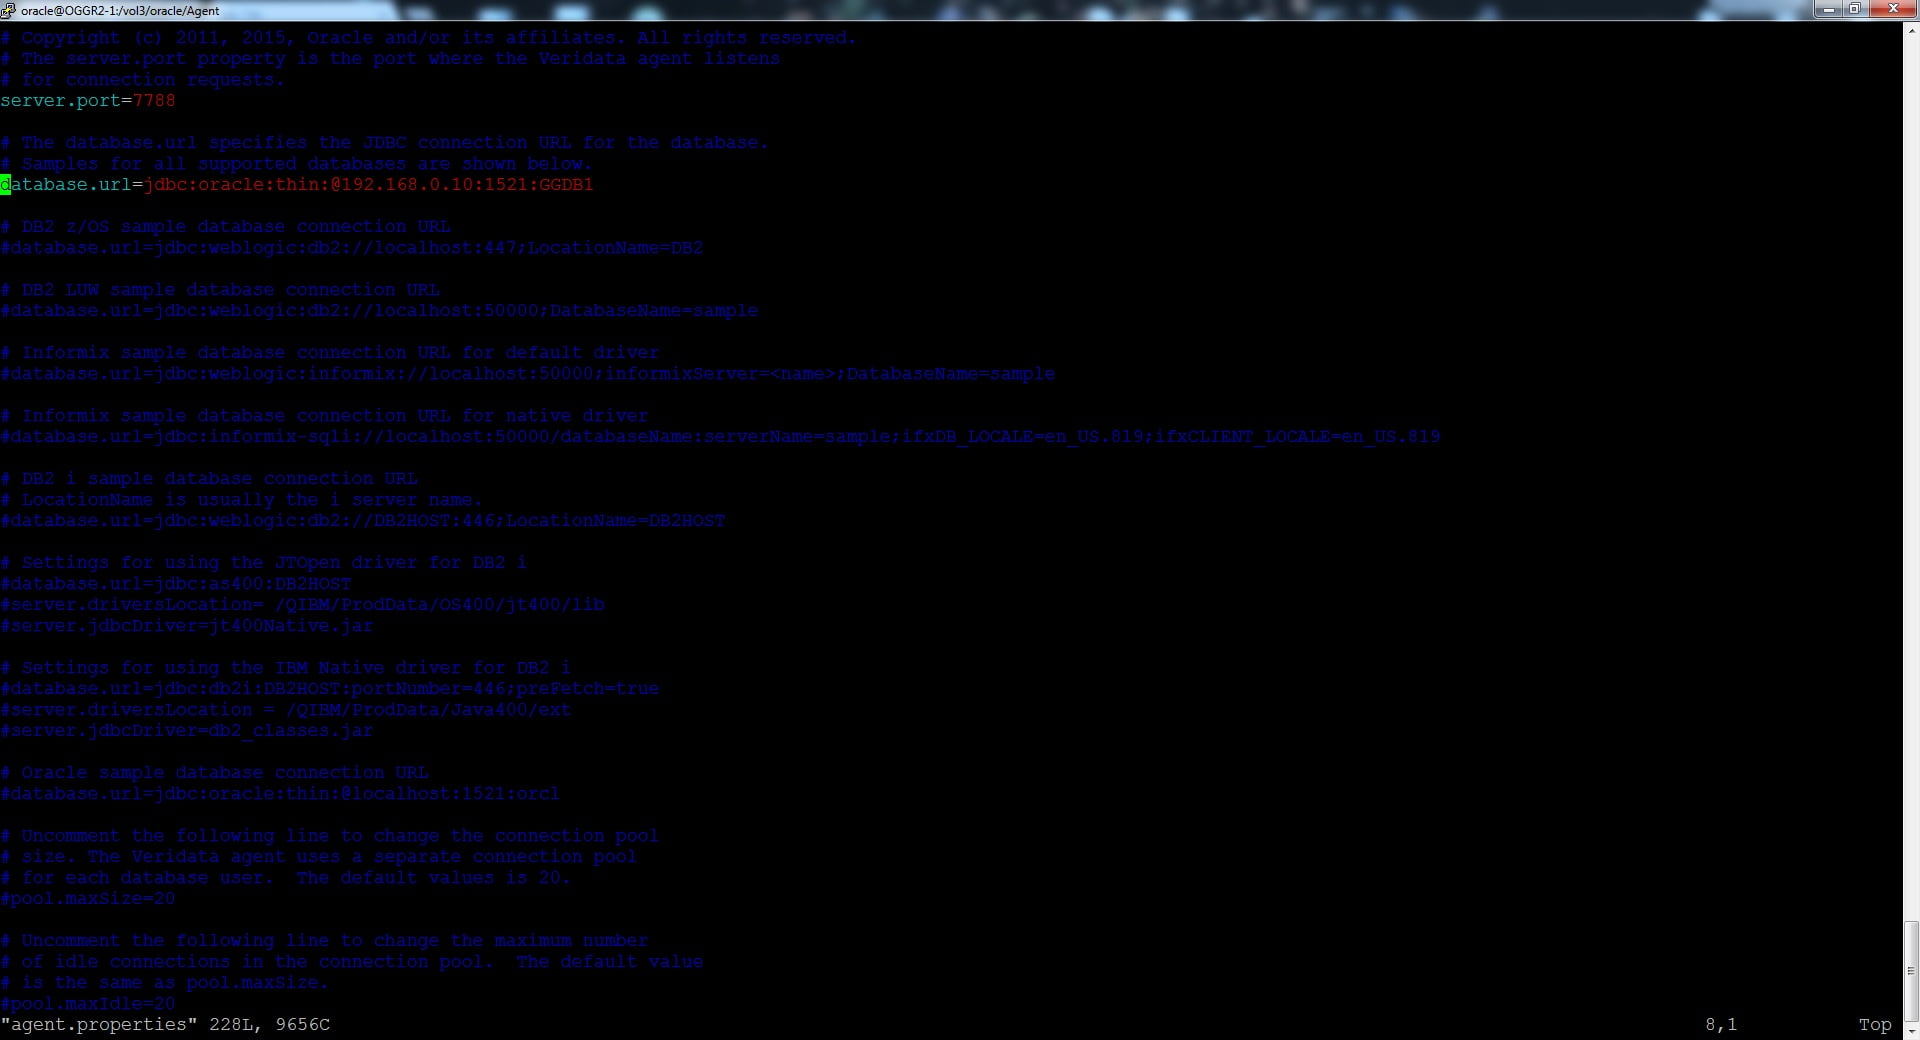
2b. Edit the “agent.properties” file and give the port and jdbc url as below.
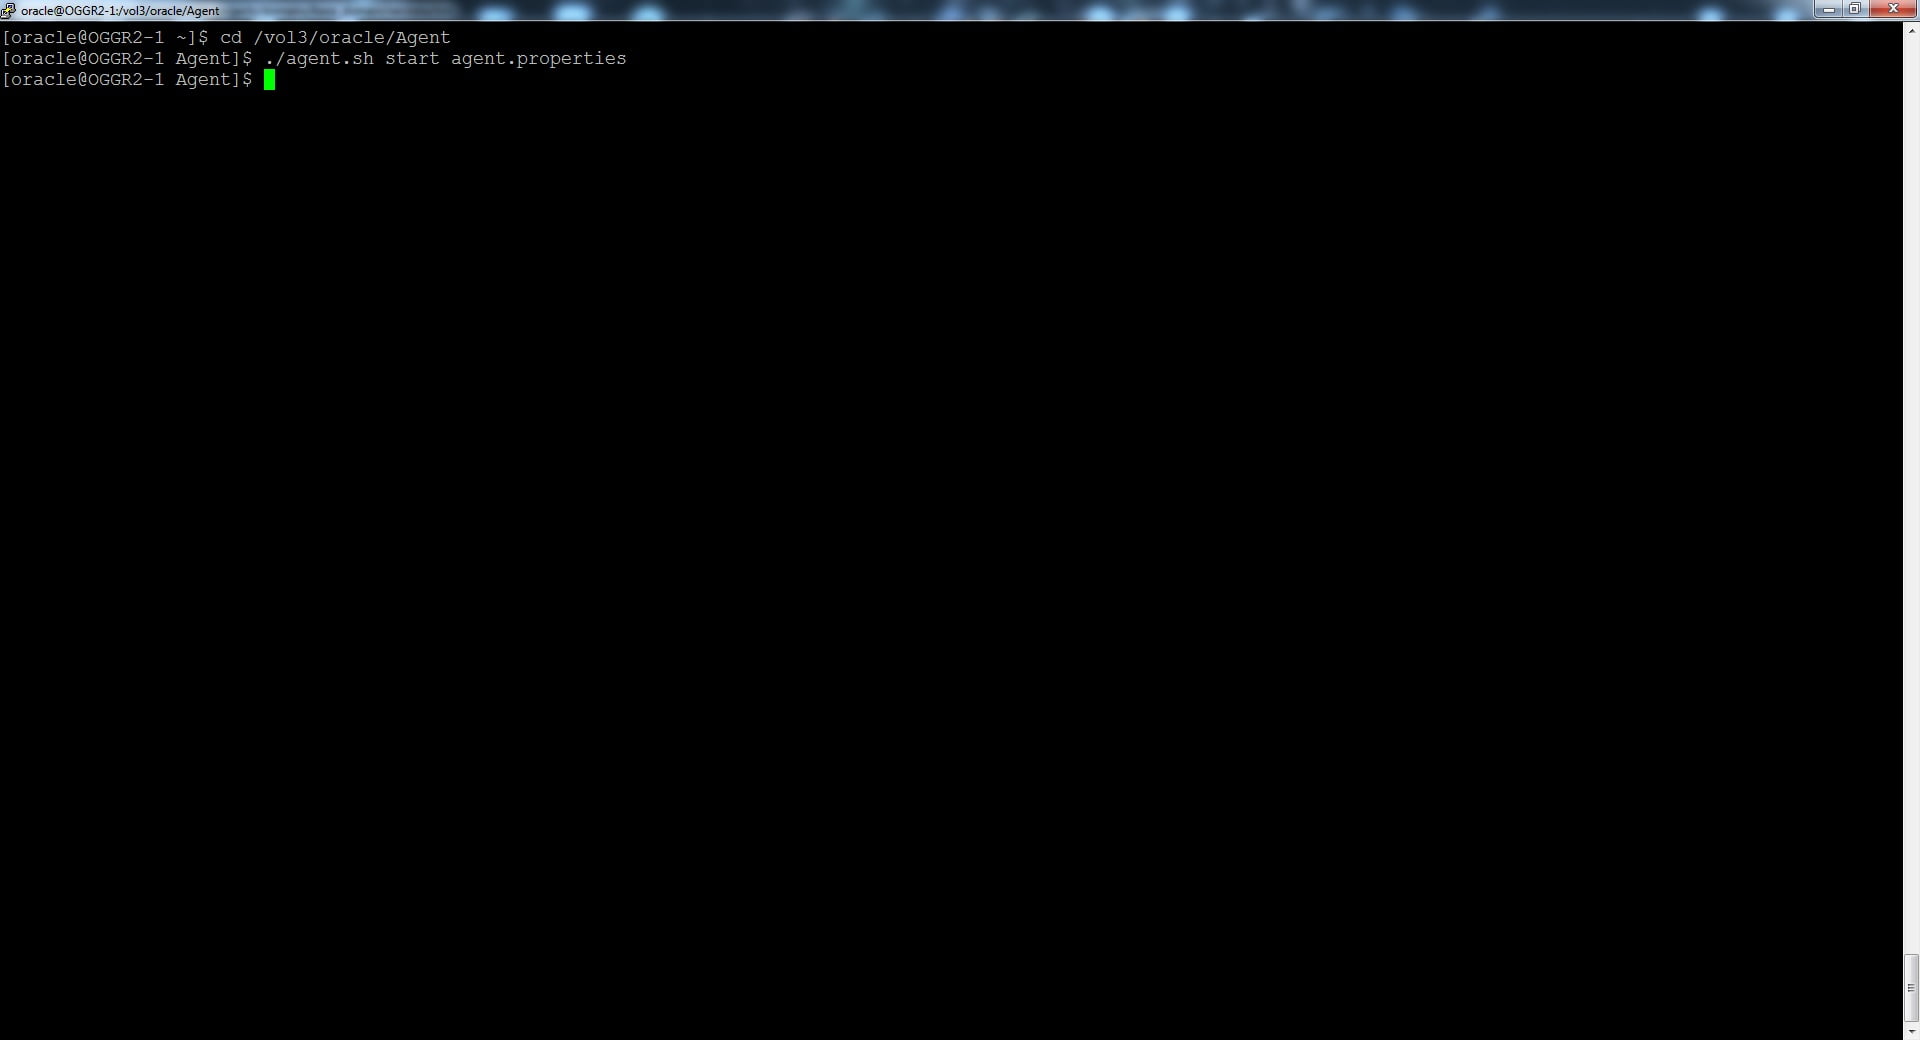
2c. Start the Agent as below. Navigate to the Agent Home and issue the below command.
cd /vol3/oracle/Agent
./agent.sh start agent.properties
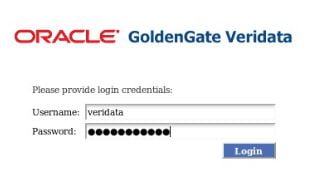
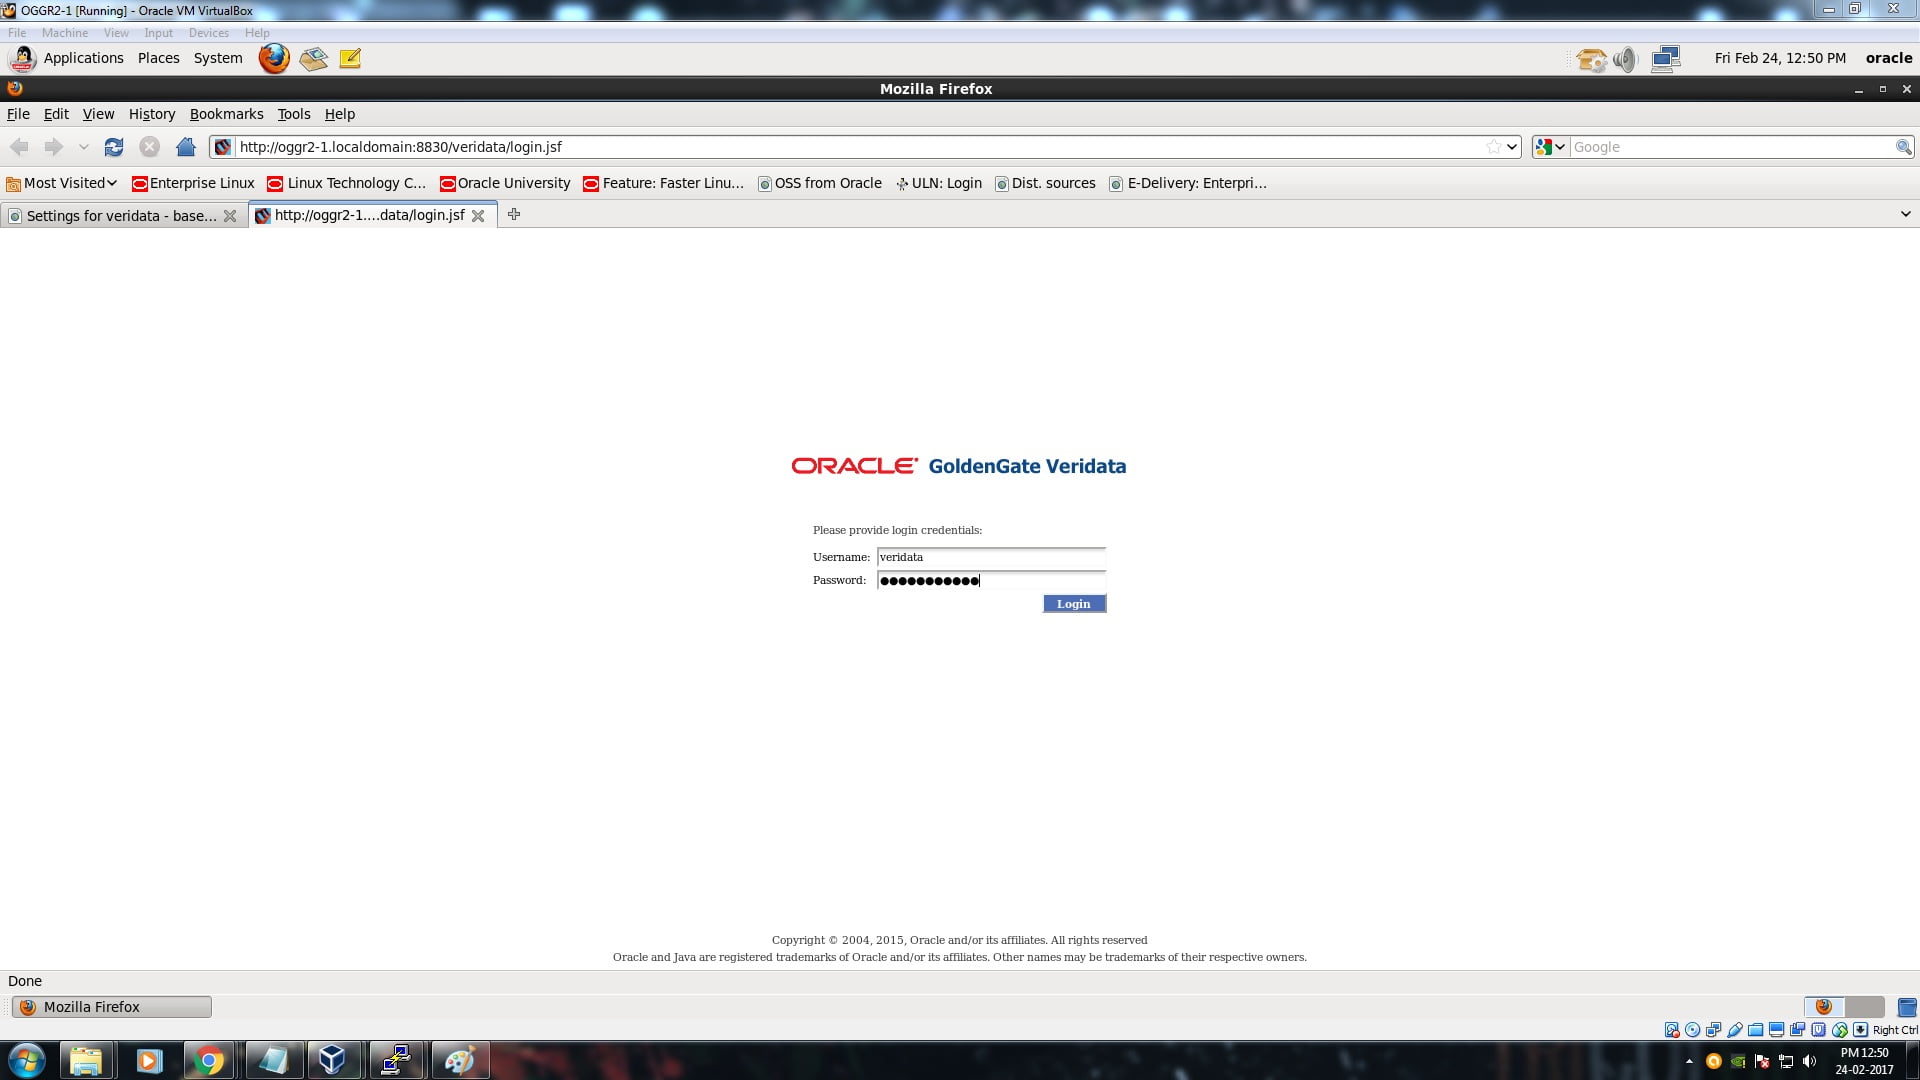
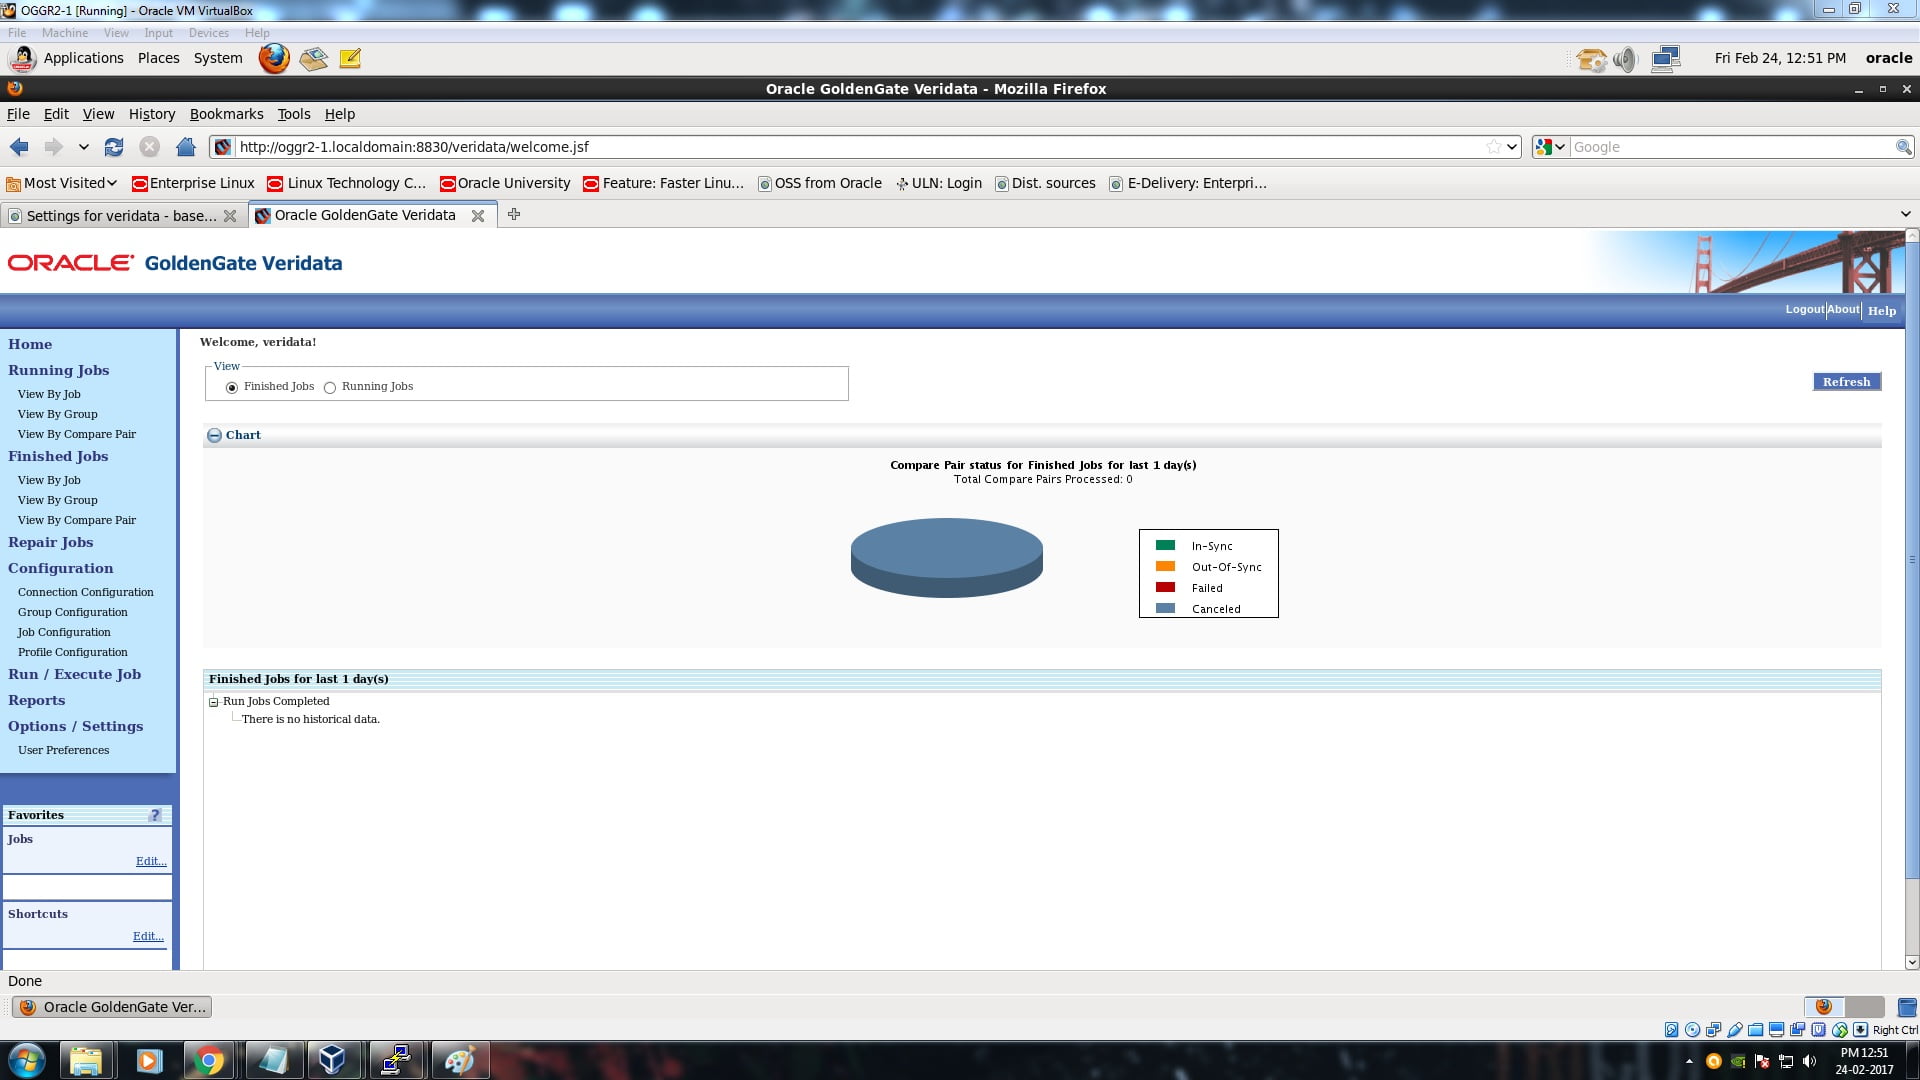
Now login to the Veridata Server using the below URL
http://oggr2-1.localdomain:8830/veridata/login.jsf
Now you can perform your tasks like Comparison, Repair etc., using Oracle GoldenGate Veridata
TO BE NOTED IN WINDOWS
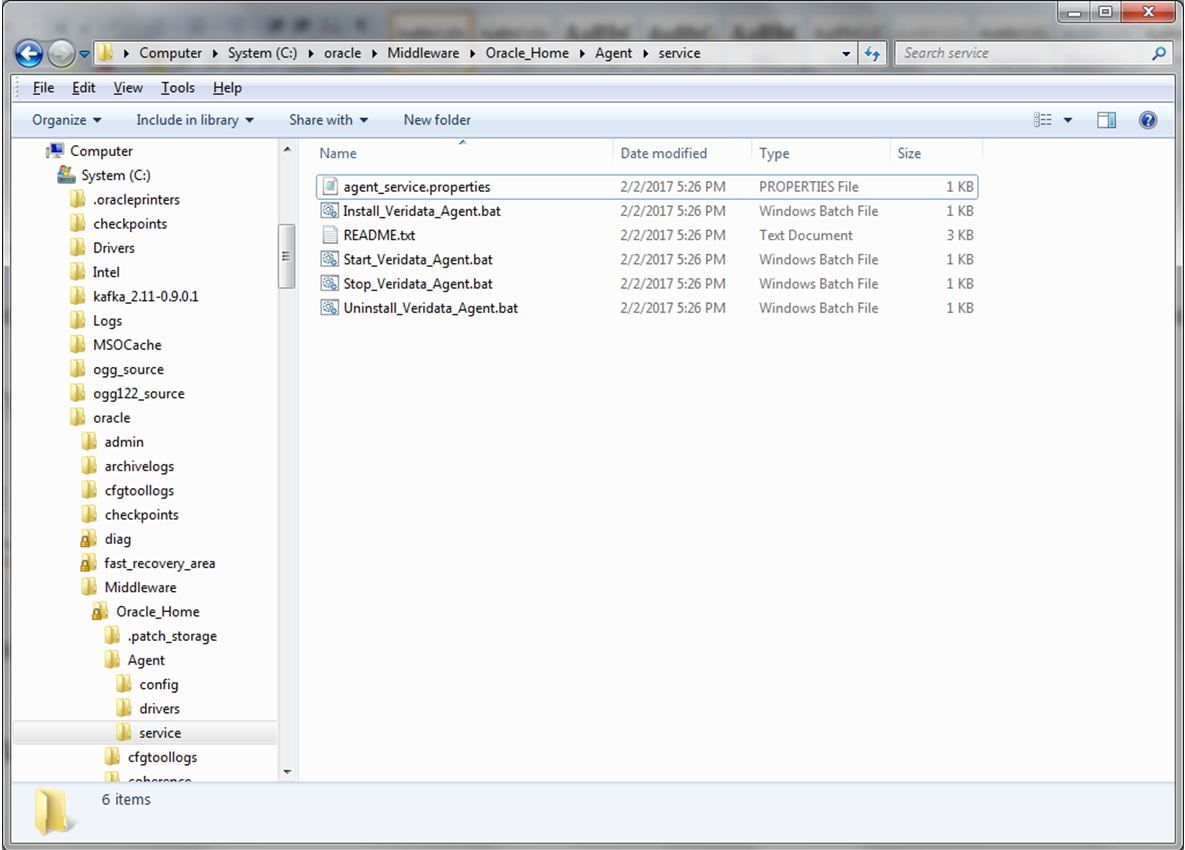
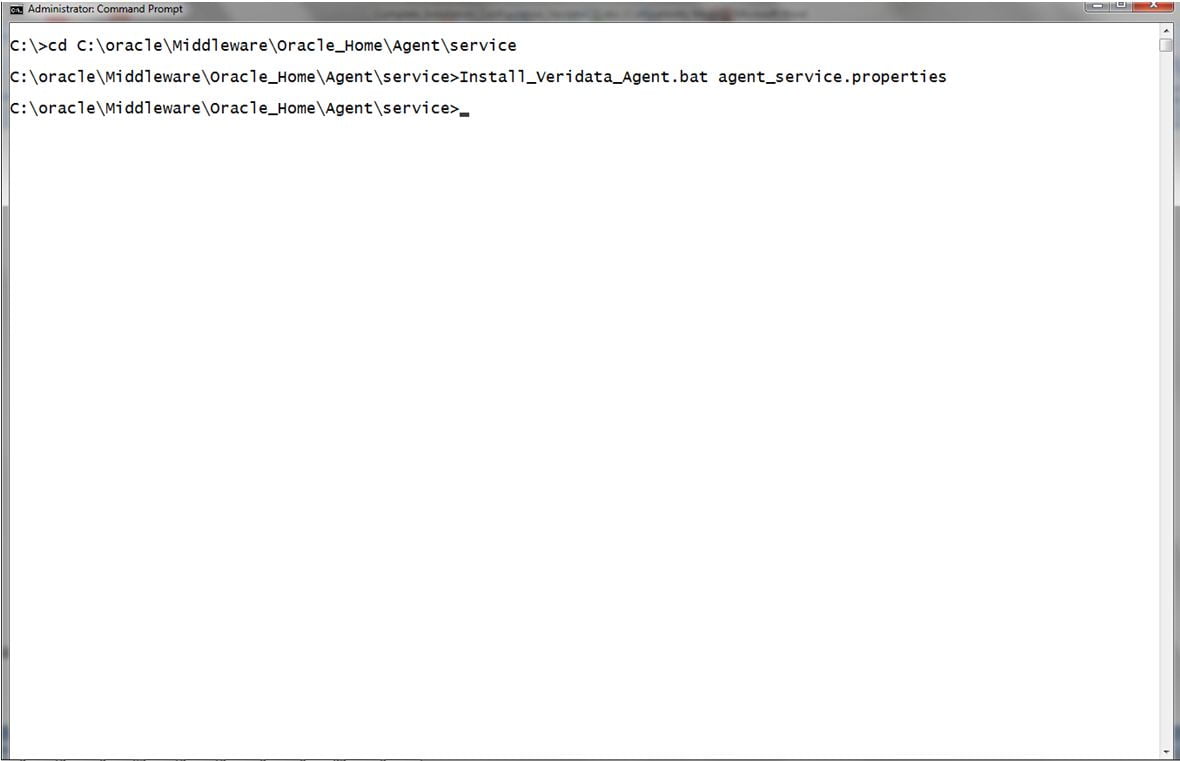
When installing in Windows, there is a slight change in starting the Agent after deploying it. You need to create the Agent as a service in Windows. I had already performed the installation in Windows and this is how it should be done.
Go to the below location and edit the agent_services.properties file.
C:\oracle\Middleware\Oracle_Home\Agent\service
_VERIDATA_SERVICE_NAME=
Give a name to the agent as below,
_VERIDATA_SERVICE_NAME=VAgent
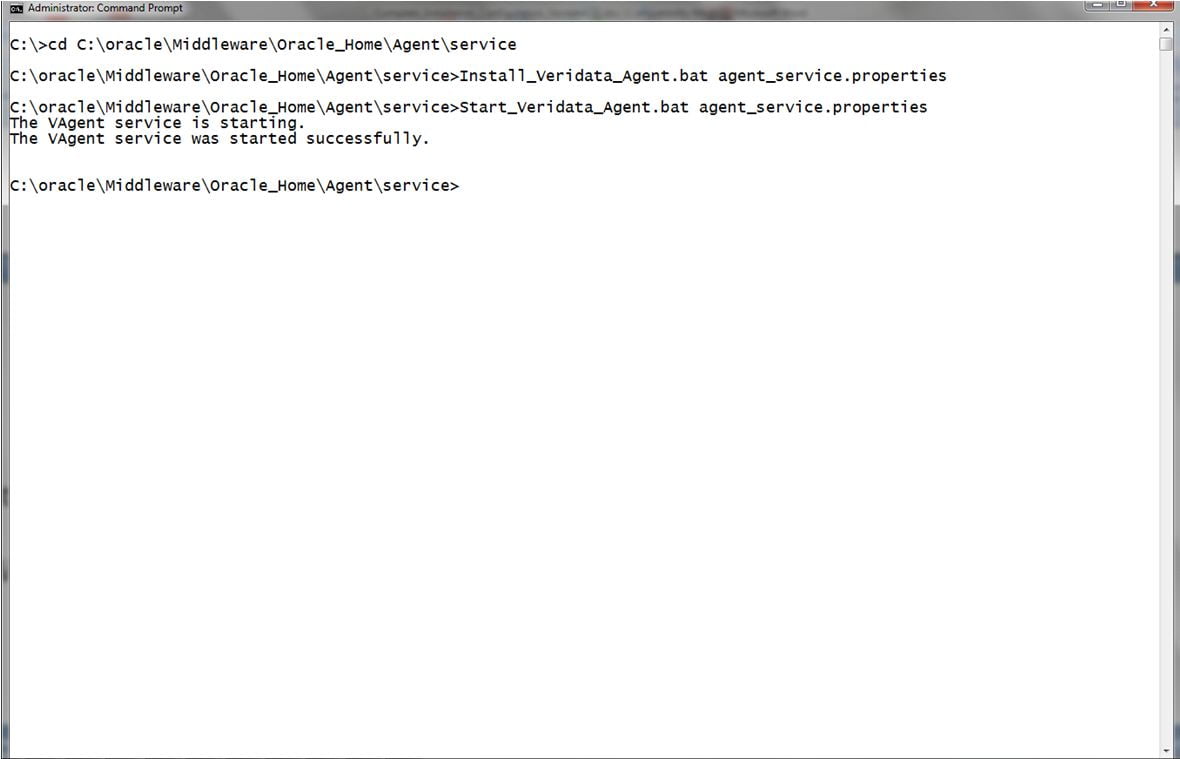
Now start the Veridata Agent using the below command.
Start_Veridata_Agent.bat agent_service.properties
Hope you enjoyed this article. Your comments and suggestions are always welcome.
Cheers
Veera





 Total Users : 1791213
Hi,
Thanks for your efforts first. I am looking for this steps from couple of months.
Can you please clarify me one thing. If i am having source and target nodes (Source: 0gg1) and (target:0gg2).
can i install/configure weblogic ,fusion middle ,veridata server and agent on Source node itself ?
I hope agent need to be installed on target too.
Even from your steps i see that you used only one machine OGGR2-1.
Thanks,
Sai Krishna M
Hi Sai,
Thanks for the comments.
I have performed the installation on the same host and hence installed the agent in the same host.
You need to install the agent in the target instances.
Hi Veera,
Your step by step solution worked like a magic, thanks for this.
Hi Veera,
Thank you for the easy to follow step by step installation documentation.
Thanks,
Sreesha
Thanks Sreesha!!
Hello Veera,
Thank you very much indeed for the beautiful solution. I did follow it step by step and it worked for me . However, I am having an issue with the agent configuration. I want to compare oracle and db2. I have been able to successfully test the connection for db2. I however encounter this error when testing for Oracle “OGGV-00030: Type specified does not match correct type. Correct type is DB2”. I am using the same agent.properties. When i comment the db2 url, connection to Oracle is successful. How do i configure the agent for both databases? Thank you.
Nat
Thanks for your comments Nat.!!
You can have agent installed for each database separately. I mean you can use two separate agents.
~Veera
Thank you very much it the one of best Veridata user guide I have found.
Very good article. If I need to install Veridata Agent on a different Database server I must install the Veridata Agent only is this correct? I can’t deploy the Veridata Agent from Veridata Server onto a different DB Server.
-Joe
Yes that’s right.
Hi Veera, simply superb and straightforward. The best reference for Veridata Installation. Thank You
Hi Veera
Excellent. This is very useful !!!
Can I deploy the agent on the middle-tier server and access the database remotely via JDBC? I am trying that and getting agent start errors. OGGV-00103 Cannot connect to {hostname} , OGGV-00108 Cannot start RHS Agent mgr={hostname}
Thanks
Yes. Agent can be either native or remotely configured. Please check JDBC URL and Port information in your agent.properties file.