
Oracle GoldenGate Veridata is a high-speed, data-comparison and repair solution that identifies, reports on, and fixes data discrepancies between heterogeneous databases without interrupting ongoing business processes automatically. It provides an easy-to-use yet powerful solution for identifying out-of-sync data before it negatively impacts the business.
Oracle GoldenGate Veridata 23c now supports Snowflake with key functionalities such as data comparison, data repair, and the generation of Repair SQL. This means, you can now easily compare data between Snowflake databases—and even between Snowflake and other database systems, whether Snowflake is the source or the target.
This article explains steps required to compare data between Oracle as source and Snowflake as target.
Configure Veridata Agent for Snowflake
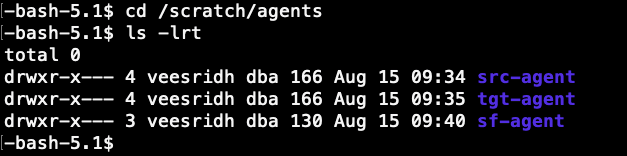
Create and deploy an Agent for Snowflake. This agent is responsible for fetching data from the Snowflake database.

Create an agent.properties file by copying the existing agent.properties.sample file.
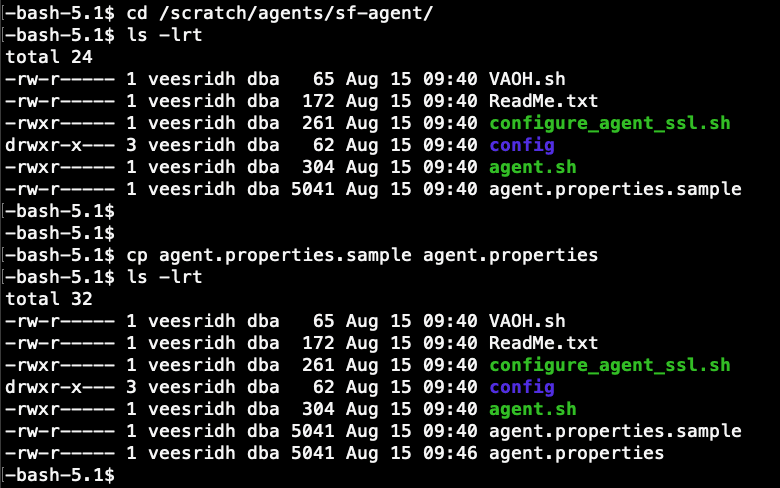
Edit the agent.properties and provide the values for the below parameters and save it.
database.url=jdbc url details of snowflake

server.port=7583

server.jdbcDriver=snowflake-jdbc-3.24.0.jar
Here, the jdbc driver “snowflake-jdbc-3.24.0.jar” for Snowflake needs to be downloaded. I have downloaded it from below link,
https://mvnrepository.com/artifact/net.snowflake/snowflake-jdbc/3.24.0
Please download the driver to the directory “$VERIDATA_HOME/agent/drivers” location.
Start the Agent.


Now the agent is deployed and started. Next step is to create connection to the Snowflake database.
Connection Creation
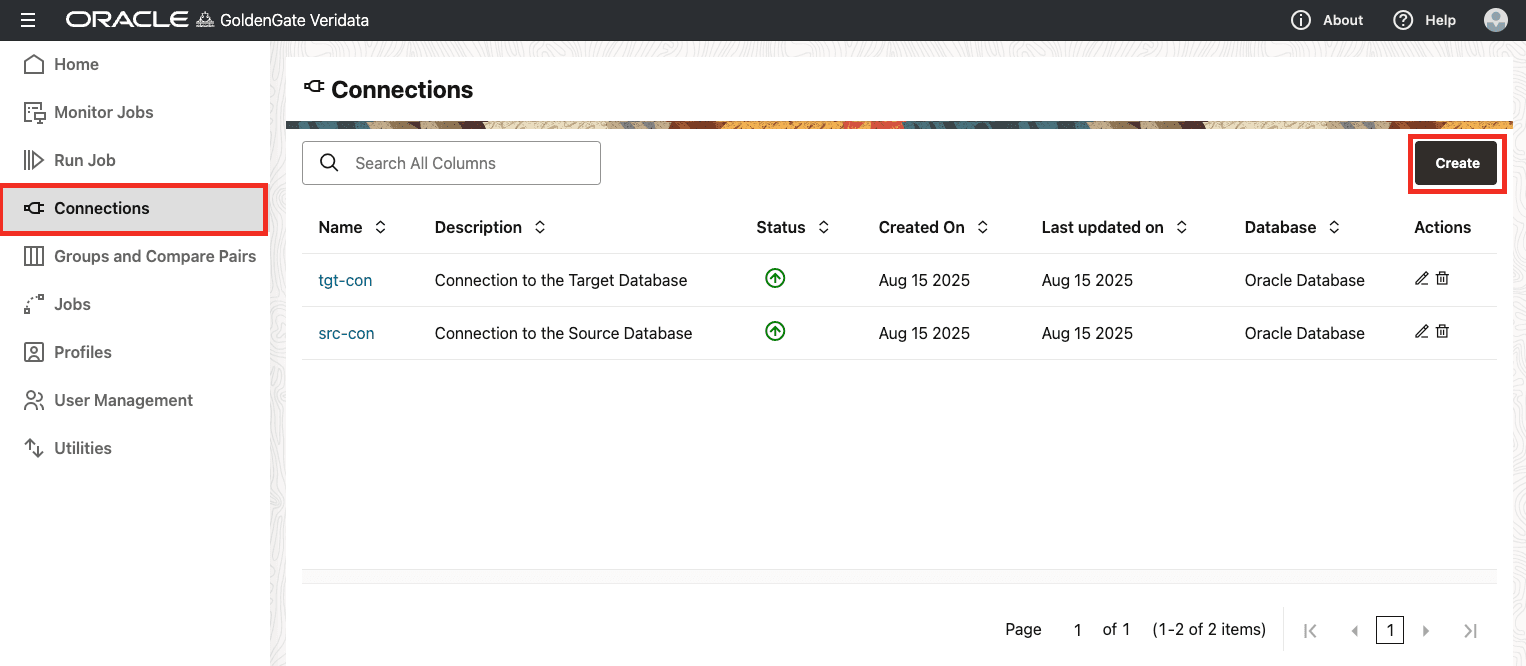
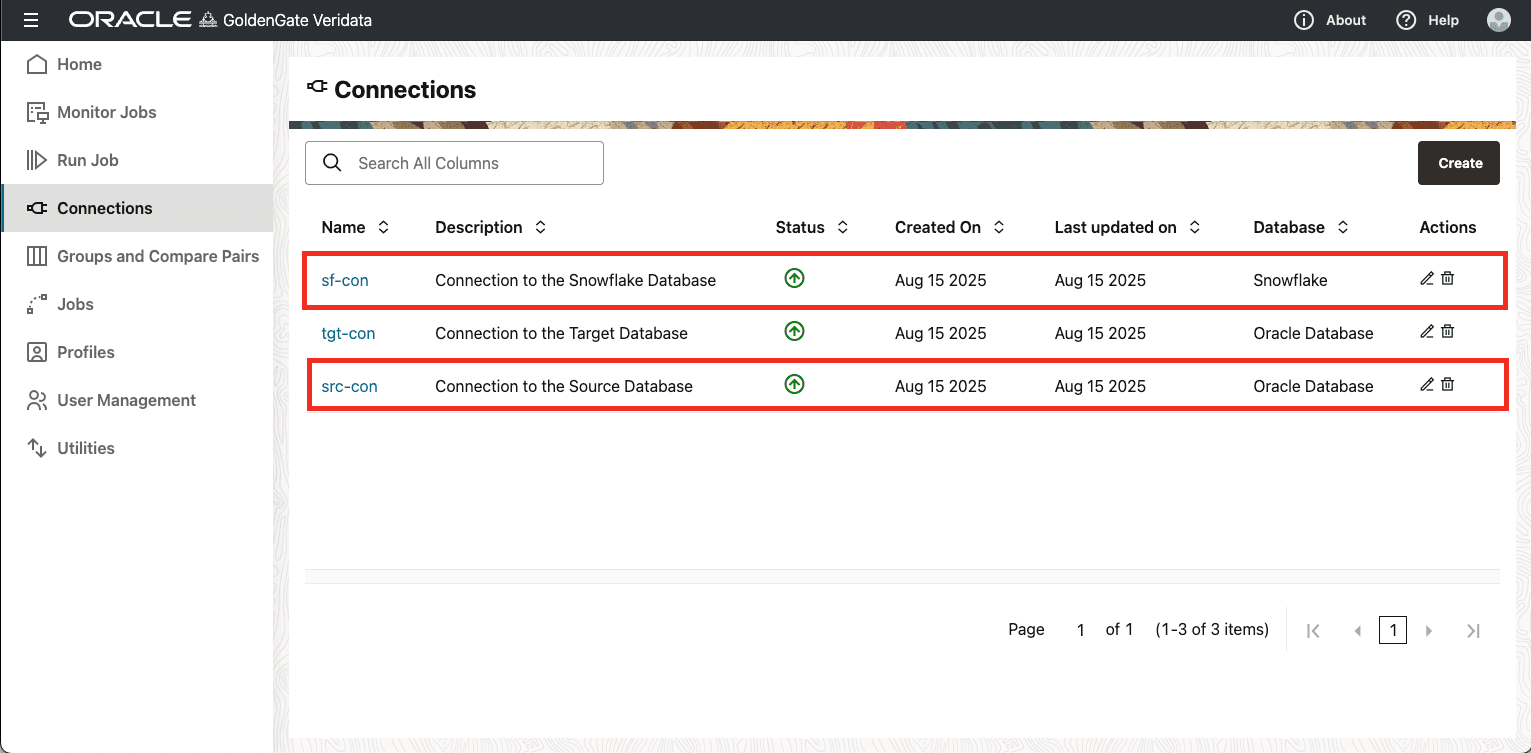
Login to the Veridata 23c UI. Click on the “Connections” in the left side panel to navigate to the Connections page.
Click on “Create” to create a connection.
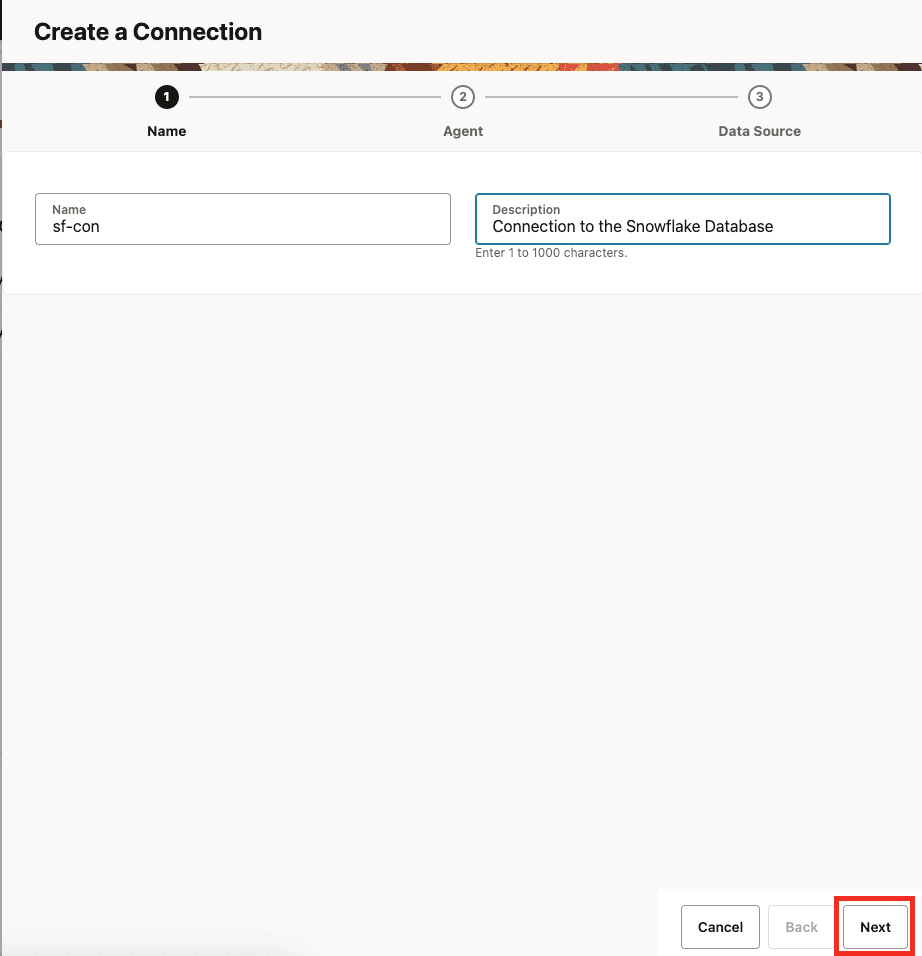
Provide the required details and click on “Next” button.
In this screen, provide the hostname and port of the Veridata Agent and then click on “Verify”. This should automatically detect the database type.
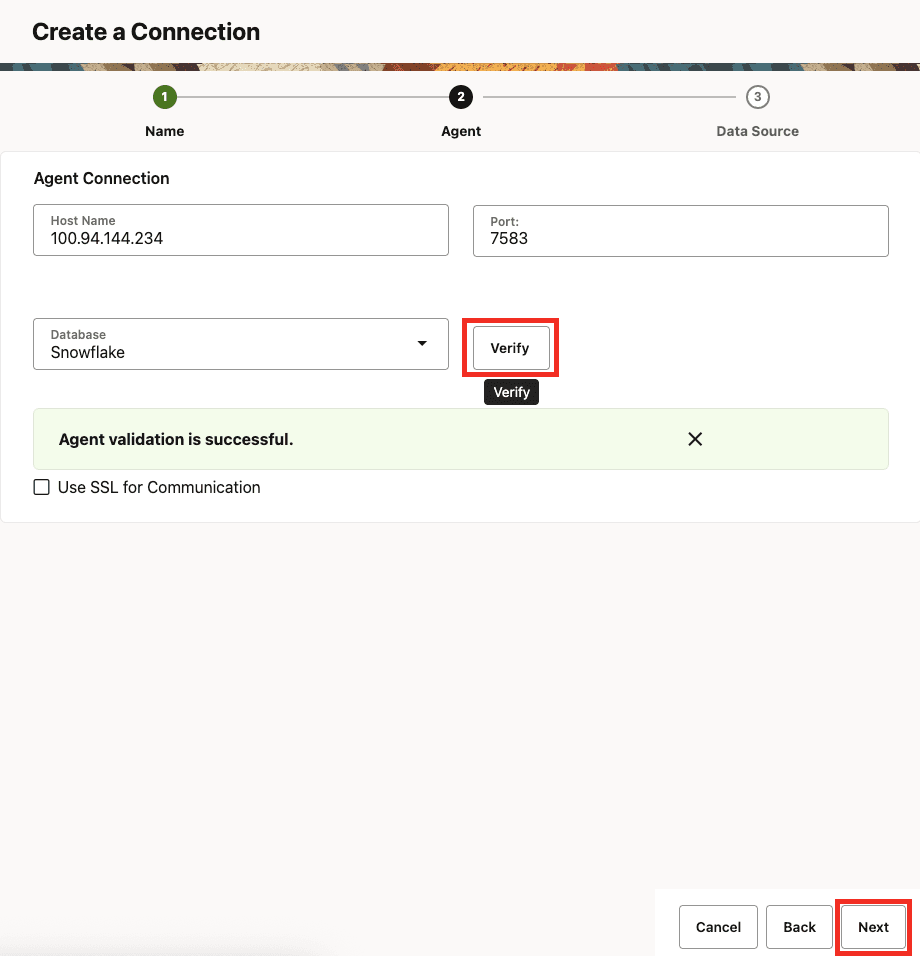
Click on “Next” button.
Provide the Data Source connection details and click on “Submit” button. You can also test the connection by clicking the “Test Connection” button.
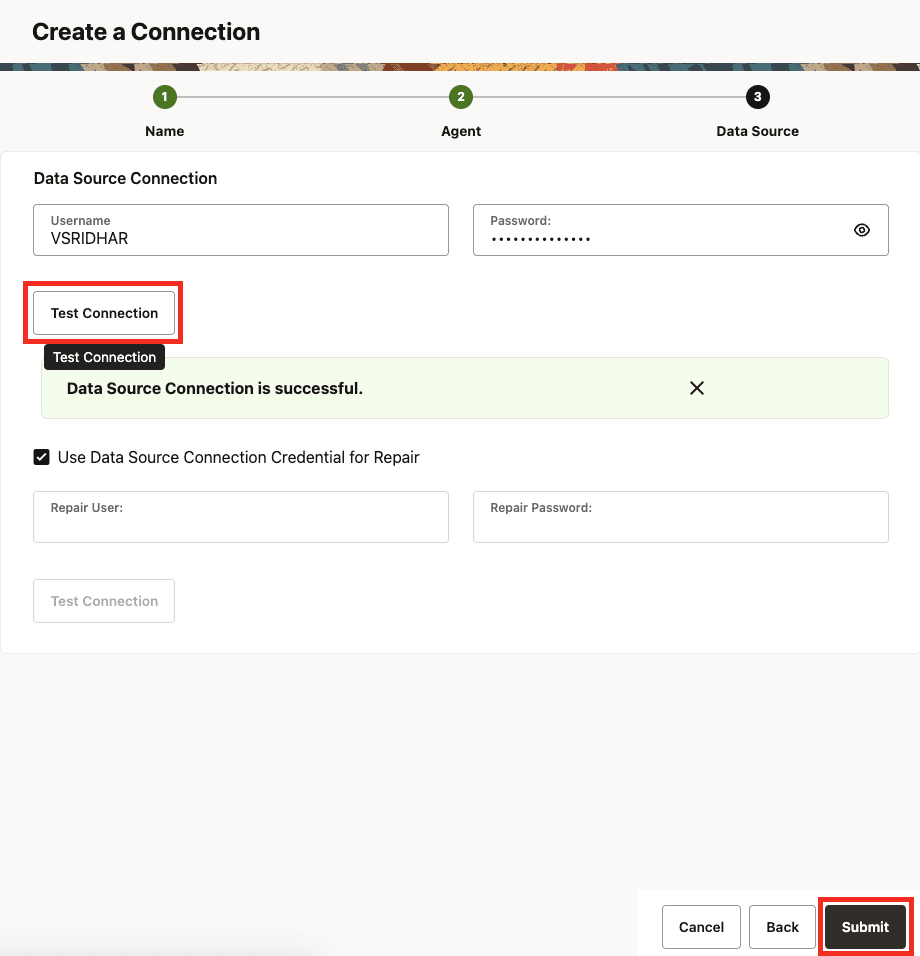
The connection to the Snowflake database has been created successfully.

I already have connection “src-con” created to my source database which is Oracle.
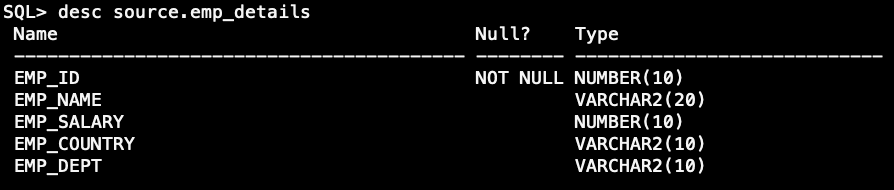
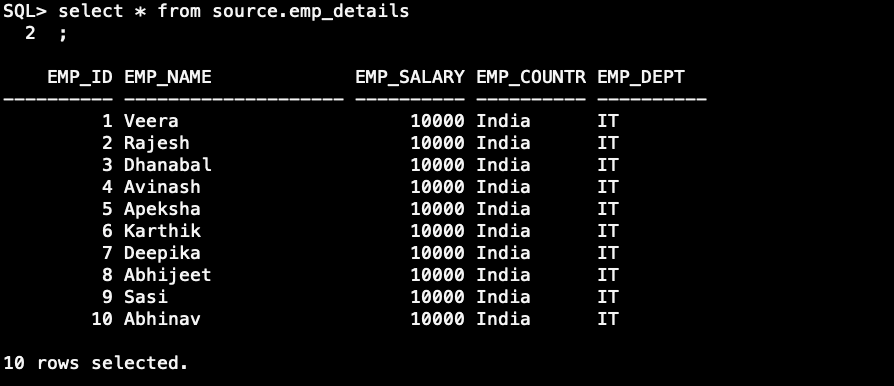
Source “Oracle” and Target “Snowflake” Table Details,
SOURCE – ORACLE
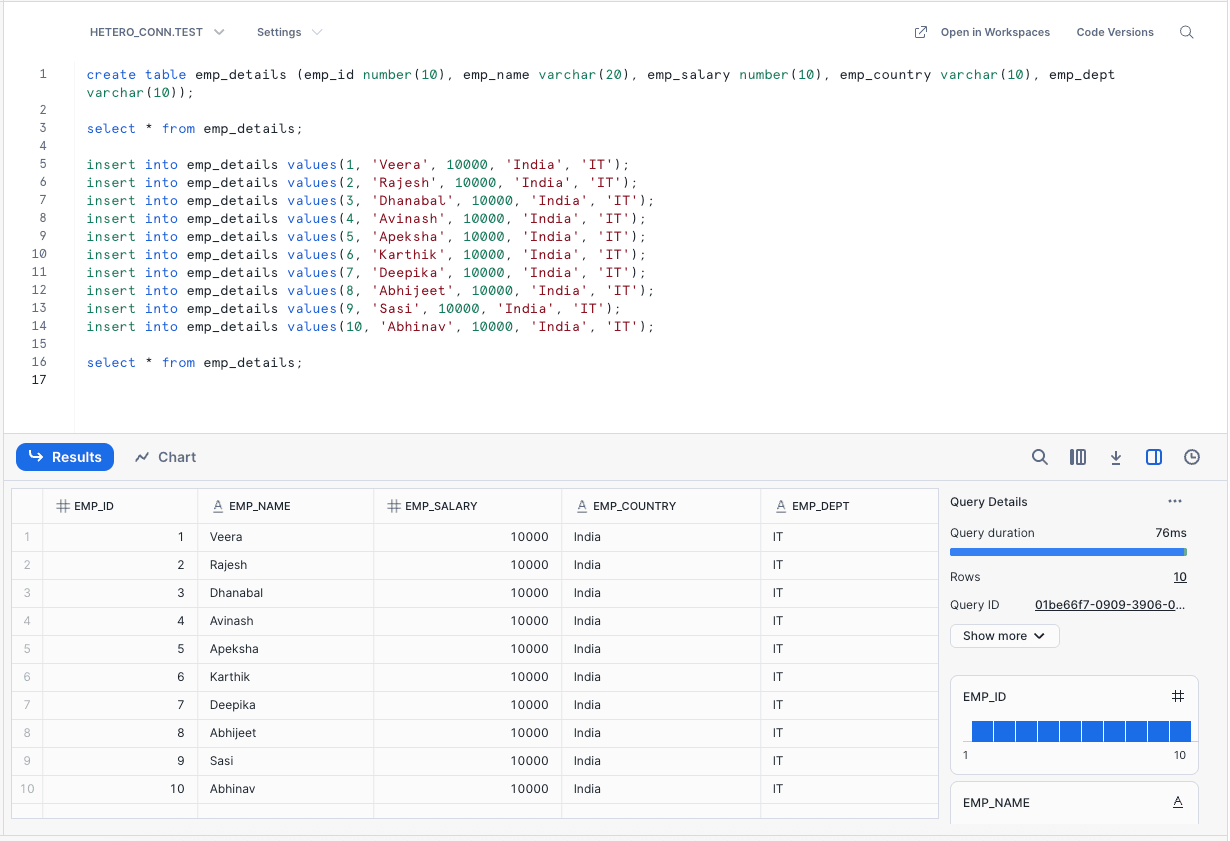
TARGET – SNOWFLAKE
Groups and Compare Pairs Configuration
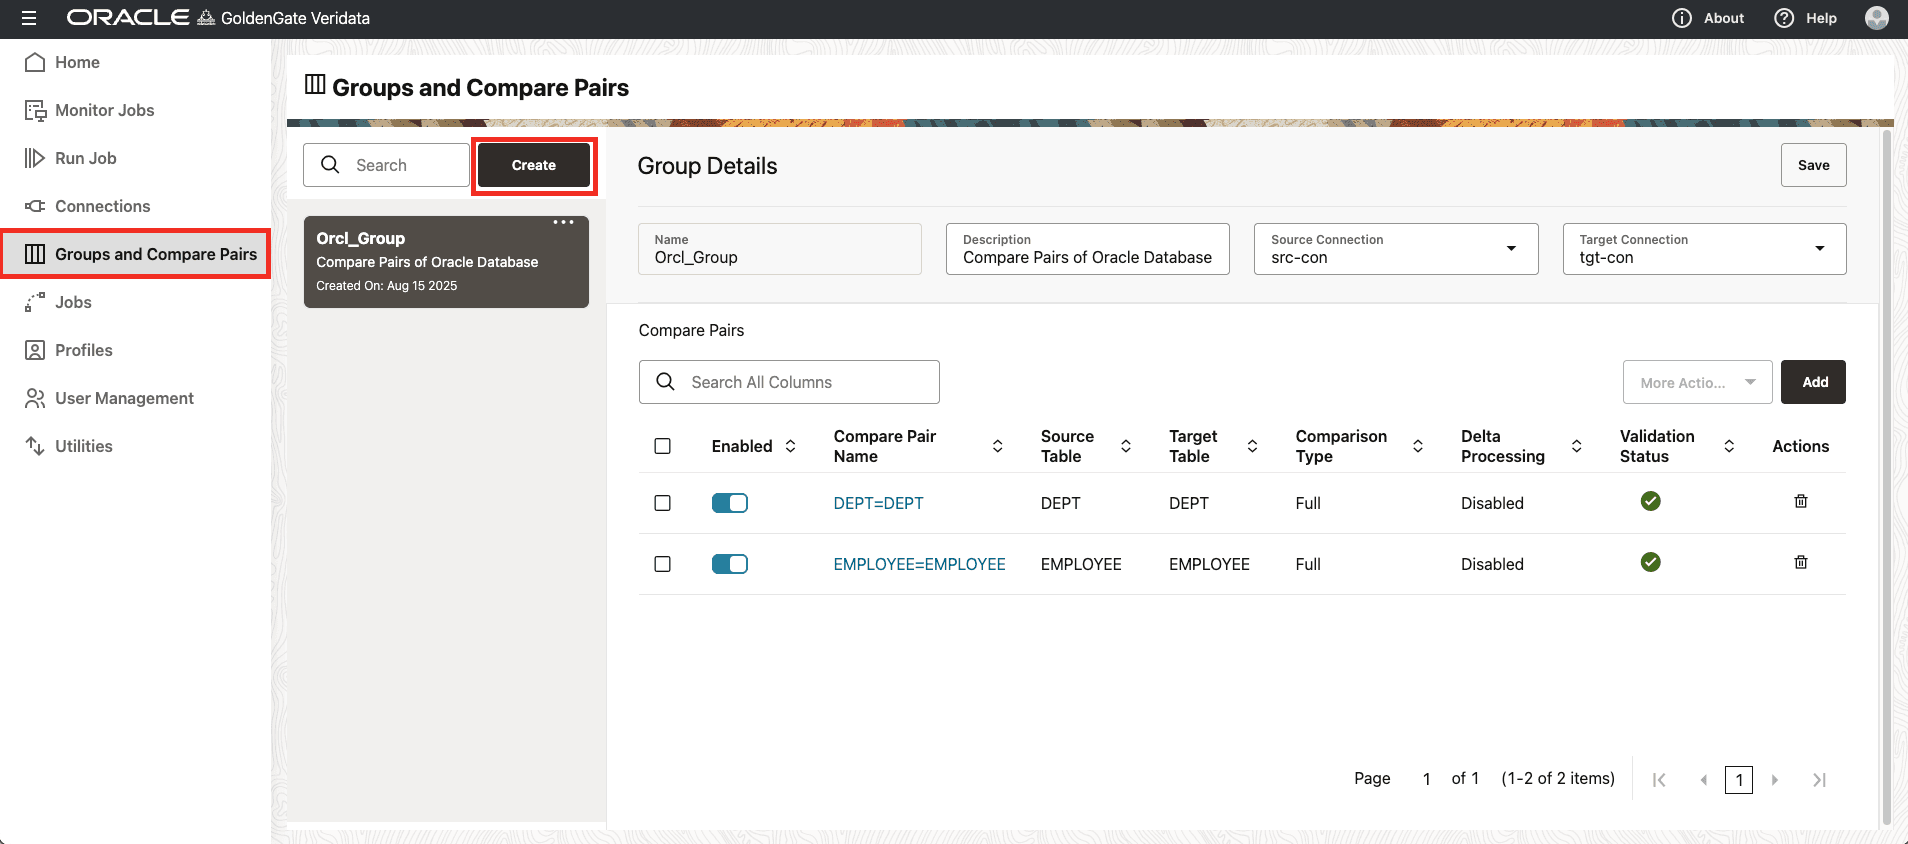
Let’s create the “Groups and Compare Pairs”. Click on the “Groups and Compare Pairs” in the left side panel,
Click on “Create” button and the “Create Group and Compare Pair” page comes up.
It has four sections which are,
. Configuration
. Mapping Rules
. Mapping
. Preview
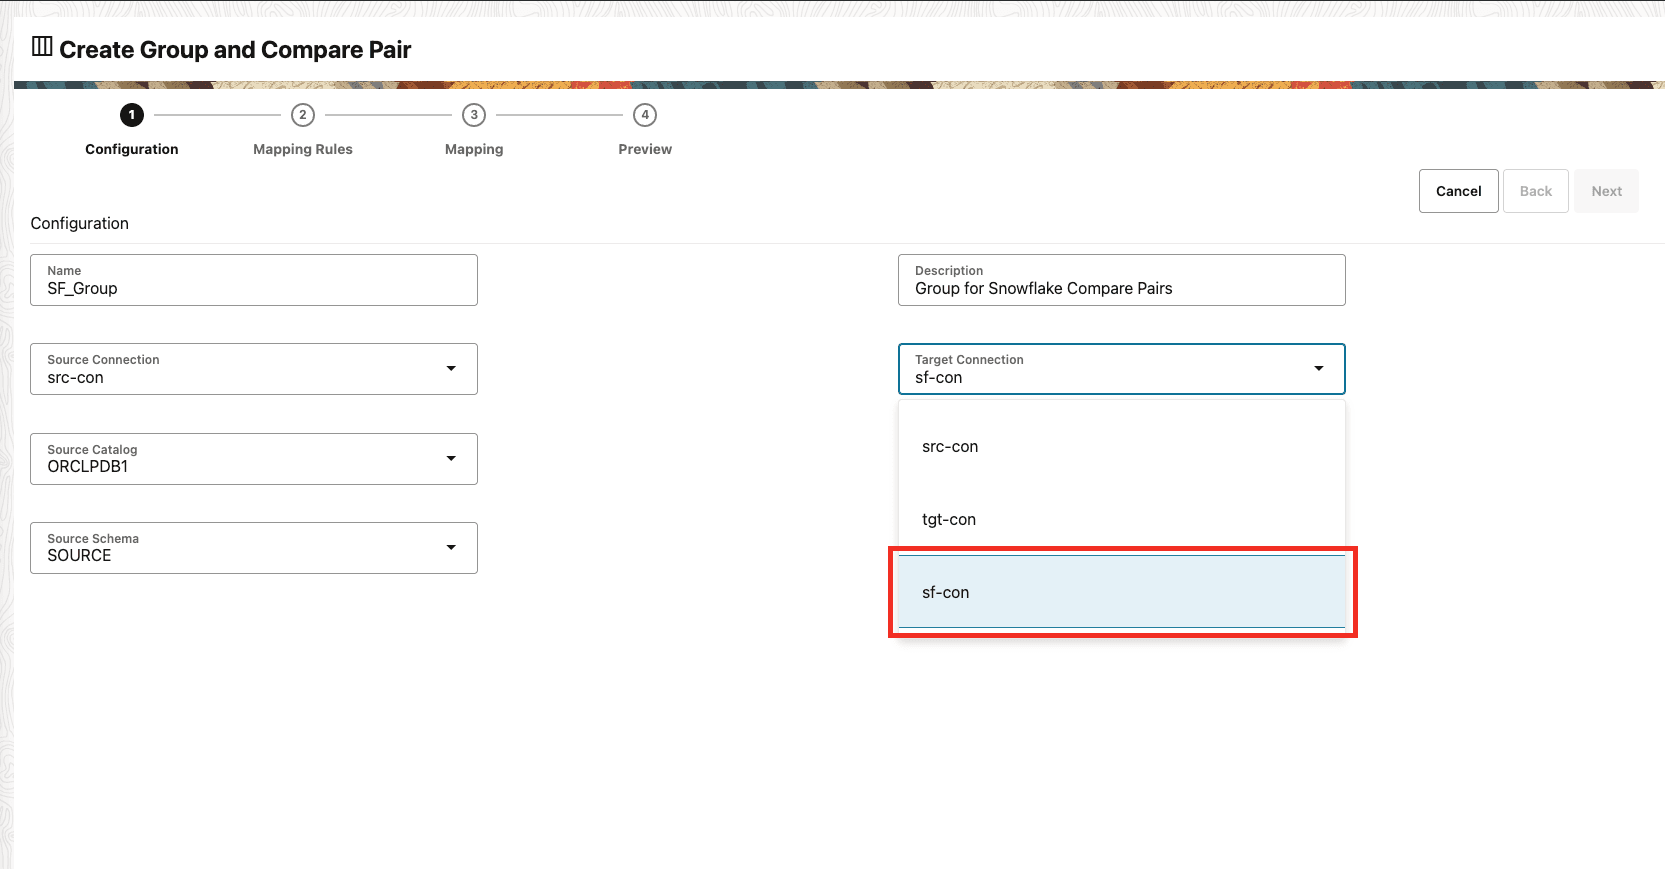
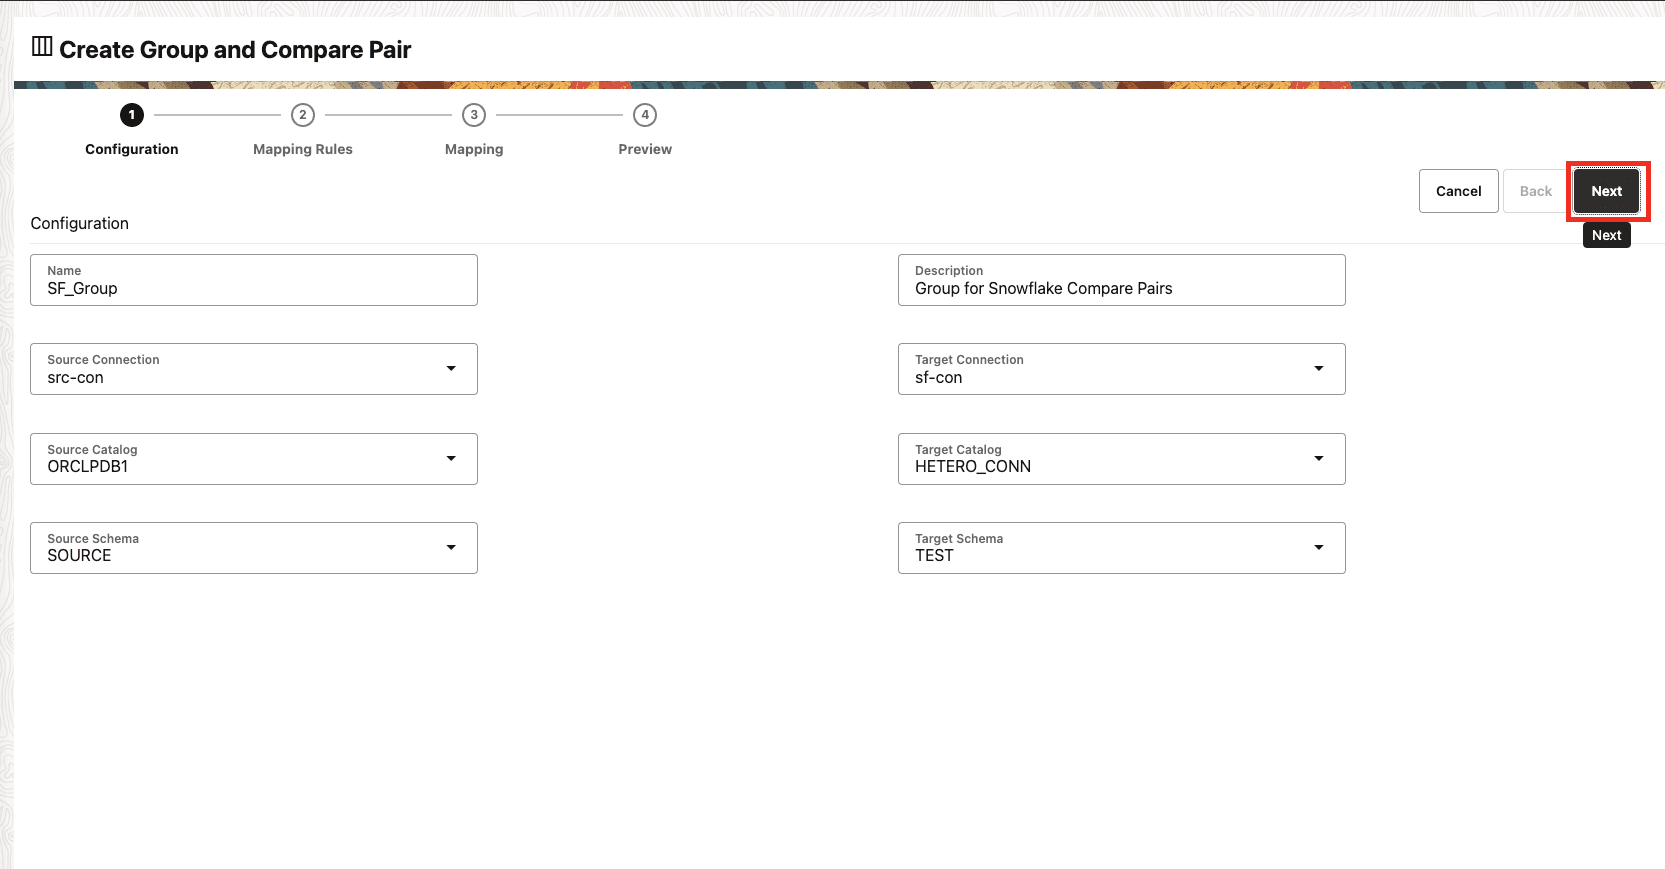
In the “Configuration” page, provide all the required details in it and click on “Next”.
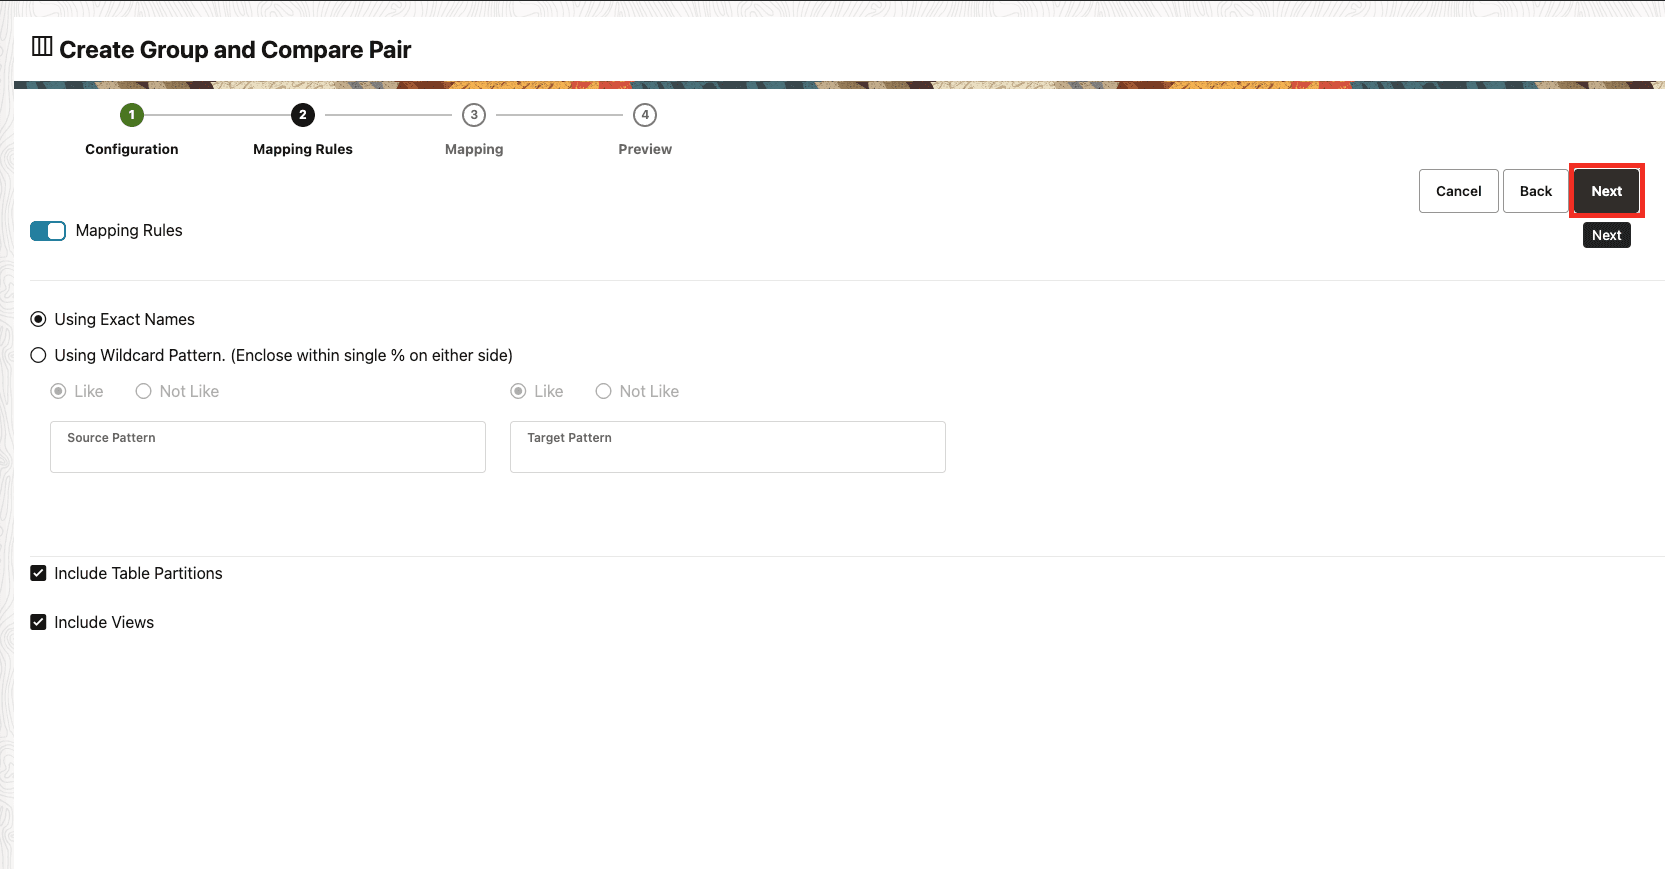
You will enter into the “Mapping Rules” page, I am just using the default settings and clicking on “Next”.
In the “Mapping” page, I am going to compare the data of EMP_DETAILS table. So, I have selected that alone.
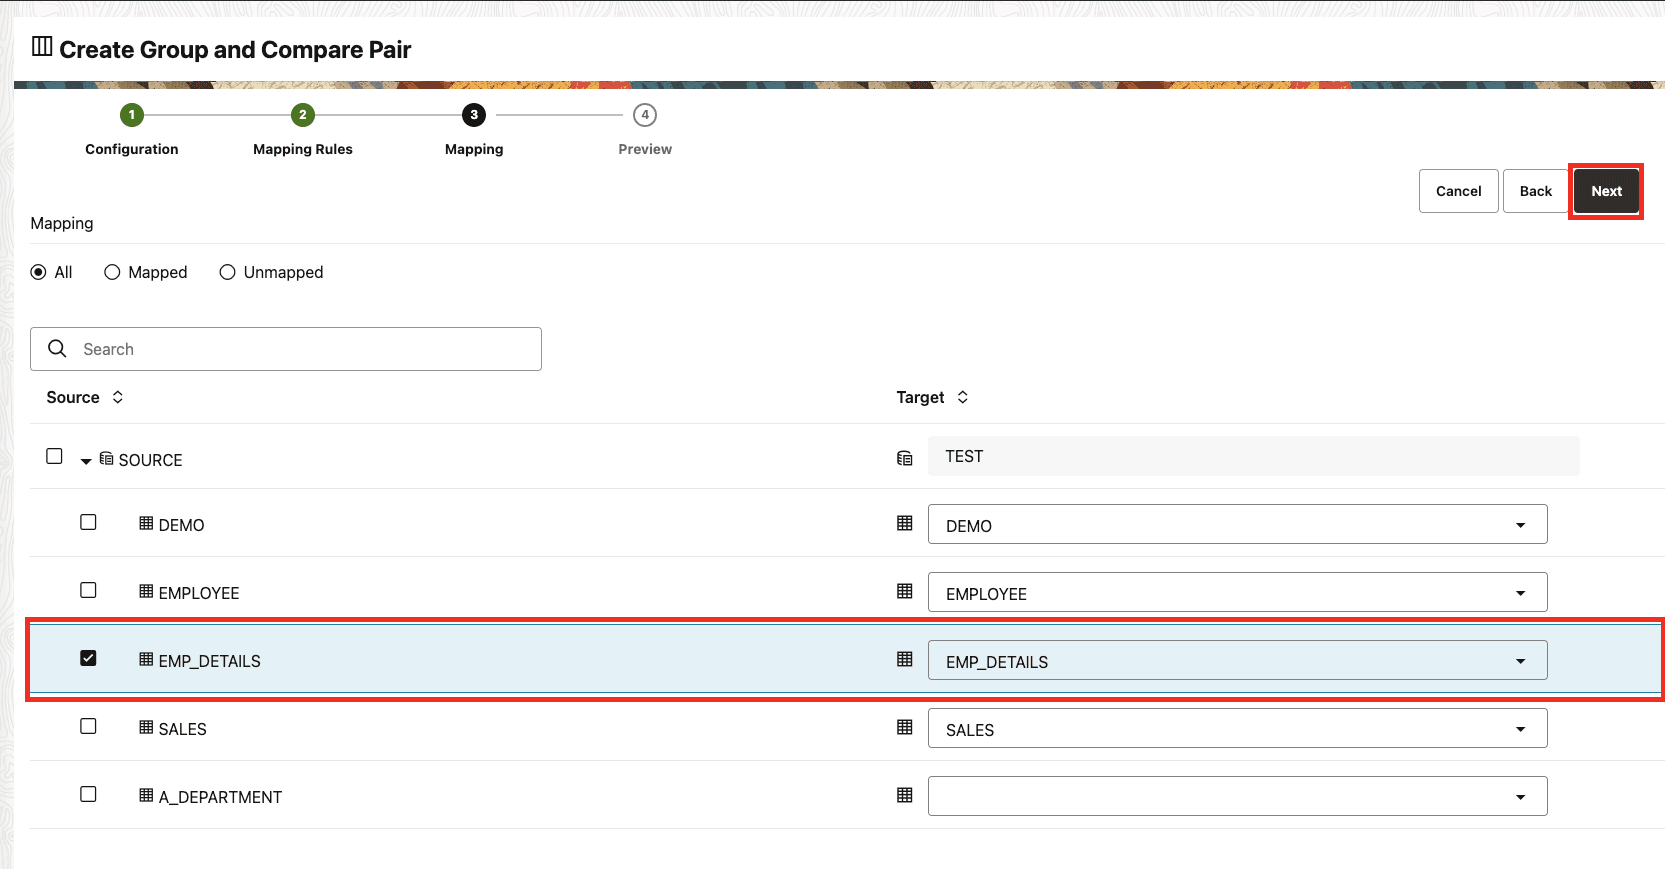
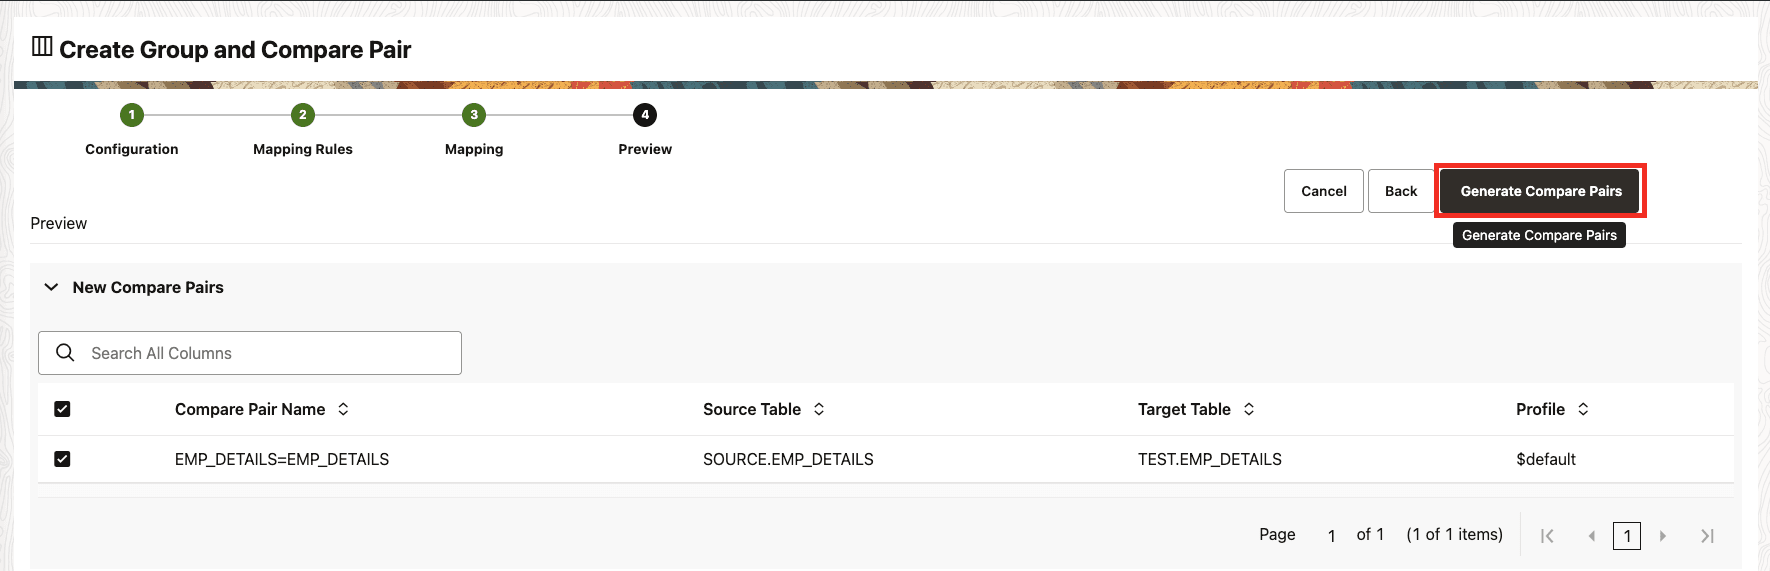
Click on “Next”. You will be taken to the final “Preview” page.
After verifying the information, click on the button “Generate Compare Pairs”. This will create the Group and Compare Pair accordingly.
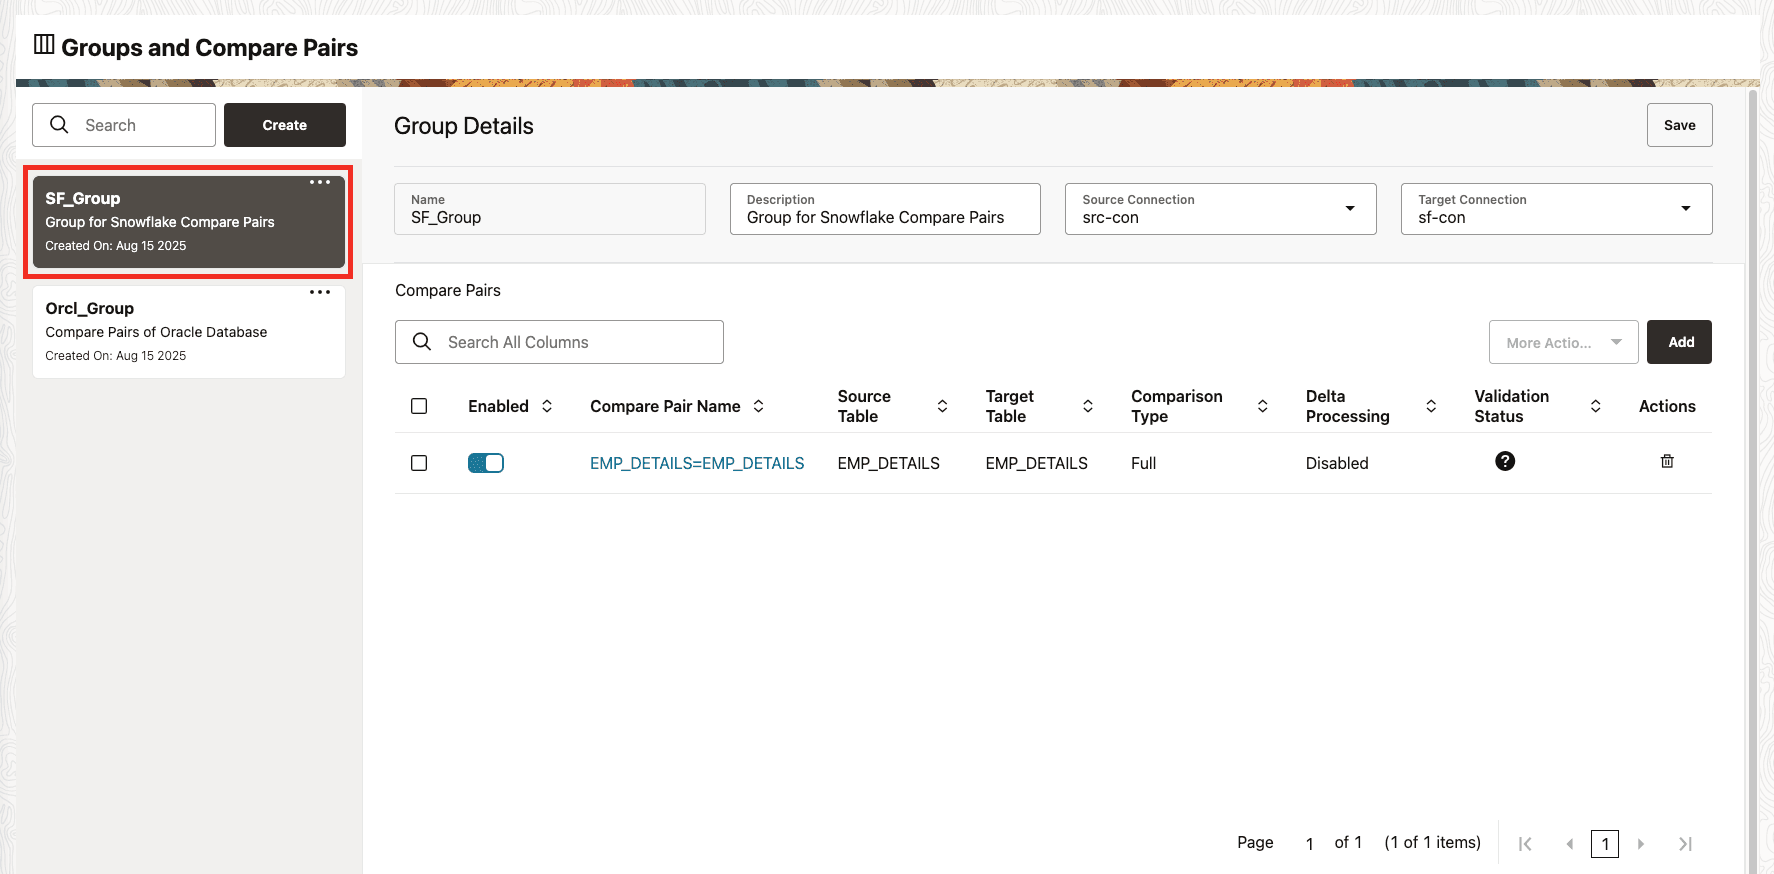
Now you can see the Group with the Compare Pair has been created successfully.
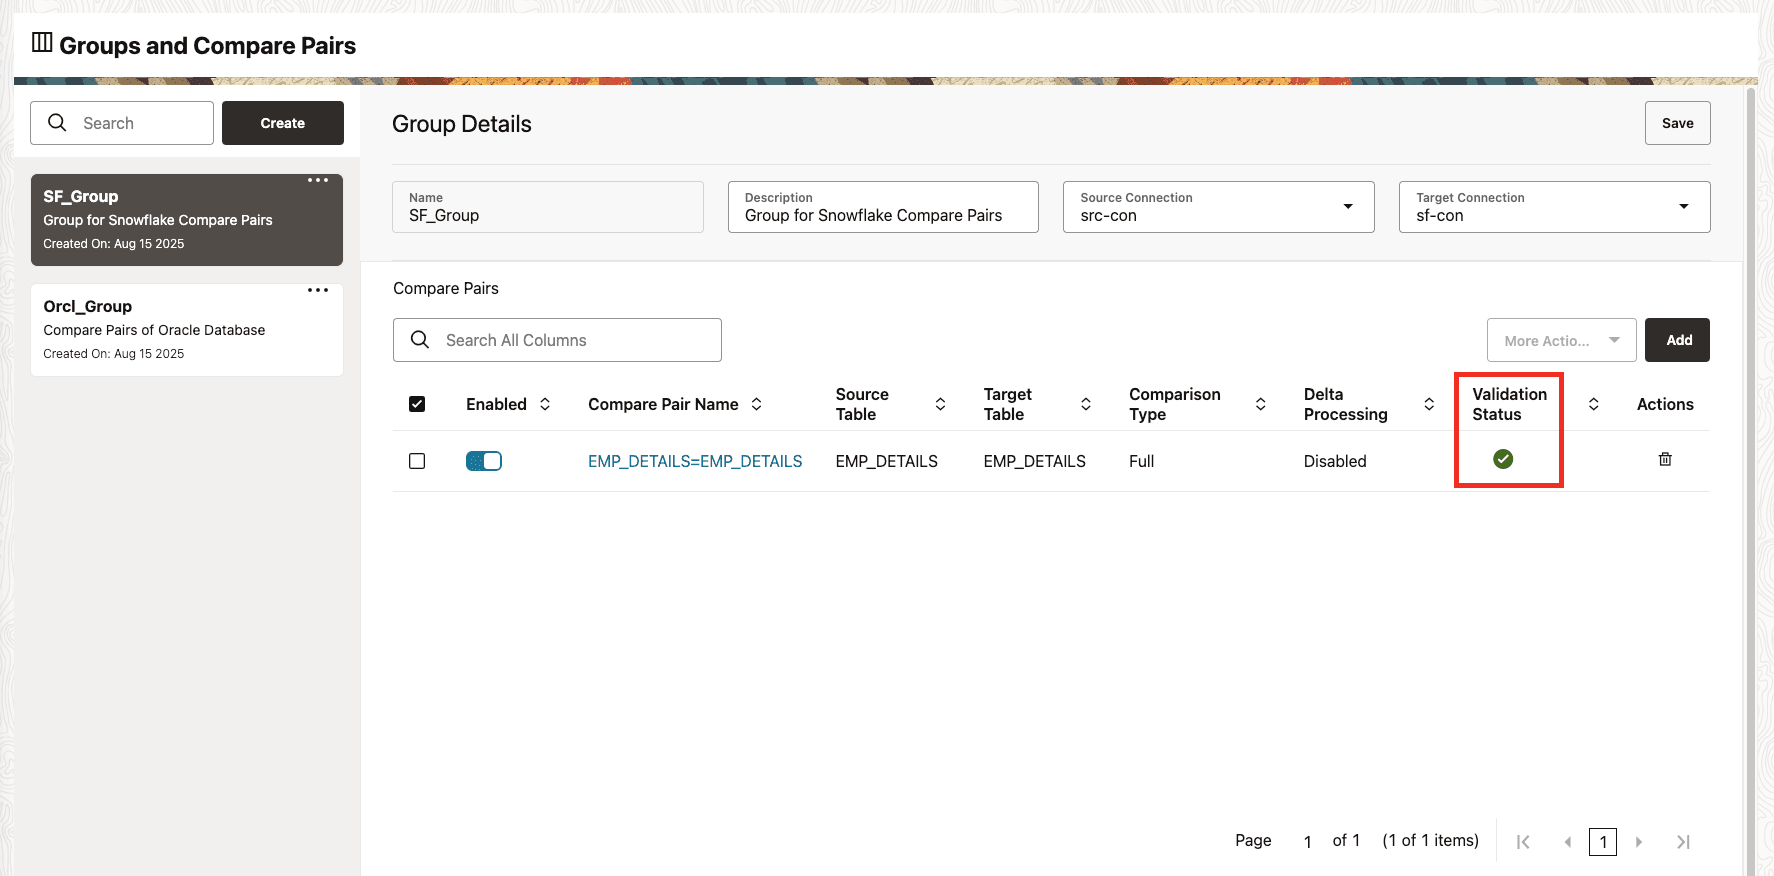
To Validate the column mapping, you can select compare pair and click on “More Actions” and then click the “Validate Column Mapping”.

Now you can see it is validated.
The next step is to create a job and assign this Group to it.
Job Creation
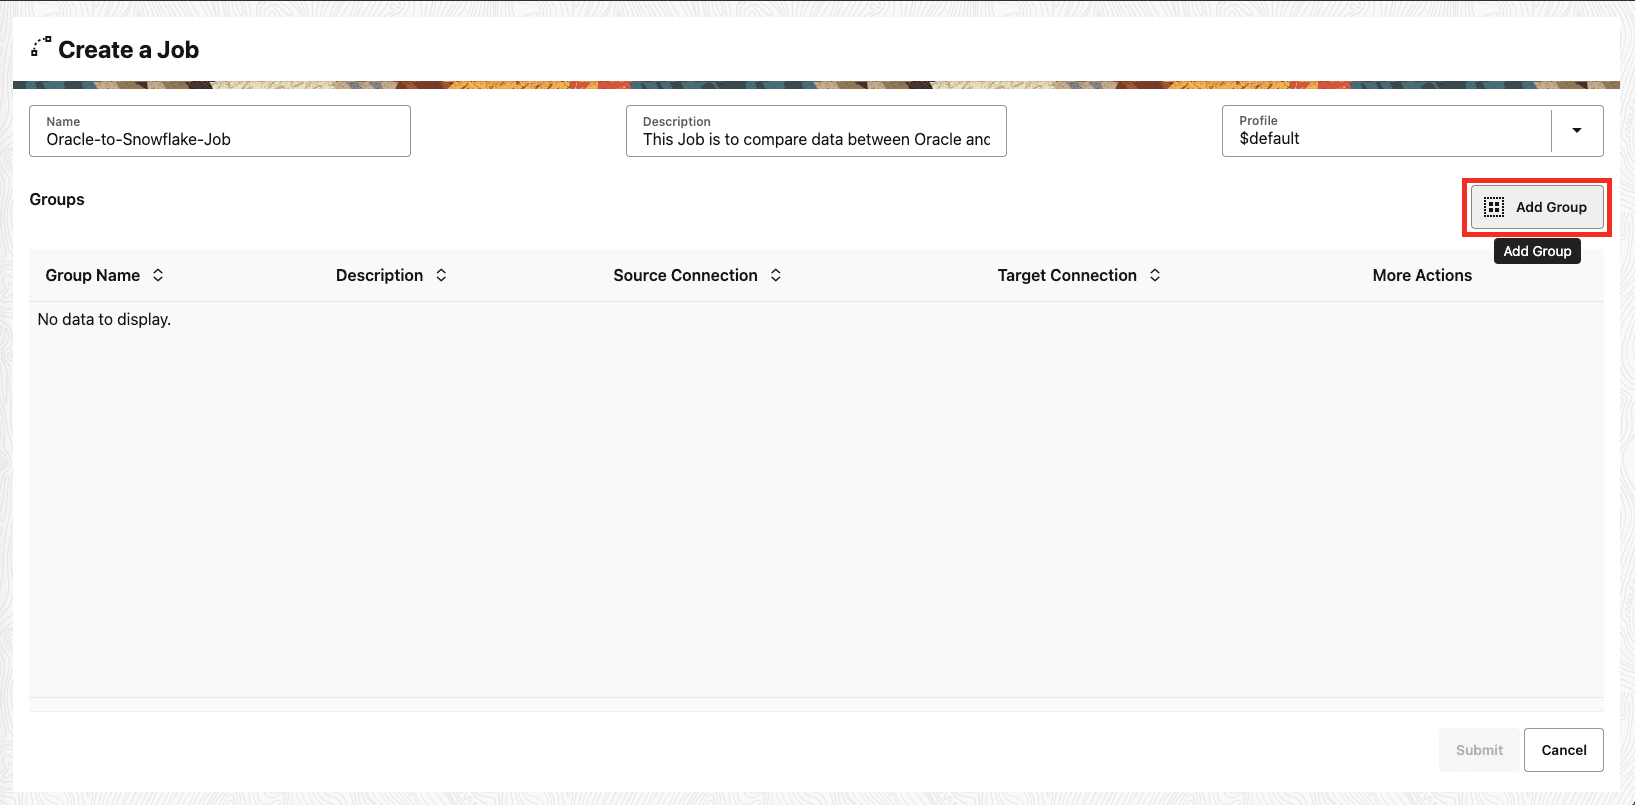
Click on the “Jobs” in the left side panel. Click the “Create” button to create a new Job.
Fill in the required details like Job name and description.

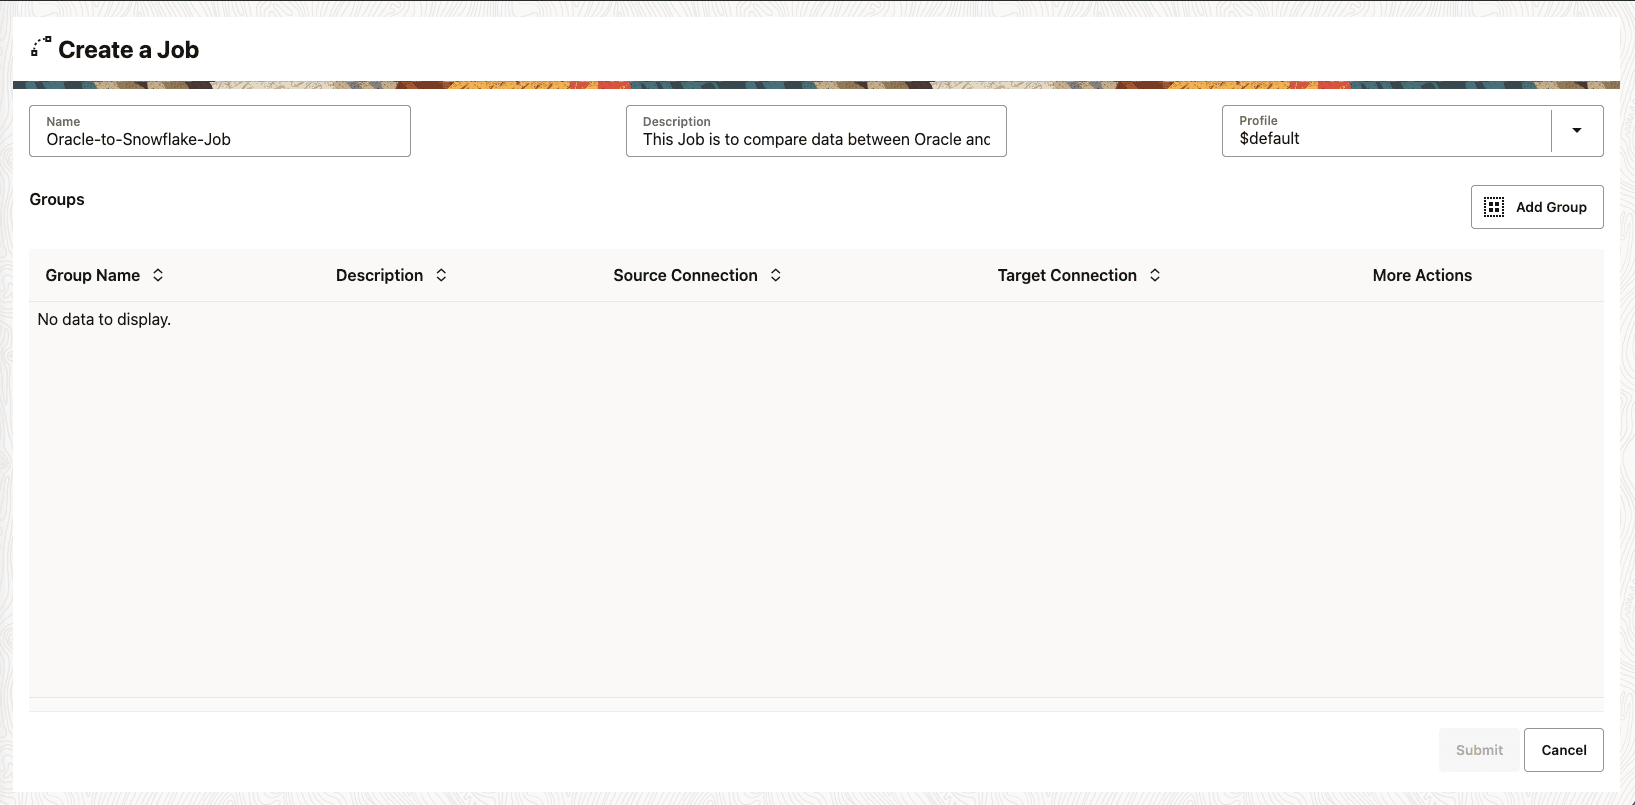
Click on “Add Group” and a side panel opens up where you can add the required groups to this job.
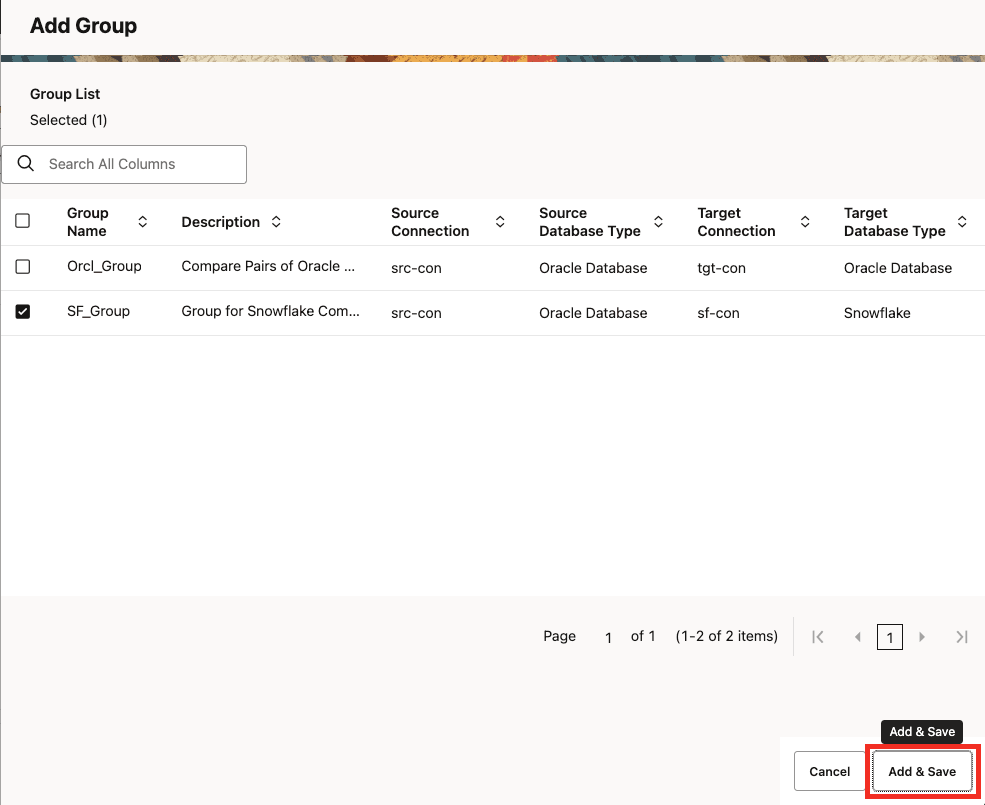
Here, Select the required groups which needs to get added to the job.
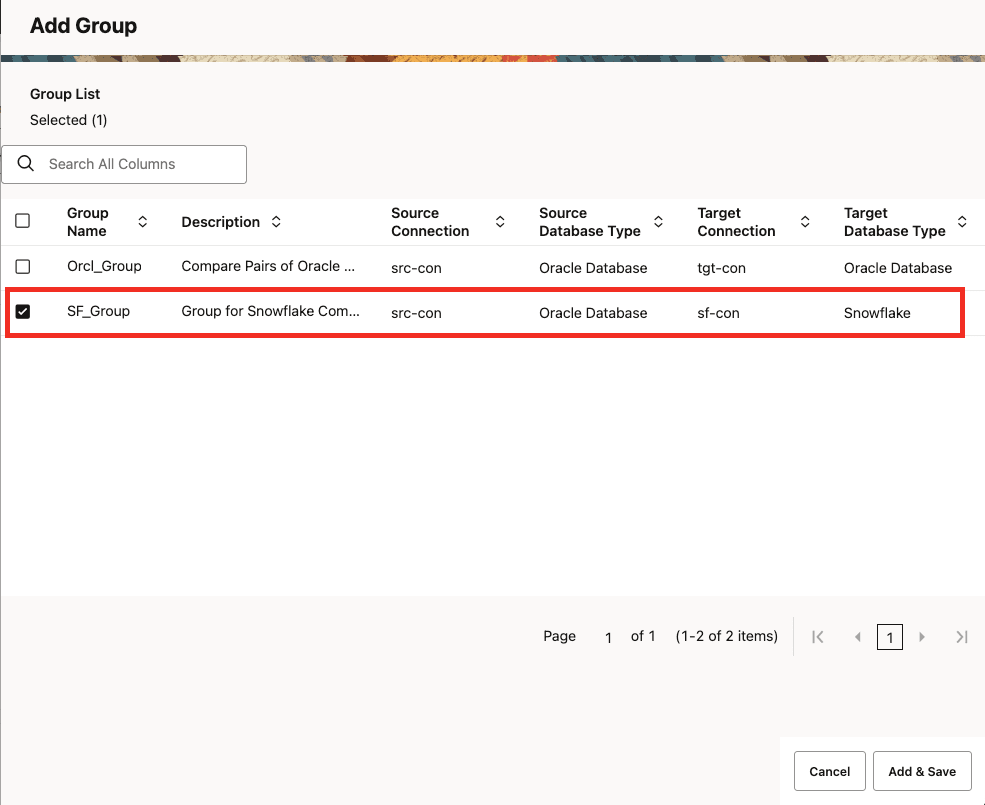
Click on “Add and Save”.
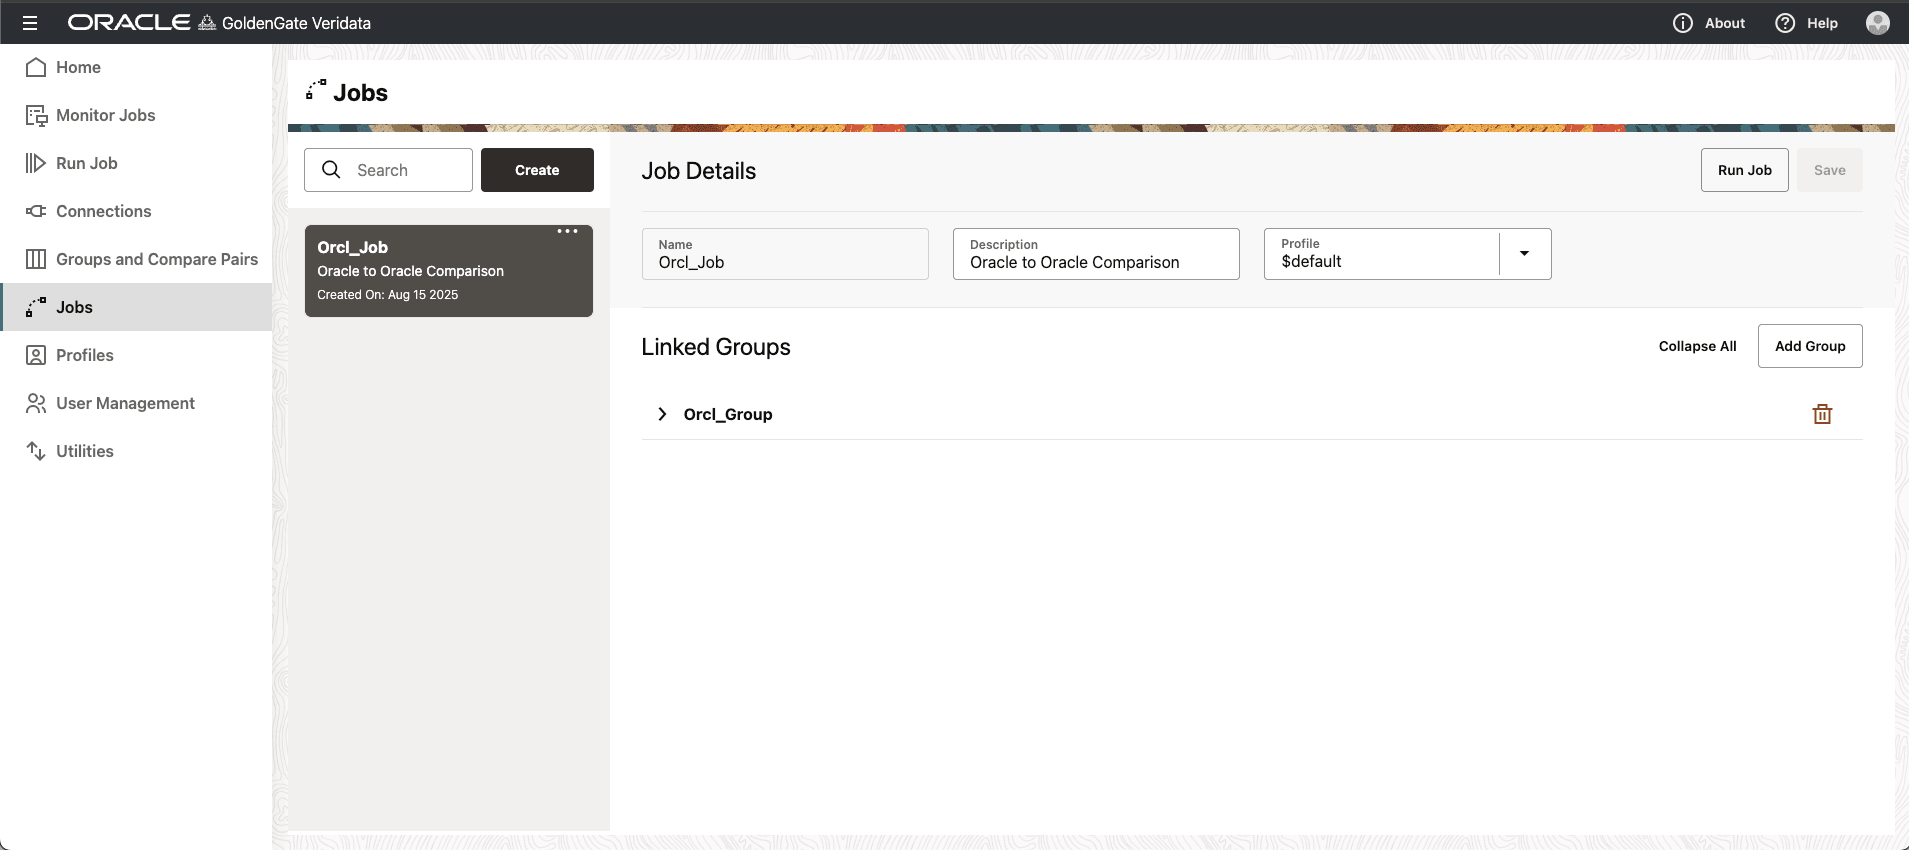
The group got successfully added to the job. Click on “Submit” button.
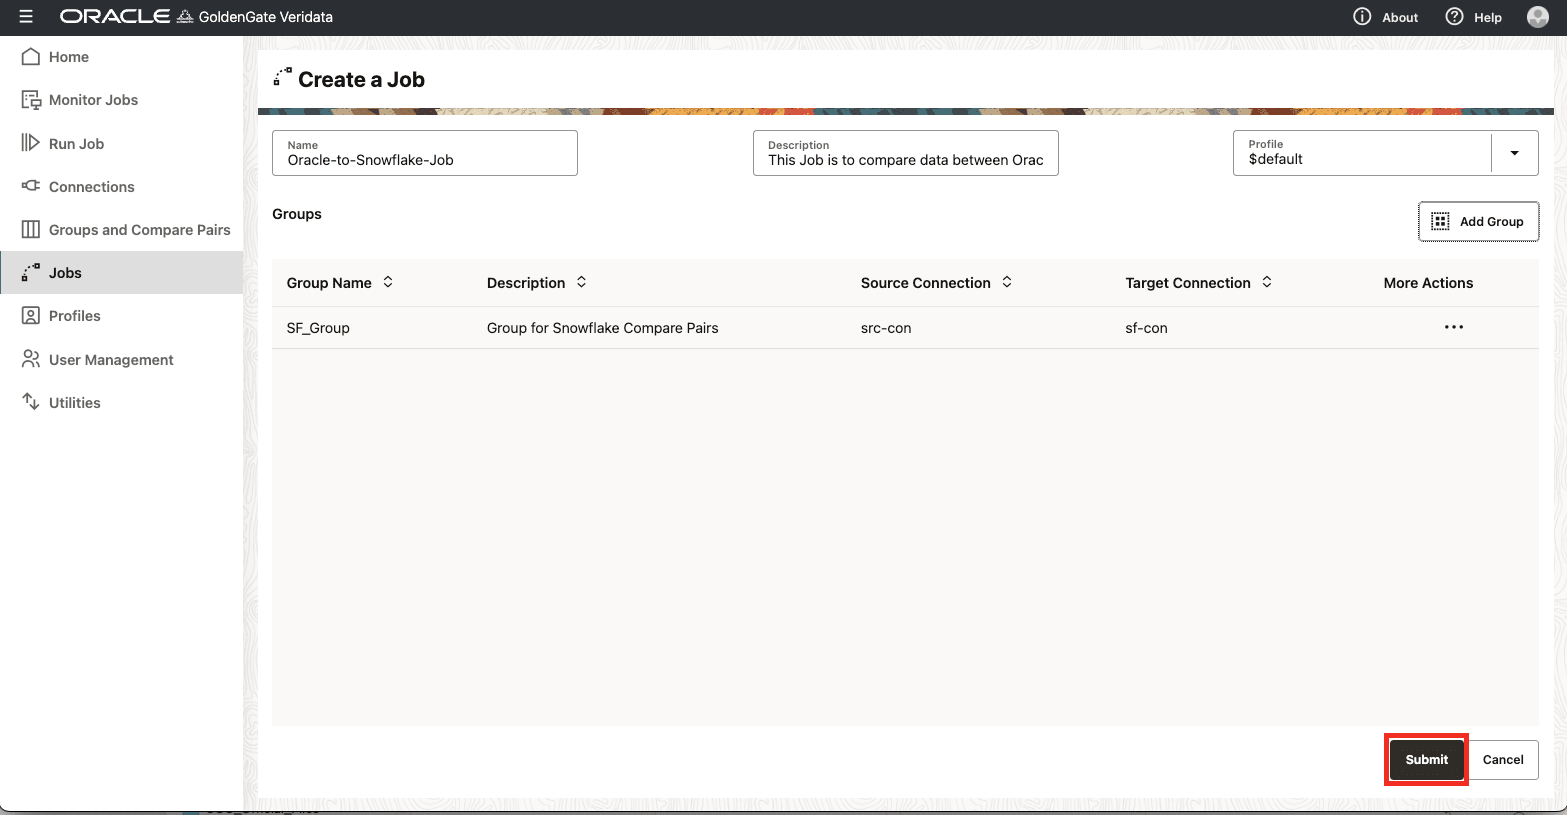
The Job got successfully created.
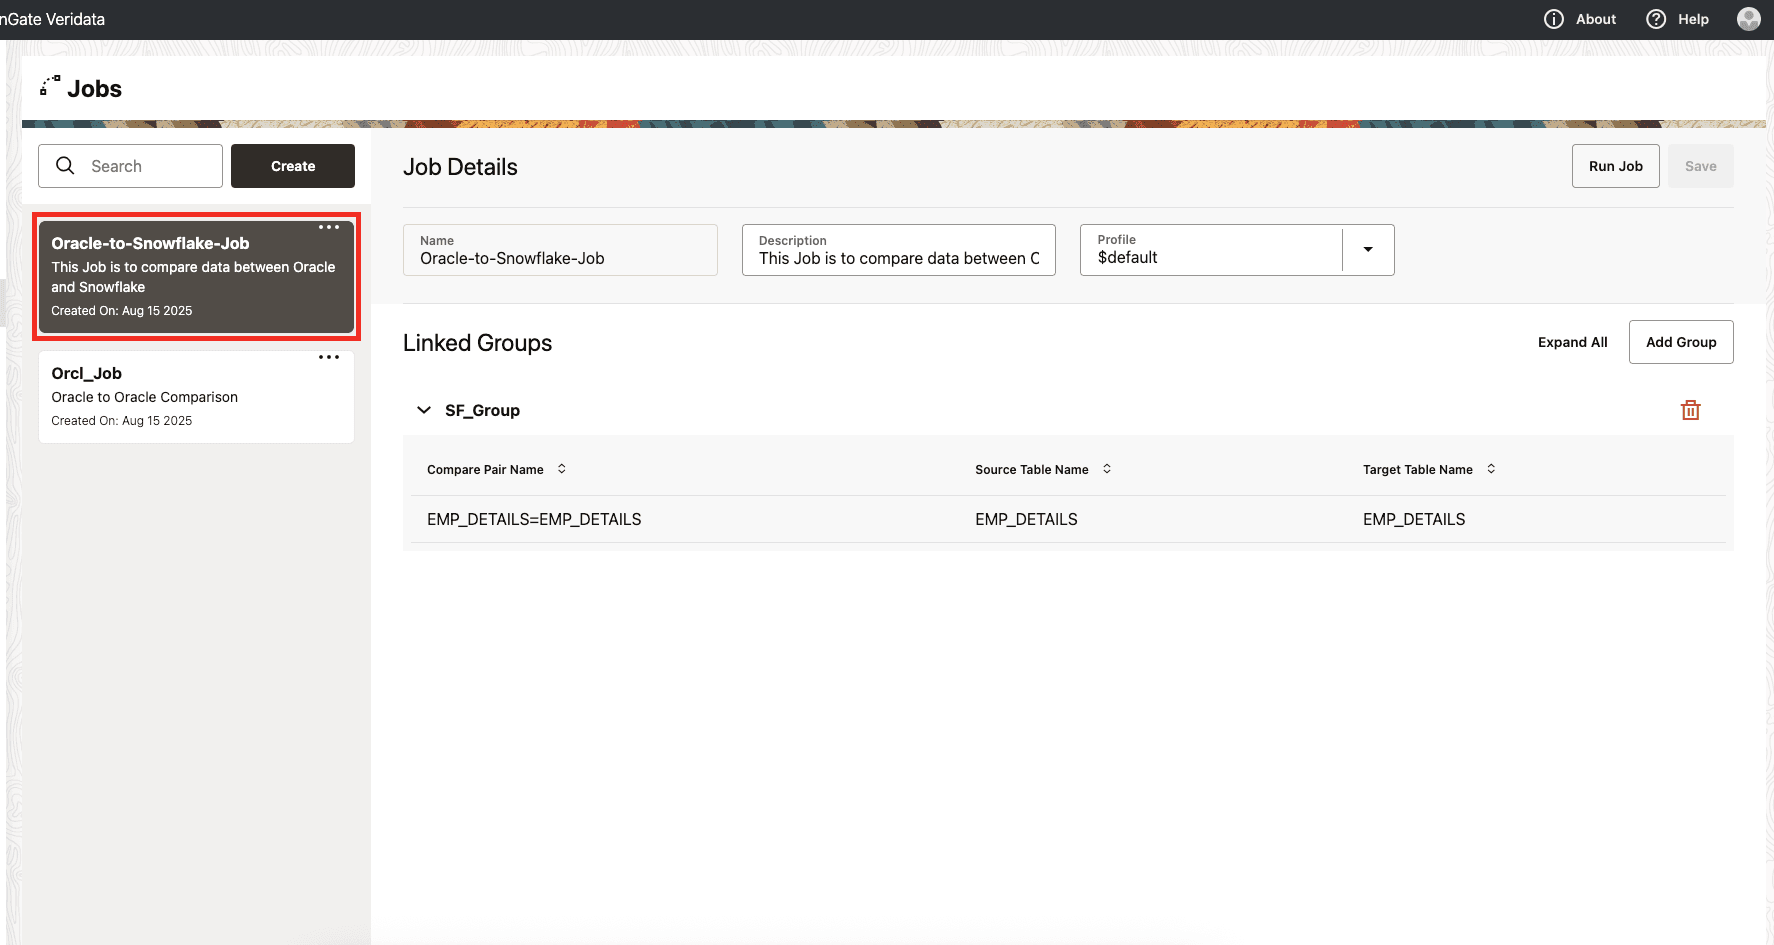
Run Job
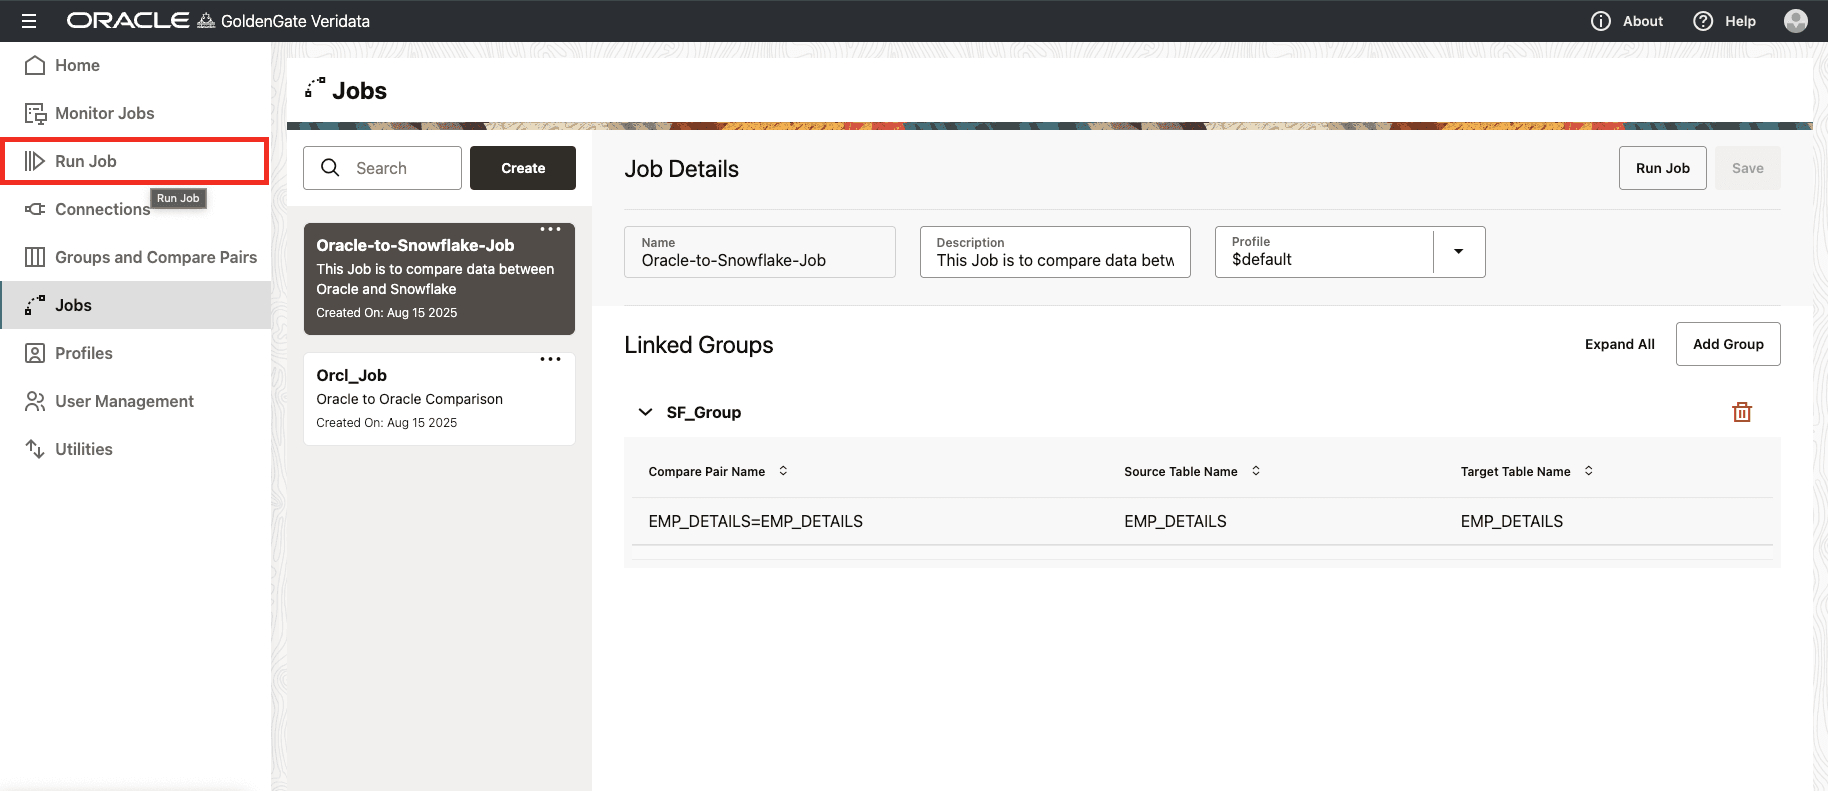
You can either run the job by clicking the “Run Job” on the top right corner of the “Jobs” page or by going to the main page of “Run Job” by clicking it in the left side panel.
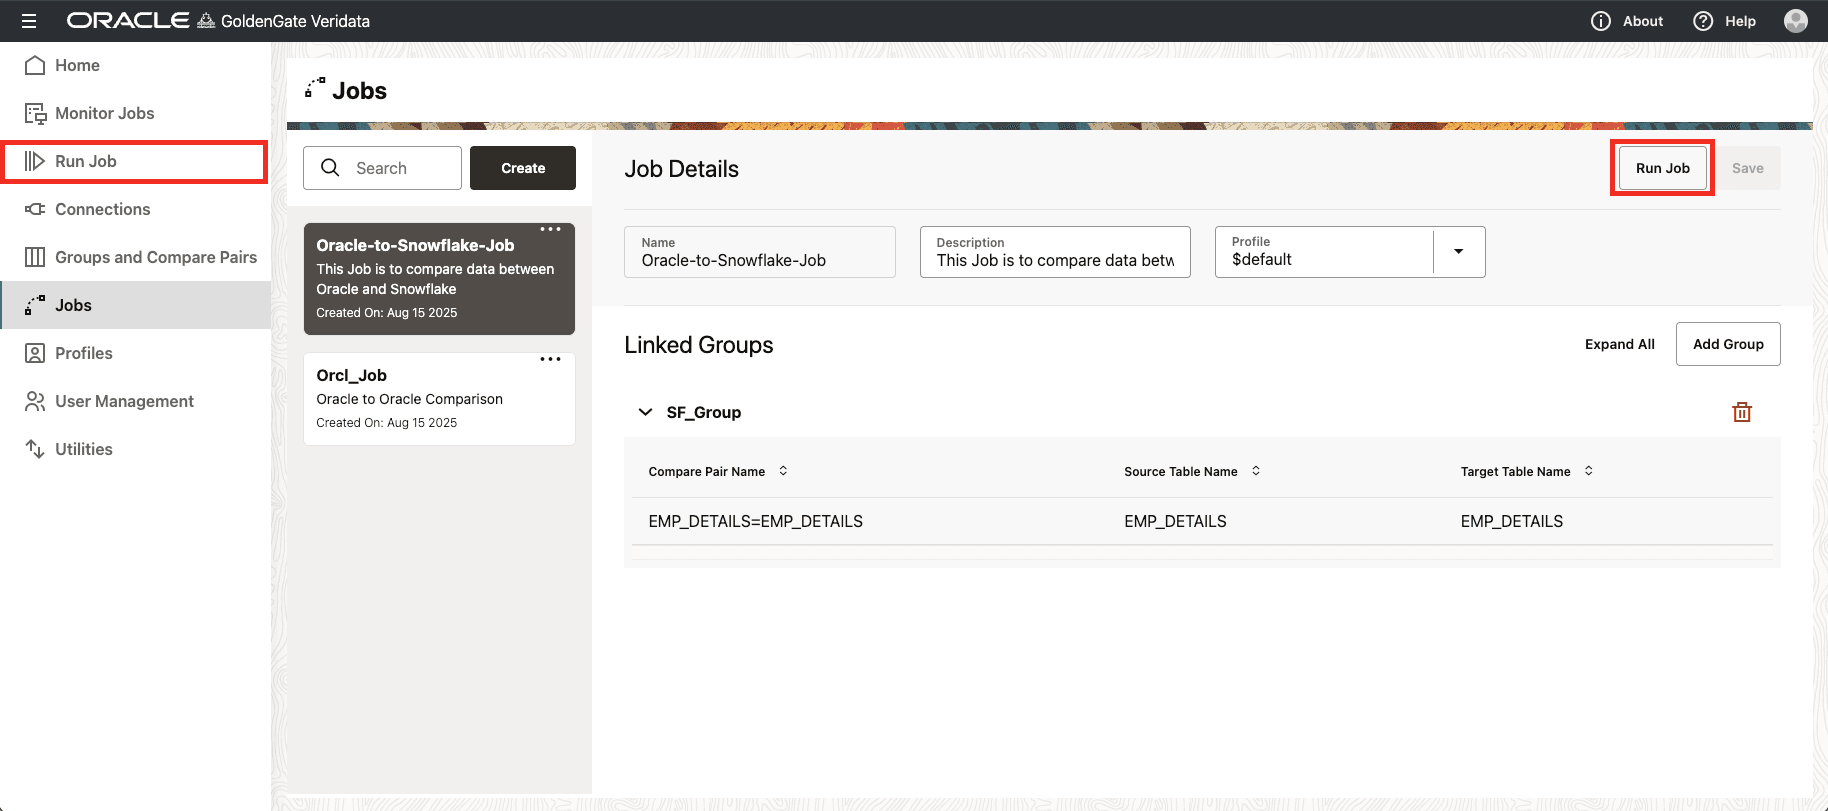
I am going to run it from the “Run Job” page. Click on the “Run Job” in the left side panel.
This will take you the actual “Run Job” page. Now select the job from the drown down box.
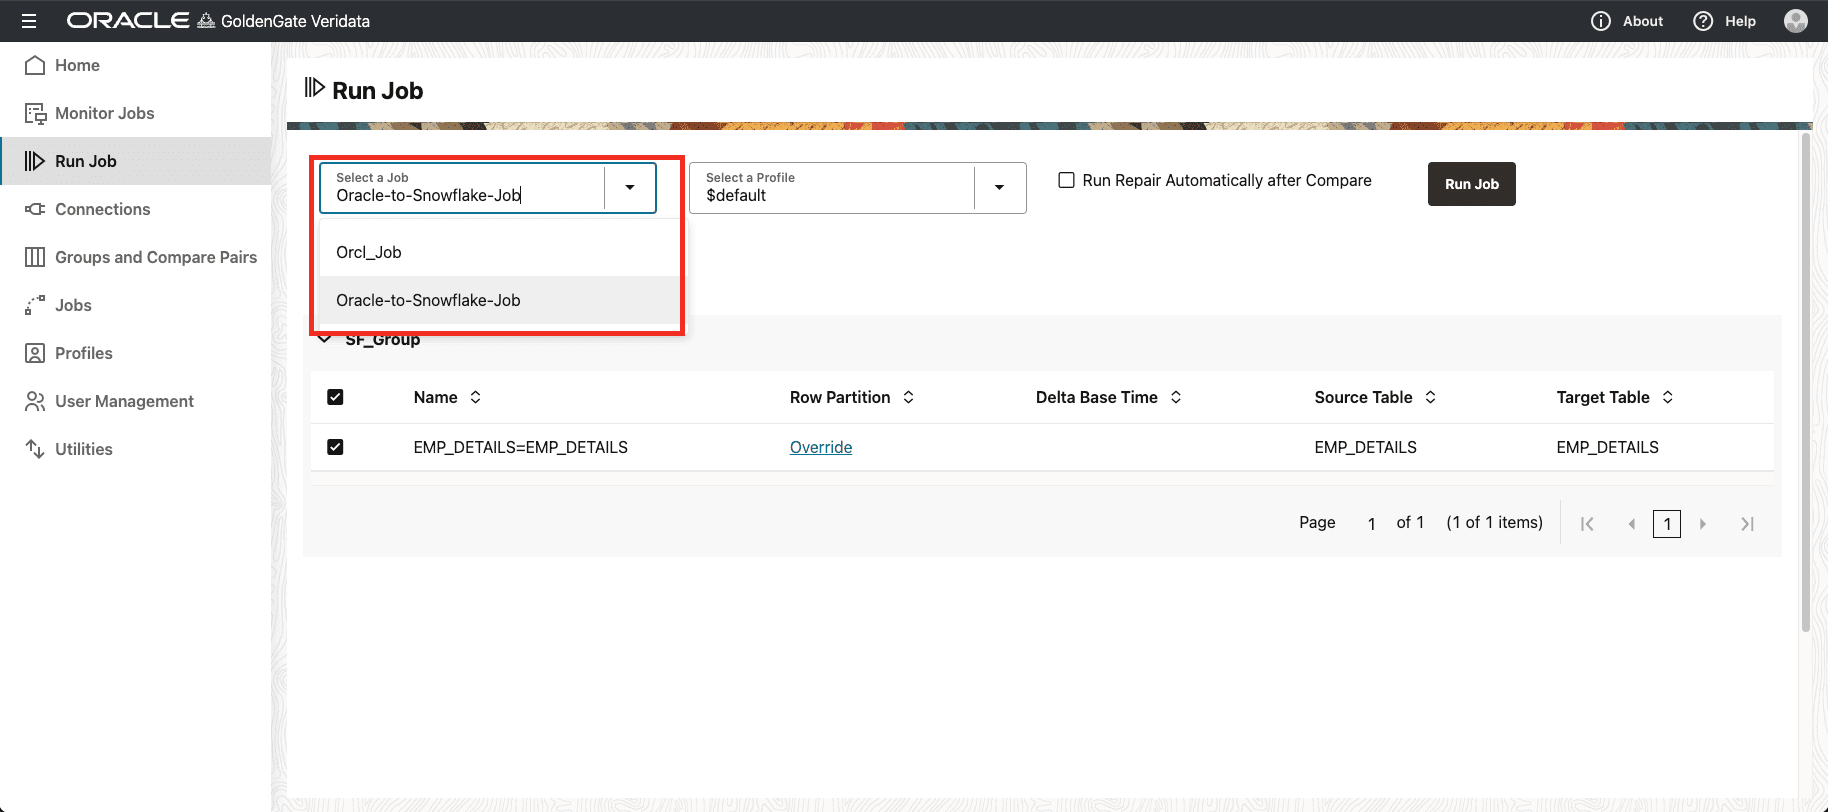
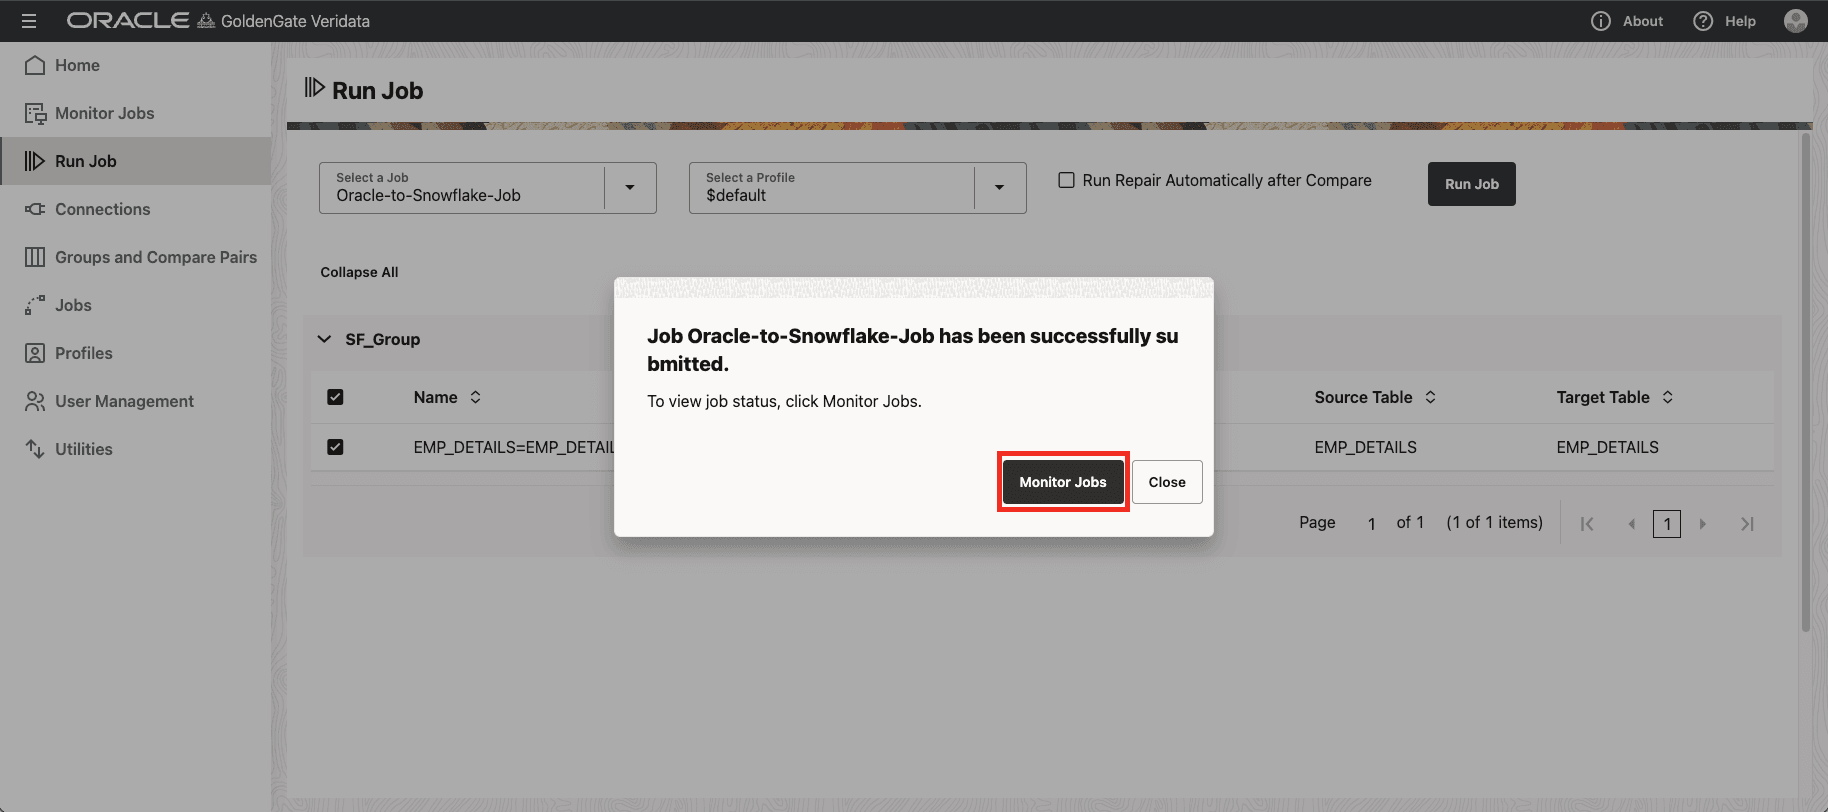
I am not selecting the option “Run Repair Automatically after Compare”. So, click on “Run Job” button.

Once you click on the “Run Job” it will ask whether we need to stay on the same page or navigate to “Monitor Jobs” page. Click on the “Monitor Jobs” button and you will be in that page.
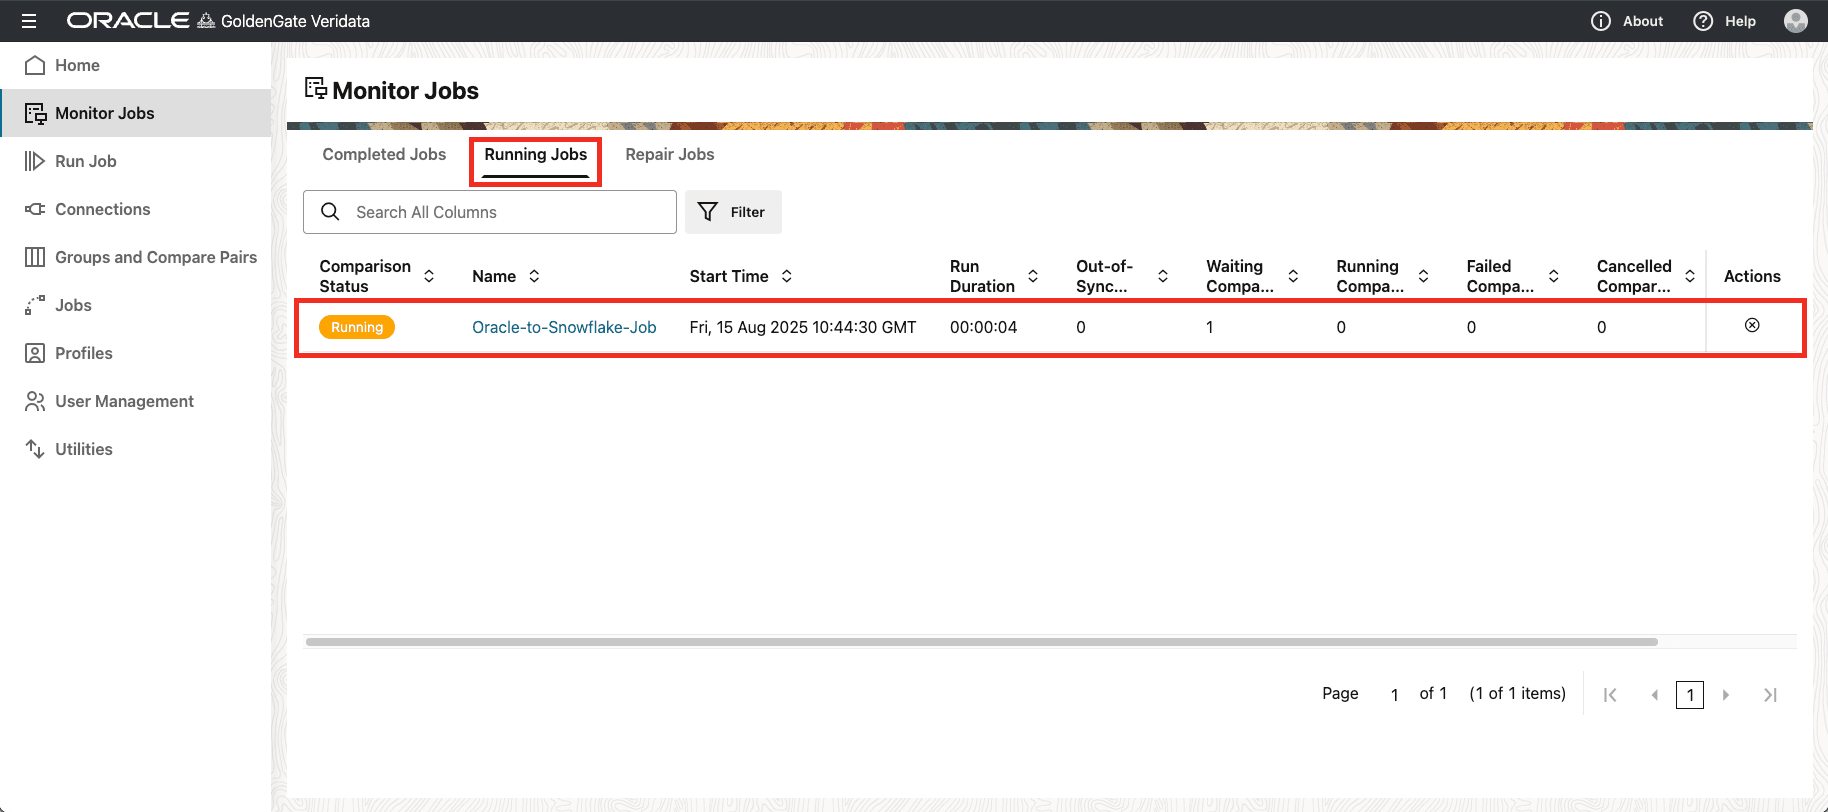
You can see the “Running Job”.
Monitor Jobs
After the comparison is done, you will be automatically taken to the “Completed Jobs” page.
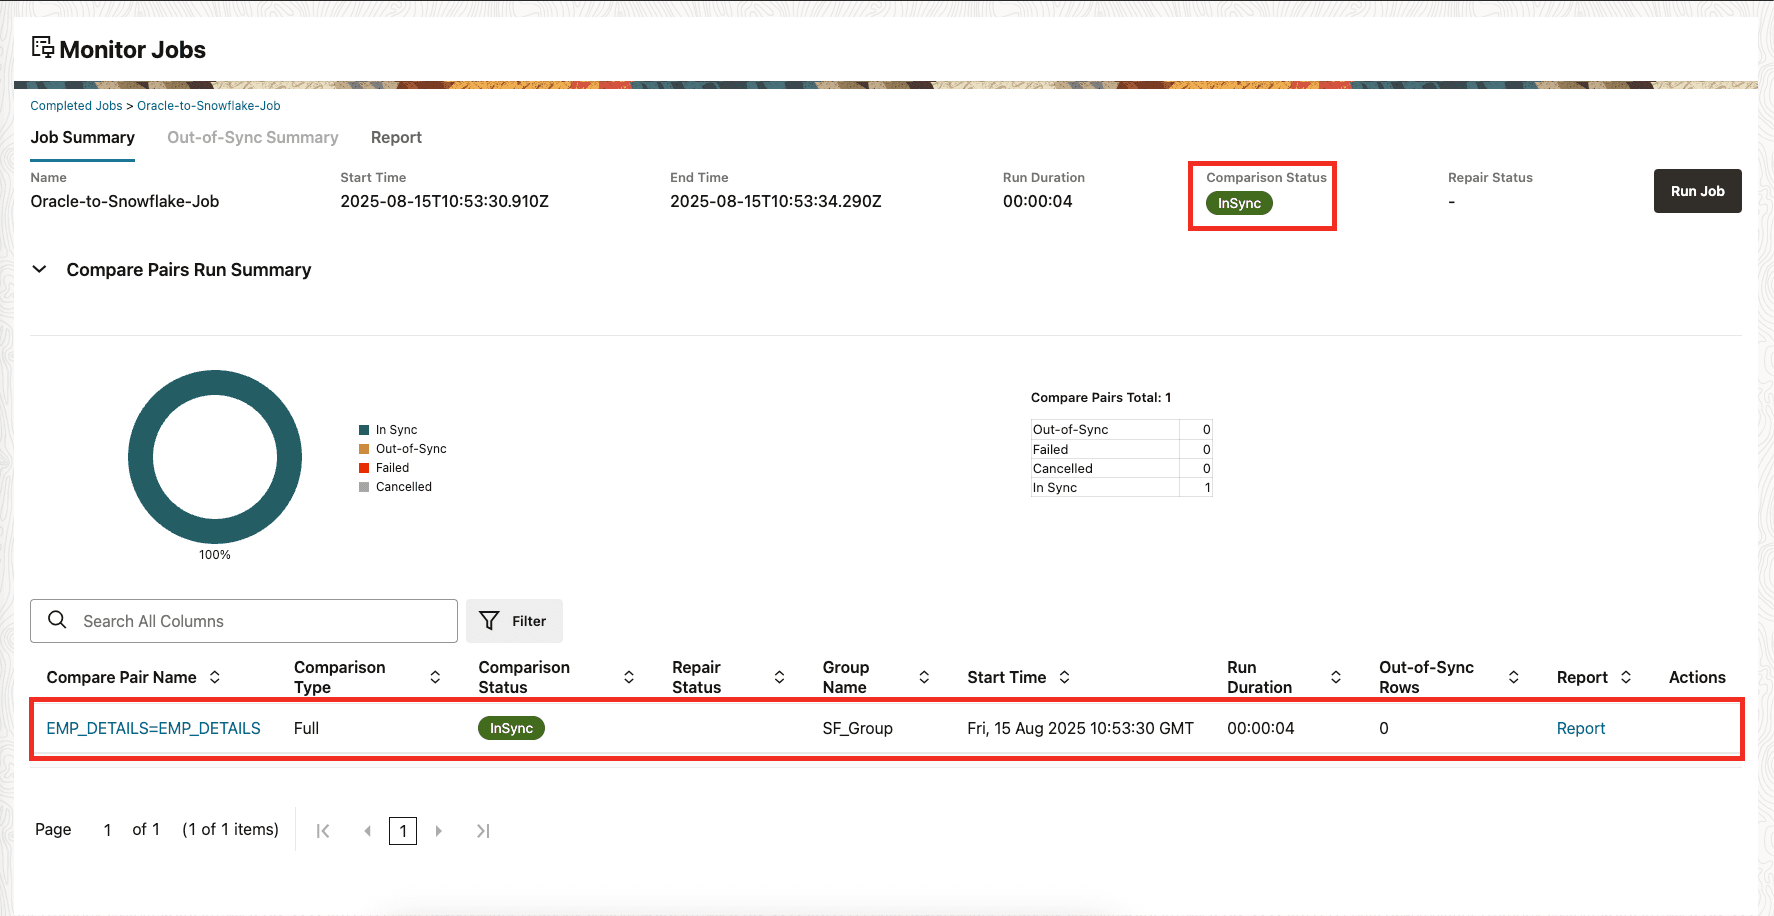
The comparison job is successfully completed and you can see the results in the “Monitor Jobs” page.
I have also created an end to end configuration demo video on Oracle GoldenGate Veridata 23c. Please check the below YouTube link,
Oracle GoldenGate Veridata 23c Demo

Hope the article was helpful. Cheers 🙂


 Total Users : 1866560